


The mighty Shotover
The enormous catchment of the Shotover River drains the Harris and Richardson Mountains. From near the main divide of the Southern Alps, it drains through open tussock basins and steep schist canyons to the breweries and bustle of Queenstown, NZ’s adventure tourism capital. Affectionately known as “The Shotty” to locals, it means a lot to many different people, past and present. Early Māori knew the river as Kimi Ākau, which means “looking for the coast” and is presumed a reference for a route to the west coast for pounamu. European and Chinese gold miners invested their heart, soul and often lives into the gold resources of the area in the 1860’s, before farming became established at Branches Station as the main economy in the valley. More recently, the whitewater of the middle to lower reaches became known to paddlers, with commercial rafting becoming commonplace as Queenstown boomed.
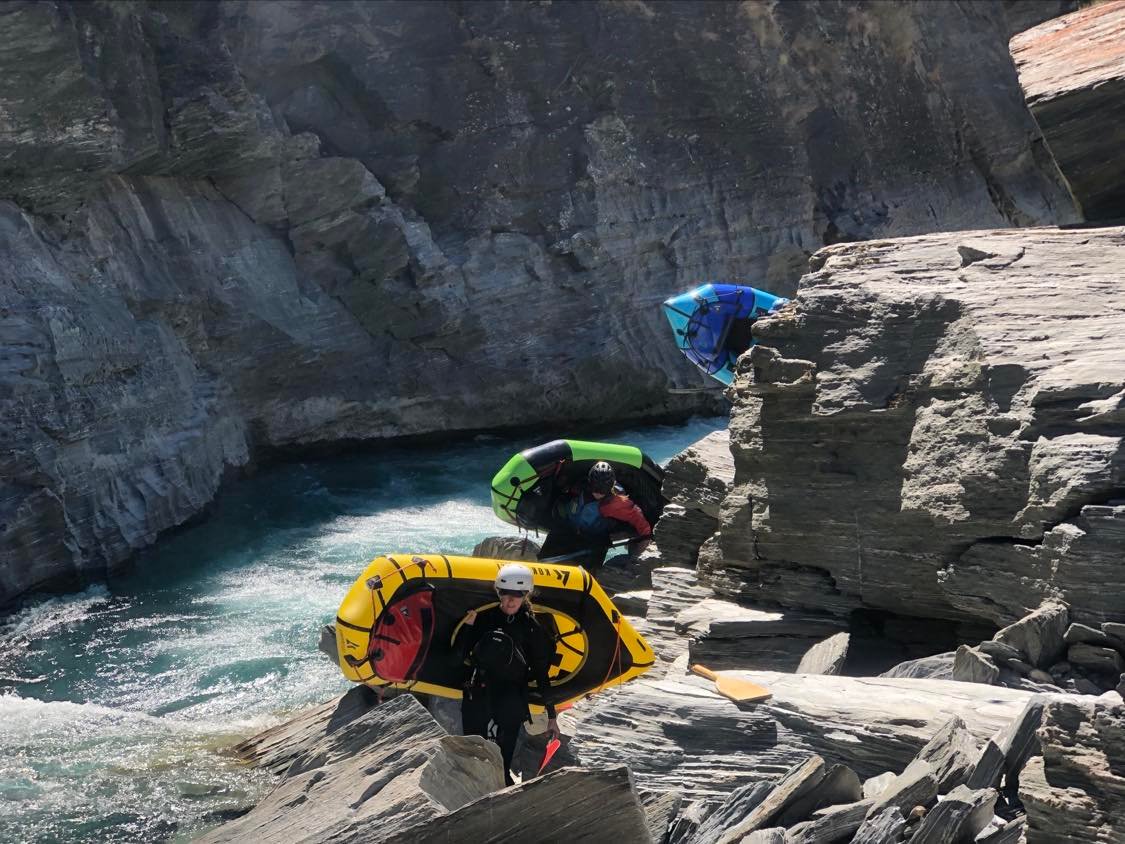
Like many other places, the surge in Packrafting has brought a new group of people to this wonderful place, with many new ways to enjoy this magnificent landscape and the river that runs through it.
A big thank you to all the people who helped provide information and review the page to make sure it is as accurate as possible.: Jenny Cossey, Allan Swann, Jude Collett, Shayne Galloway, Mal Haskins, Ico Schutte, Bryan Moore, Hamish Darling, David Stephenson, Wulf Solter, Kyle Milne, Chris Abel and Dan Clearwater

Overview of your options
There are many ways to create a fantastic trip of between half a day and four (or more), depending on your paddling ability, access ethic and style of trip you are looking for.
Because of this, we’ll give you a few ideas on classic trips, then describe the approach options and paddling options separately for you to mix and match as you wish.
Apart from the headwaters, all the sections are accessible by (rough) road. Access to any of the lands and waters upstream of MacLeods needs permission from Branches station.
Helicopters have been used by packraft parties to access Lochnagar.
View Larger Topographic Map
The classic trips
The through trip plus Lochnagar: 5 long days via Shotover saddle I to IV (with portage options)
This is the full-monty: a classic packrafting route with a great sidetrip
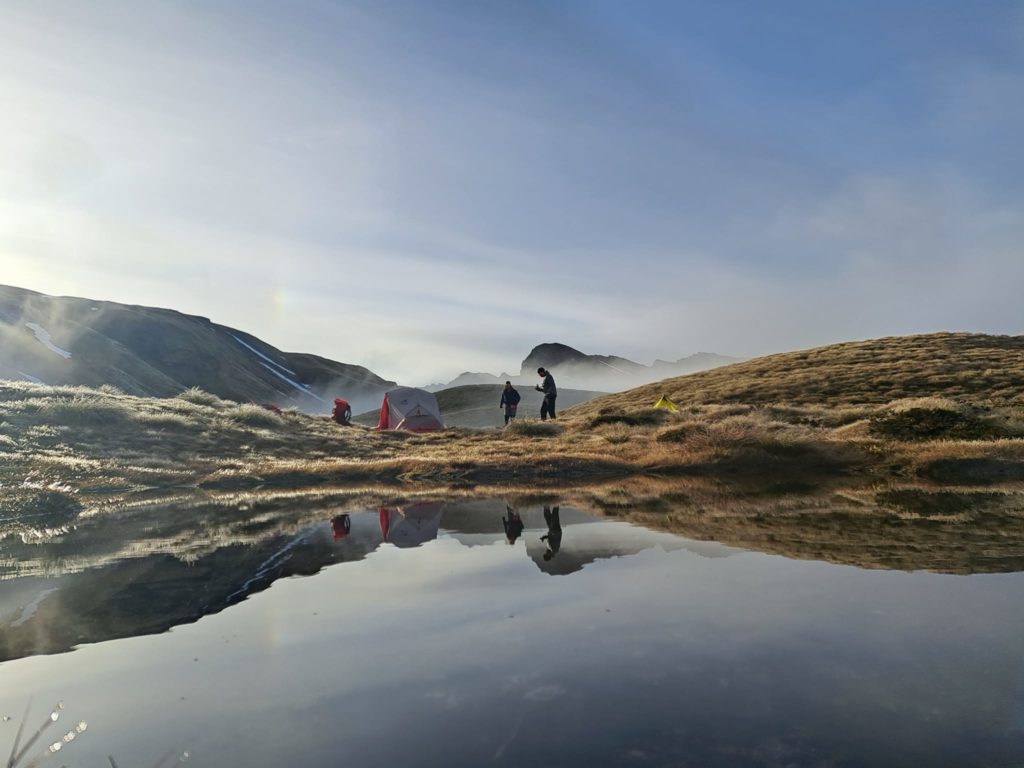
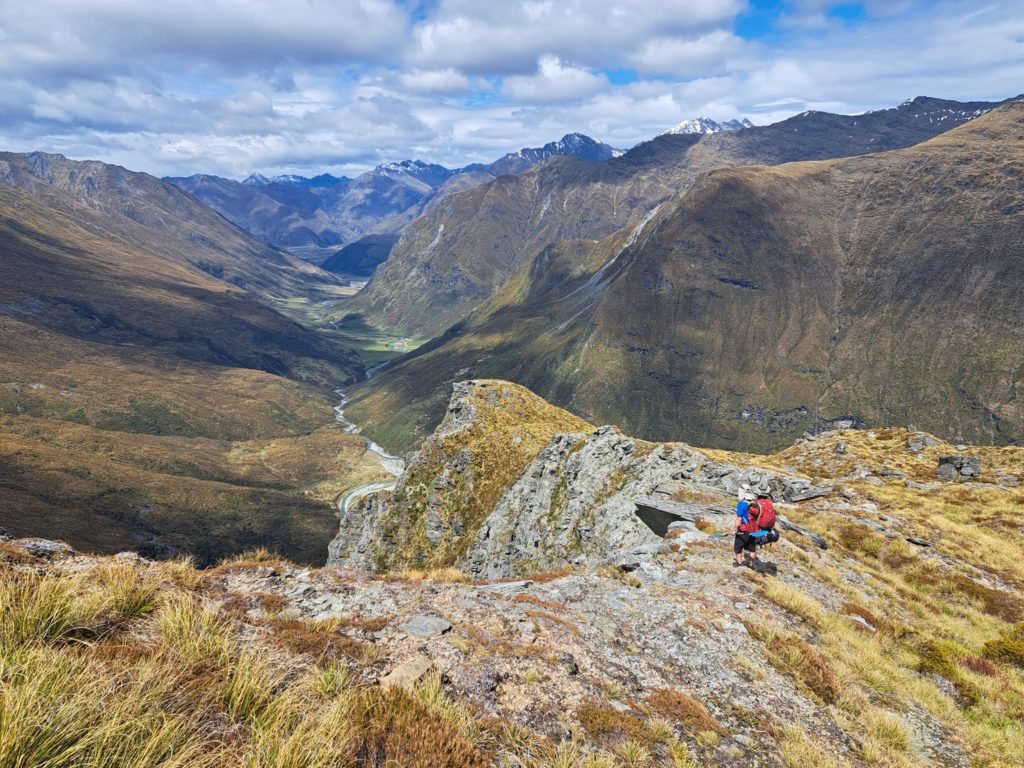
- A challenging and highly scenic walk to camp on Shotover Saddle.
- Continue down past Tummel Burn Hut and on to camp near the start of the Lochnagar route.
- A side trip up to Lochnagar, then paddle the upper braids to a campsite on the true right, immediately below the Greenland Spur gorge.
- Paddle to MacLeods (I/II/III) where the road begins.
- A long river day through to Arthurs Point, taking in all the classic sections of paddling, with kayaks, jetboats and rafts for company. (I to IV)
The through trip: 4 long days via Shotover saddle I to IV (with portage options)
This is the classic packrafting route over 4 long days.
- A challenging and highly scenic walk to camp on Shotover Saddle.
- Continue down past Tummel Burn Hut, then paddle the upper braids to a campsite on the true right, immediately below the Greenland Spur gorge.
- Paddle to MacLeods (I/II/III) where the road begins.
- A long river day through to Arthurs Point, taking in all the classic sections of paddling, with kayaks, jetboats and rafts for company. (I to IV)
The packrafters pick: 3 to 4 days via the Branches road (I up to either III or IV with portage options)
You can still enjoy all the paddling by driving in from Arthurs point. This means a much shorter shuttle, but you’ll be covering some of the ground twice and you’ll miss the spectacular crossing of Shotover Saddle.
This option is great for those who don’t have the technical ability for the whitewater but who are keen to visit Lochnagar and enjoy some scenic floating.
- Drive to Branches station, then walk in to camp near Greenland Spur.
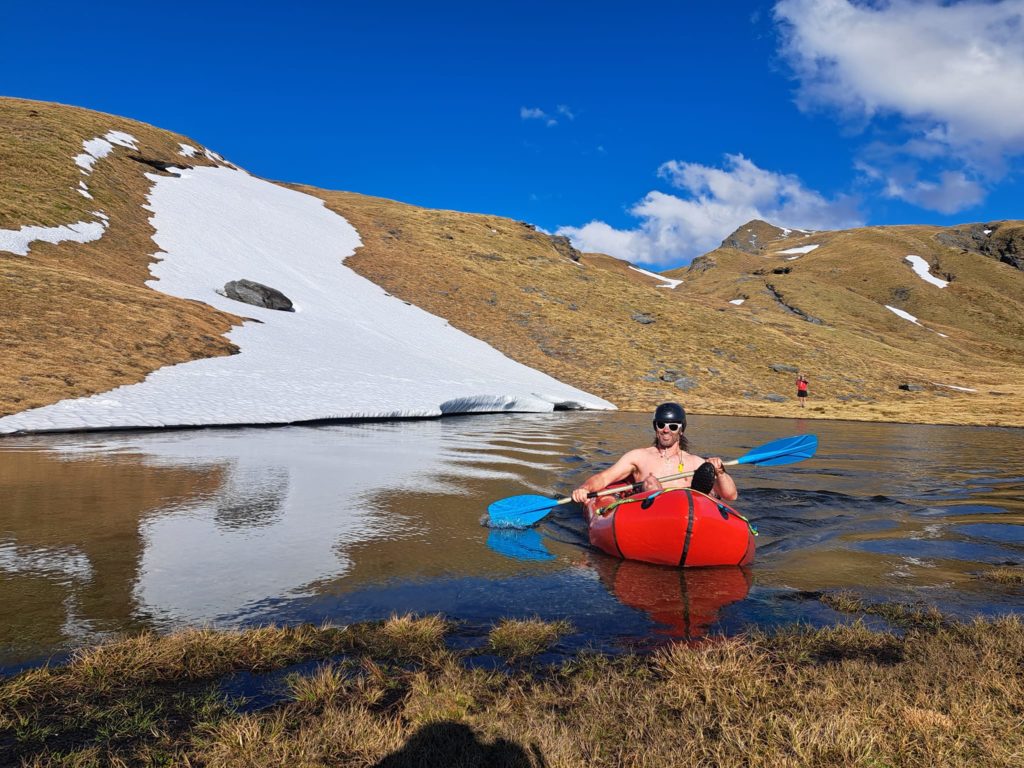
- Walk up to Lochnagar and explore the lake.
- Hike down to the put on, then paddle to MacLeods (I/II/III) where your car is.
- A long river day through to Arthurs Point, taking in all the classic sections of paddling, with kayaks, jetboats and rafts for company. (I to IV)
Roadside day trips (any combo of I, II and IV)
If walking isn’t your thing and you just want paddling, the Shotover has got you covered. The access road isn’t for the faint hearted, but you can access the majority of the whitewater for a day trip:
Planning and permission
Farm access
On the Matukituki valley side, the approach route is generally open without requiring specific permission. However, the Shotover Saddle route is closed for lambing in spring (Mid Oct to early Nov, but see DOC website for current times)
Most of the Shotover catchment is Branches Station which is private land. Permission is required from Branches Station Manager (03 441 8421) for all walking access, helicopter access, any camping and the use of Tummel Burn or Lochnagar Huts.
Other huts are generally not available for public use. Access will not be granted in October and November, due to calving and school camps in the area.
A specific route must be followed when walking up-valley from the Branches, and is described in the approach section further below.
Don’t be a d#ckhead
Just remember, you are an ambassador for all outdoor recreationists when you phone up to ask for permission, and whilst you are on the land. Your behaviour reflects directly on everyone else who would like to also enjoy this trip in the future. So please behave well, show respect and gratitude, and preserve the goodwill with the land owners and managers so the rest of us can continue to enjoy this wonderful bit of New Zealand.
When to go? Flows and snow..
In spring when there’s snow on the high peaks, you can expect snow on Shotover saddle and there will be more drinking water on the tops. ‘Normal’ flows will be higher, up to 40 cumecs (at Peats Hut) which is near the top of the range for most packrafters. The paddling will be more pushy and challenging, portaging in the gorges will be a more difficult. The braided/shallow sections will be faster travel.
In summer when most of the snow is gone you’ll find flows nearer the lower end of the range. The paddling will be less pushy, but shallower with more rocks present. On the braided sections, travel will be much slower. You’ll be scraping the bottom and times and might have to get out and walk a bit.
Jetboats
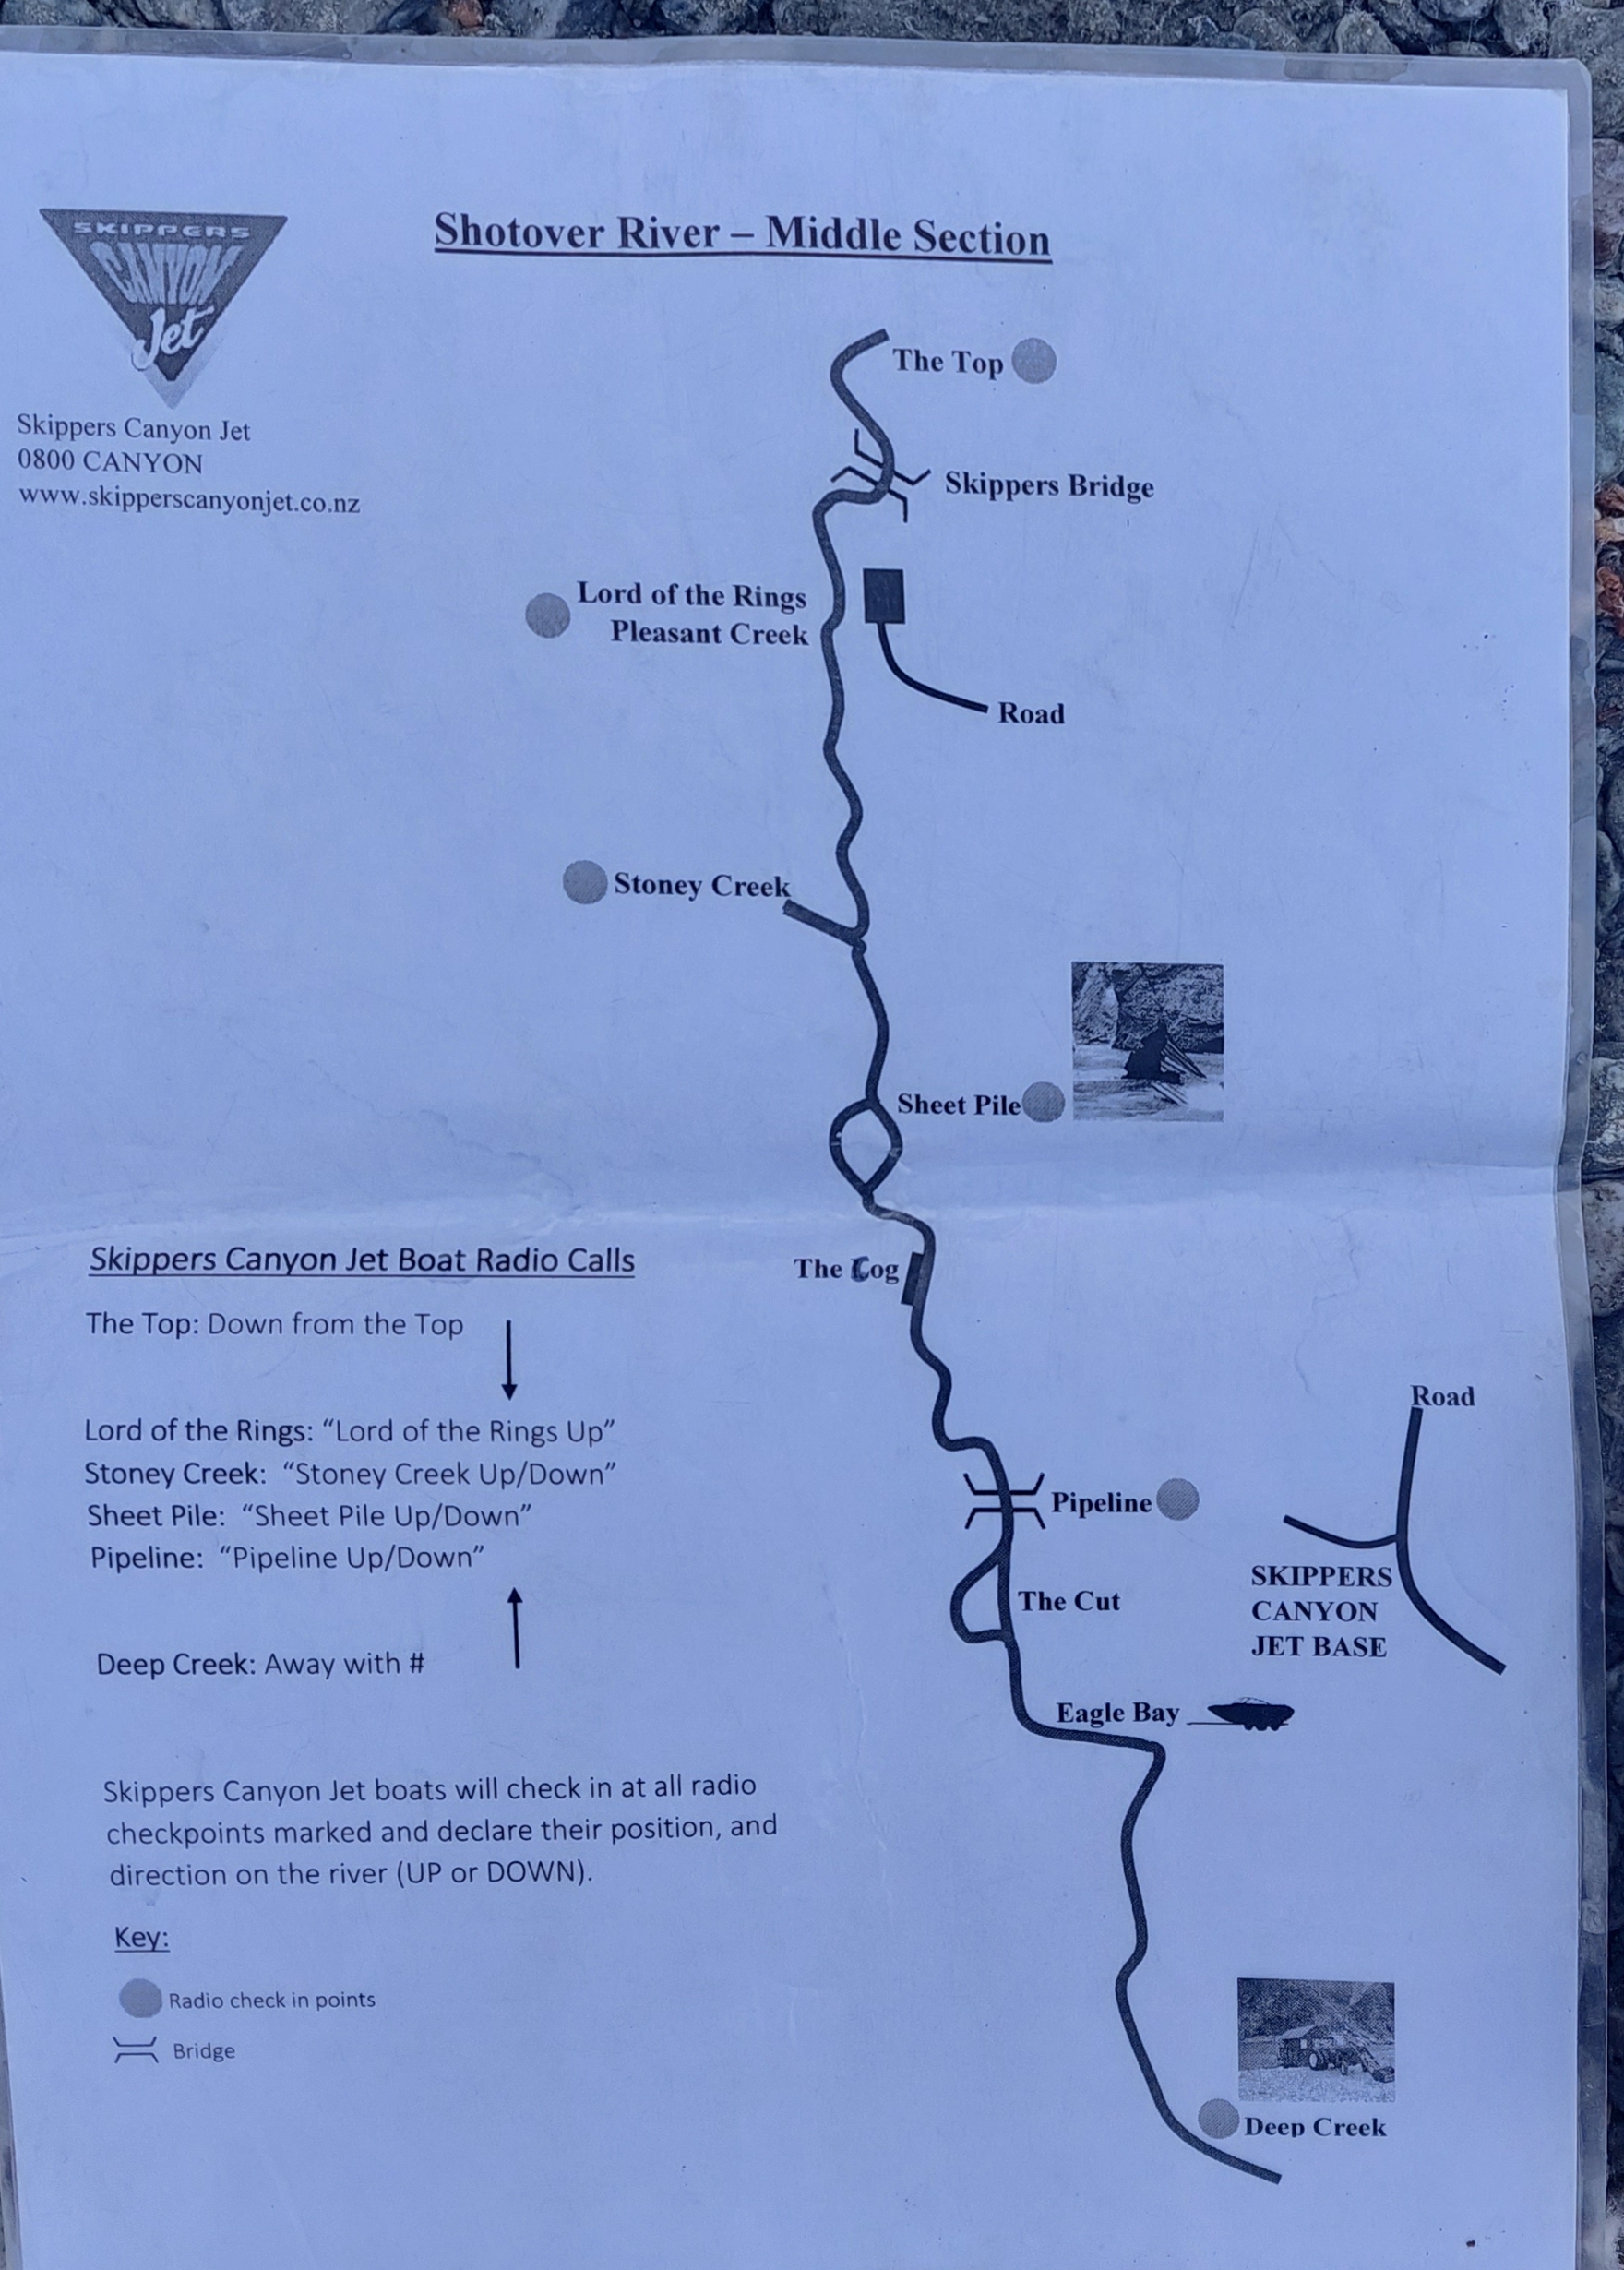
Skippers Canyon Jet regularly travels the section of river between Skippers Bridge and Deep Creek (I). It is vital to check in with the operator before you leave for your trip to talk to the operator. There are gorge sections that are only the width of a Jetboat and blind corners… They are friendly and helpful, and want to avoid any Jetboat vs Packraft carnage.. (Find the current phone number at www.skipperscanyonjet.co.nz)
If you’re doing the thorough trip, you’ll need to ask about scheduled Jetboat trips and time your transit of the gorge to avoid those times. Many groups have access to InReach satellite messenger devices. As an extra safety measure consider arranging with the Jetboat team ahead of time that you will check for schedule changes via InReach prior to entering the Jetboat section. Having your device on tracking mode (and the Jetboat office knowing where to look for it) is even more helpful. It is in everyone’s interest to avoid a surprise here.
If you’re doing a car-shuttle trip from Arthurs Point, then you should try to call in at the Jetboat office (a house high above the river on the westside of the road just past the take out at Deep Creek). The Jet boat staff will loan you a VHF radio and a laminated card with instructions for places to radio to help avoid nasty surprises in the canyon!
At the office there is a whiteboard to leave intentions if you can’t get in touch with anyone.
Either way, be very very cautious about listening out for boats and minimising your time in the narrow sections (some of which are only just wide enough to fit a Jetboat, so Jetboat at pace + packraft = pop/splash/drown)

Also, have a read of the “Jetboats and Packrafters” page on this site for more courtesy and safety info. .
The approaches in detail
From the Matukituki
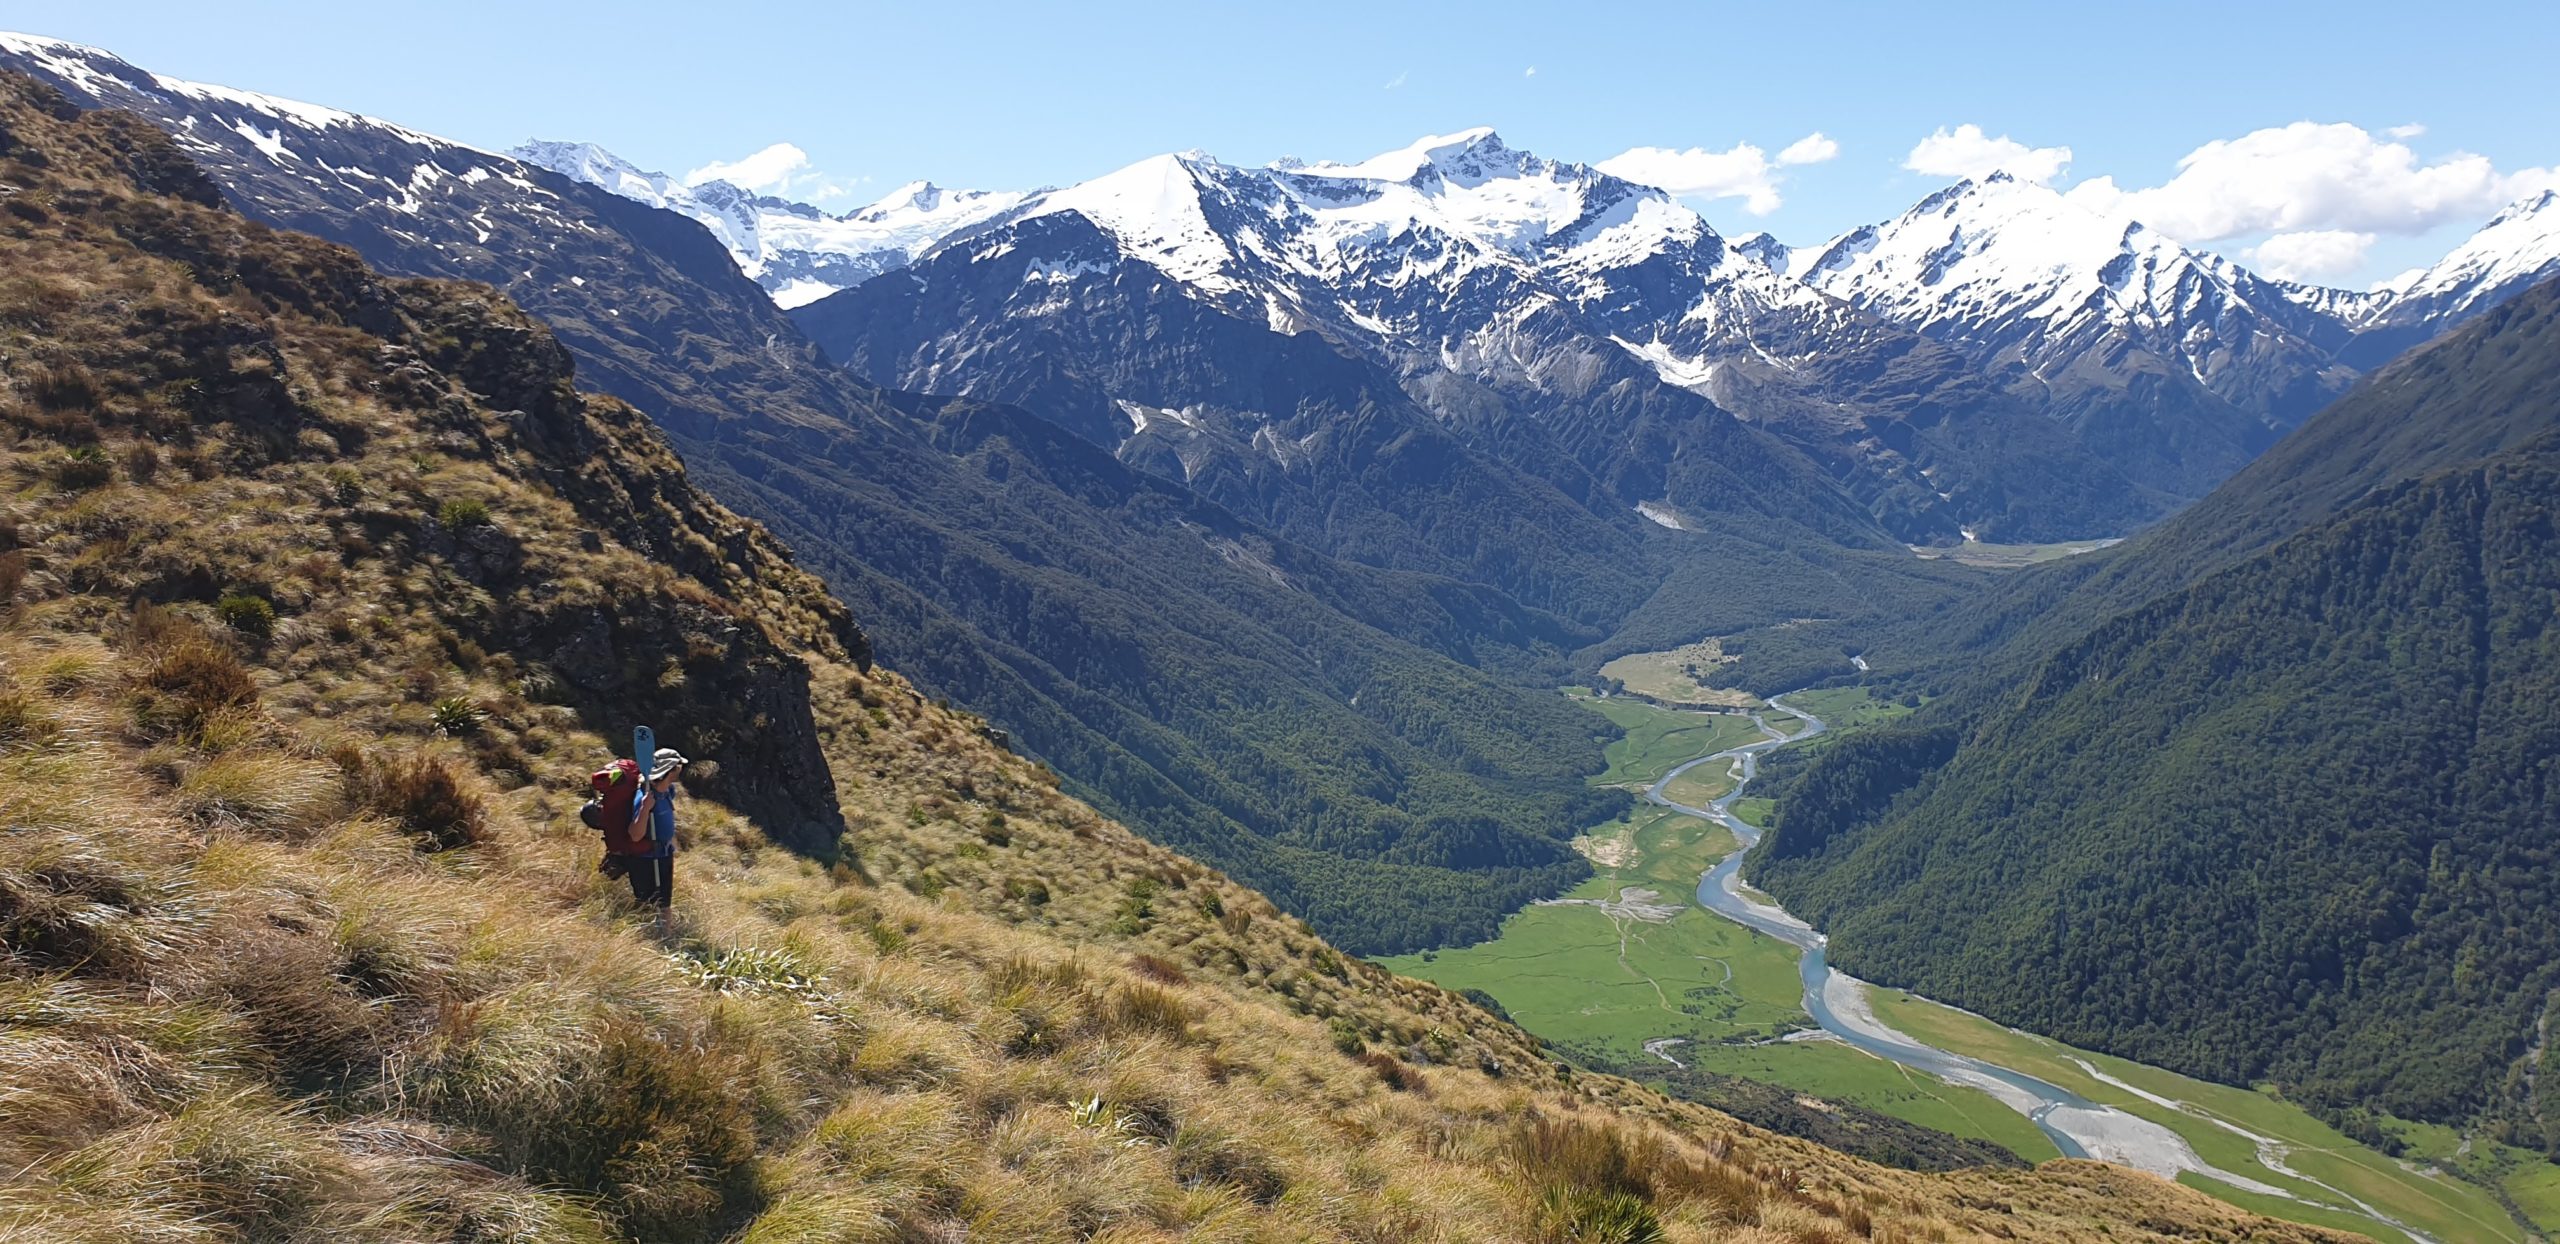
Raspberry Creek Carpark, West Matukituki Valley to Shotover Saddle 4-6hrs
This is a pretty honest climb with heavy packs. Although its not the longest of days, you might find yourself leaving later in the day after driving a shuttle car to Arthurs point. Also, the views up high are magnificent, so it’s well worth the high camp in settled weather.
DOC has good information about this route, which is closed for lambing each spring. Make sure you check the DOC website for updates to closure dates when planning your trip.

It is worth noting that the route has changed location from where it is marked in some maps. Where the farm vehicle track zig zags, the route leaves from the highest point. There is a stile and DOC sign here. The route ascends steeply, crossing Brides Veil Stream above the waterfall, then continues more or less straight up a spur to intersect the route as marked on the map.
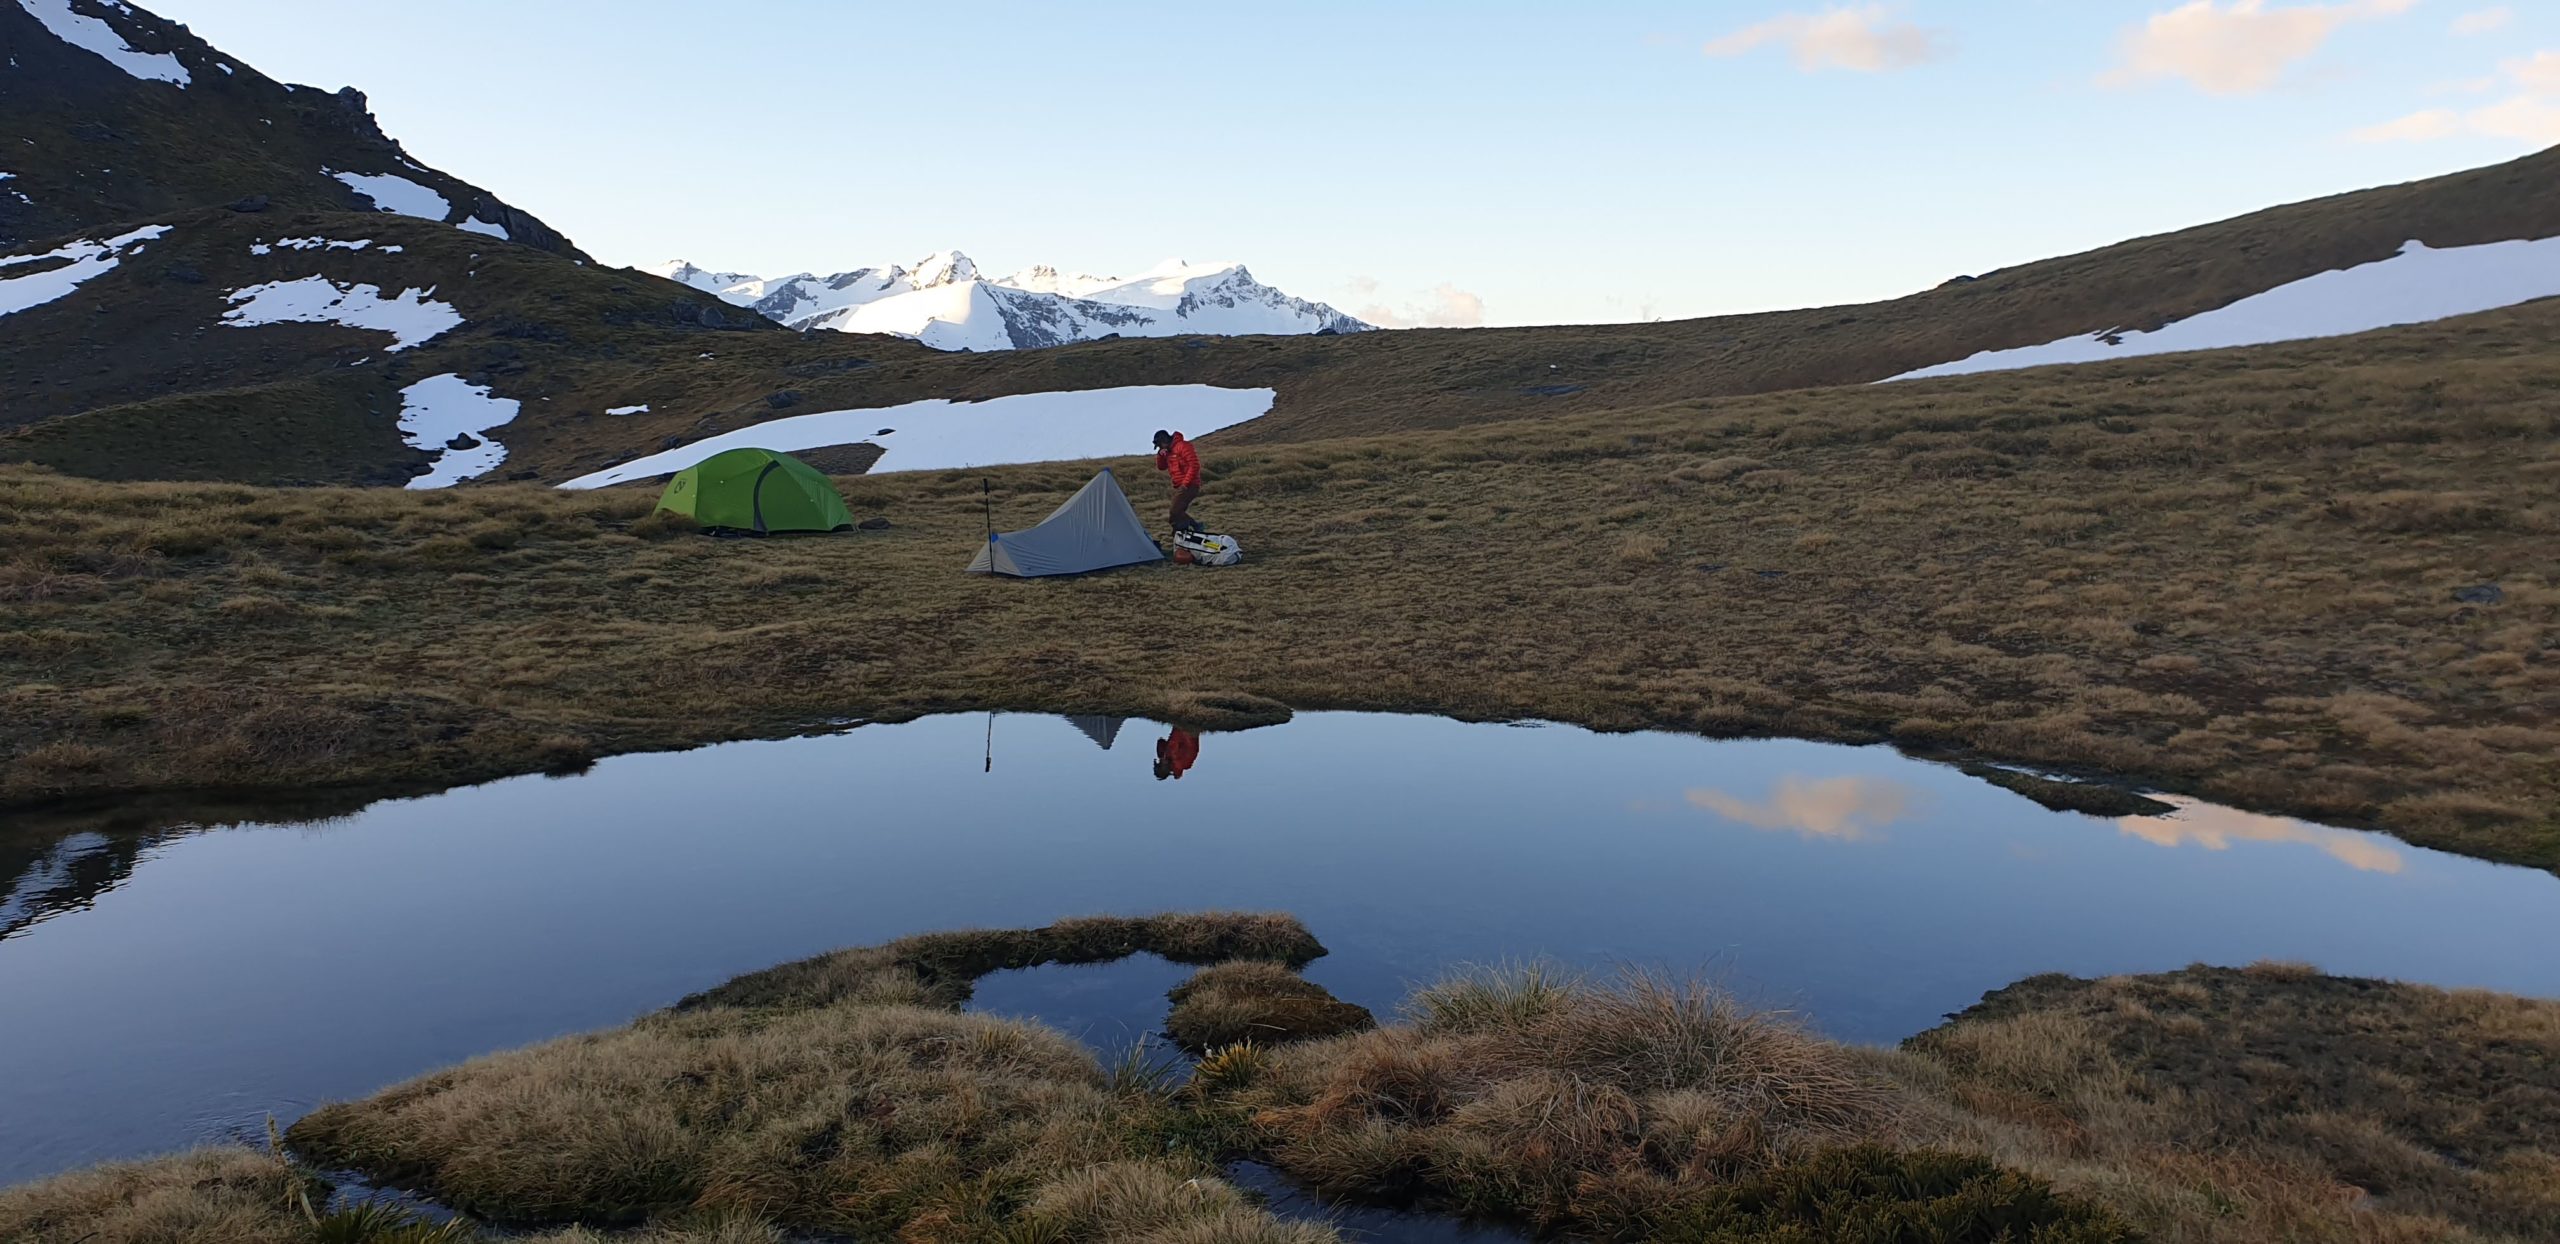
On either side of the saddle there are plenty of tarns and flat spots for camping. In most wind conditions, you can find a spot with water and shelter. Just be mindful of toileting and keeping the tarns clean for others to drink from.
Shotover Saddle to Tummel Burn Hut 5-6hrs
From here on, you’re on Branches Station, and permission is required: See the ‘planning and permission’ section for more info.
Good routefinding and map reading skills are important on this section.There are two options here. Each takes about the same time, and both converge at the 1100m contour.
- The sidle route, as described in Moirs guide, is probably better in poor weather, but could be a bit tedious due to sub-alpine scrub.
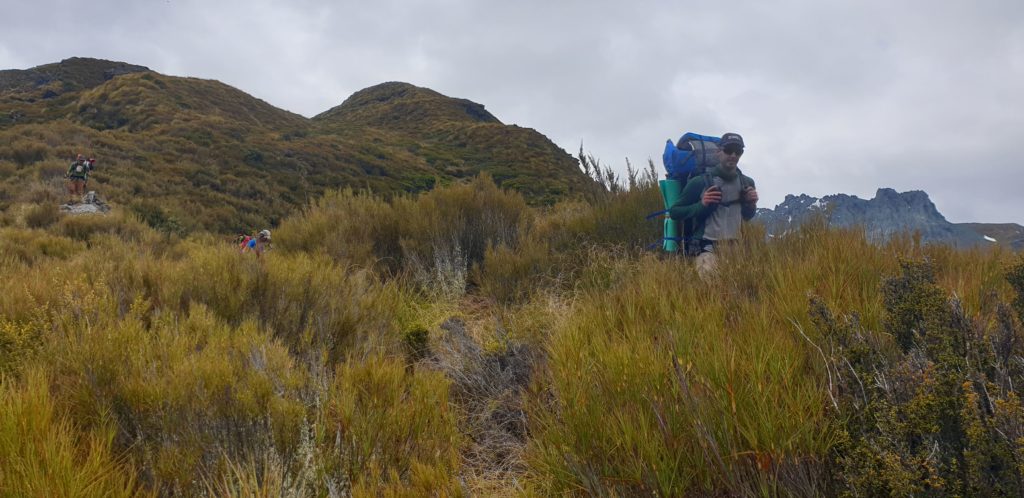
- The high route, via the ridge. This way is more scenic and enjoyable in settled weather.
The high route
This heads east from the saddle, almost to .1731.
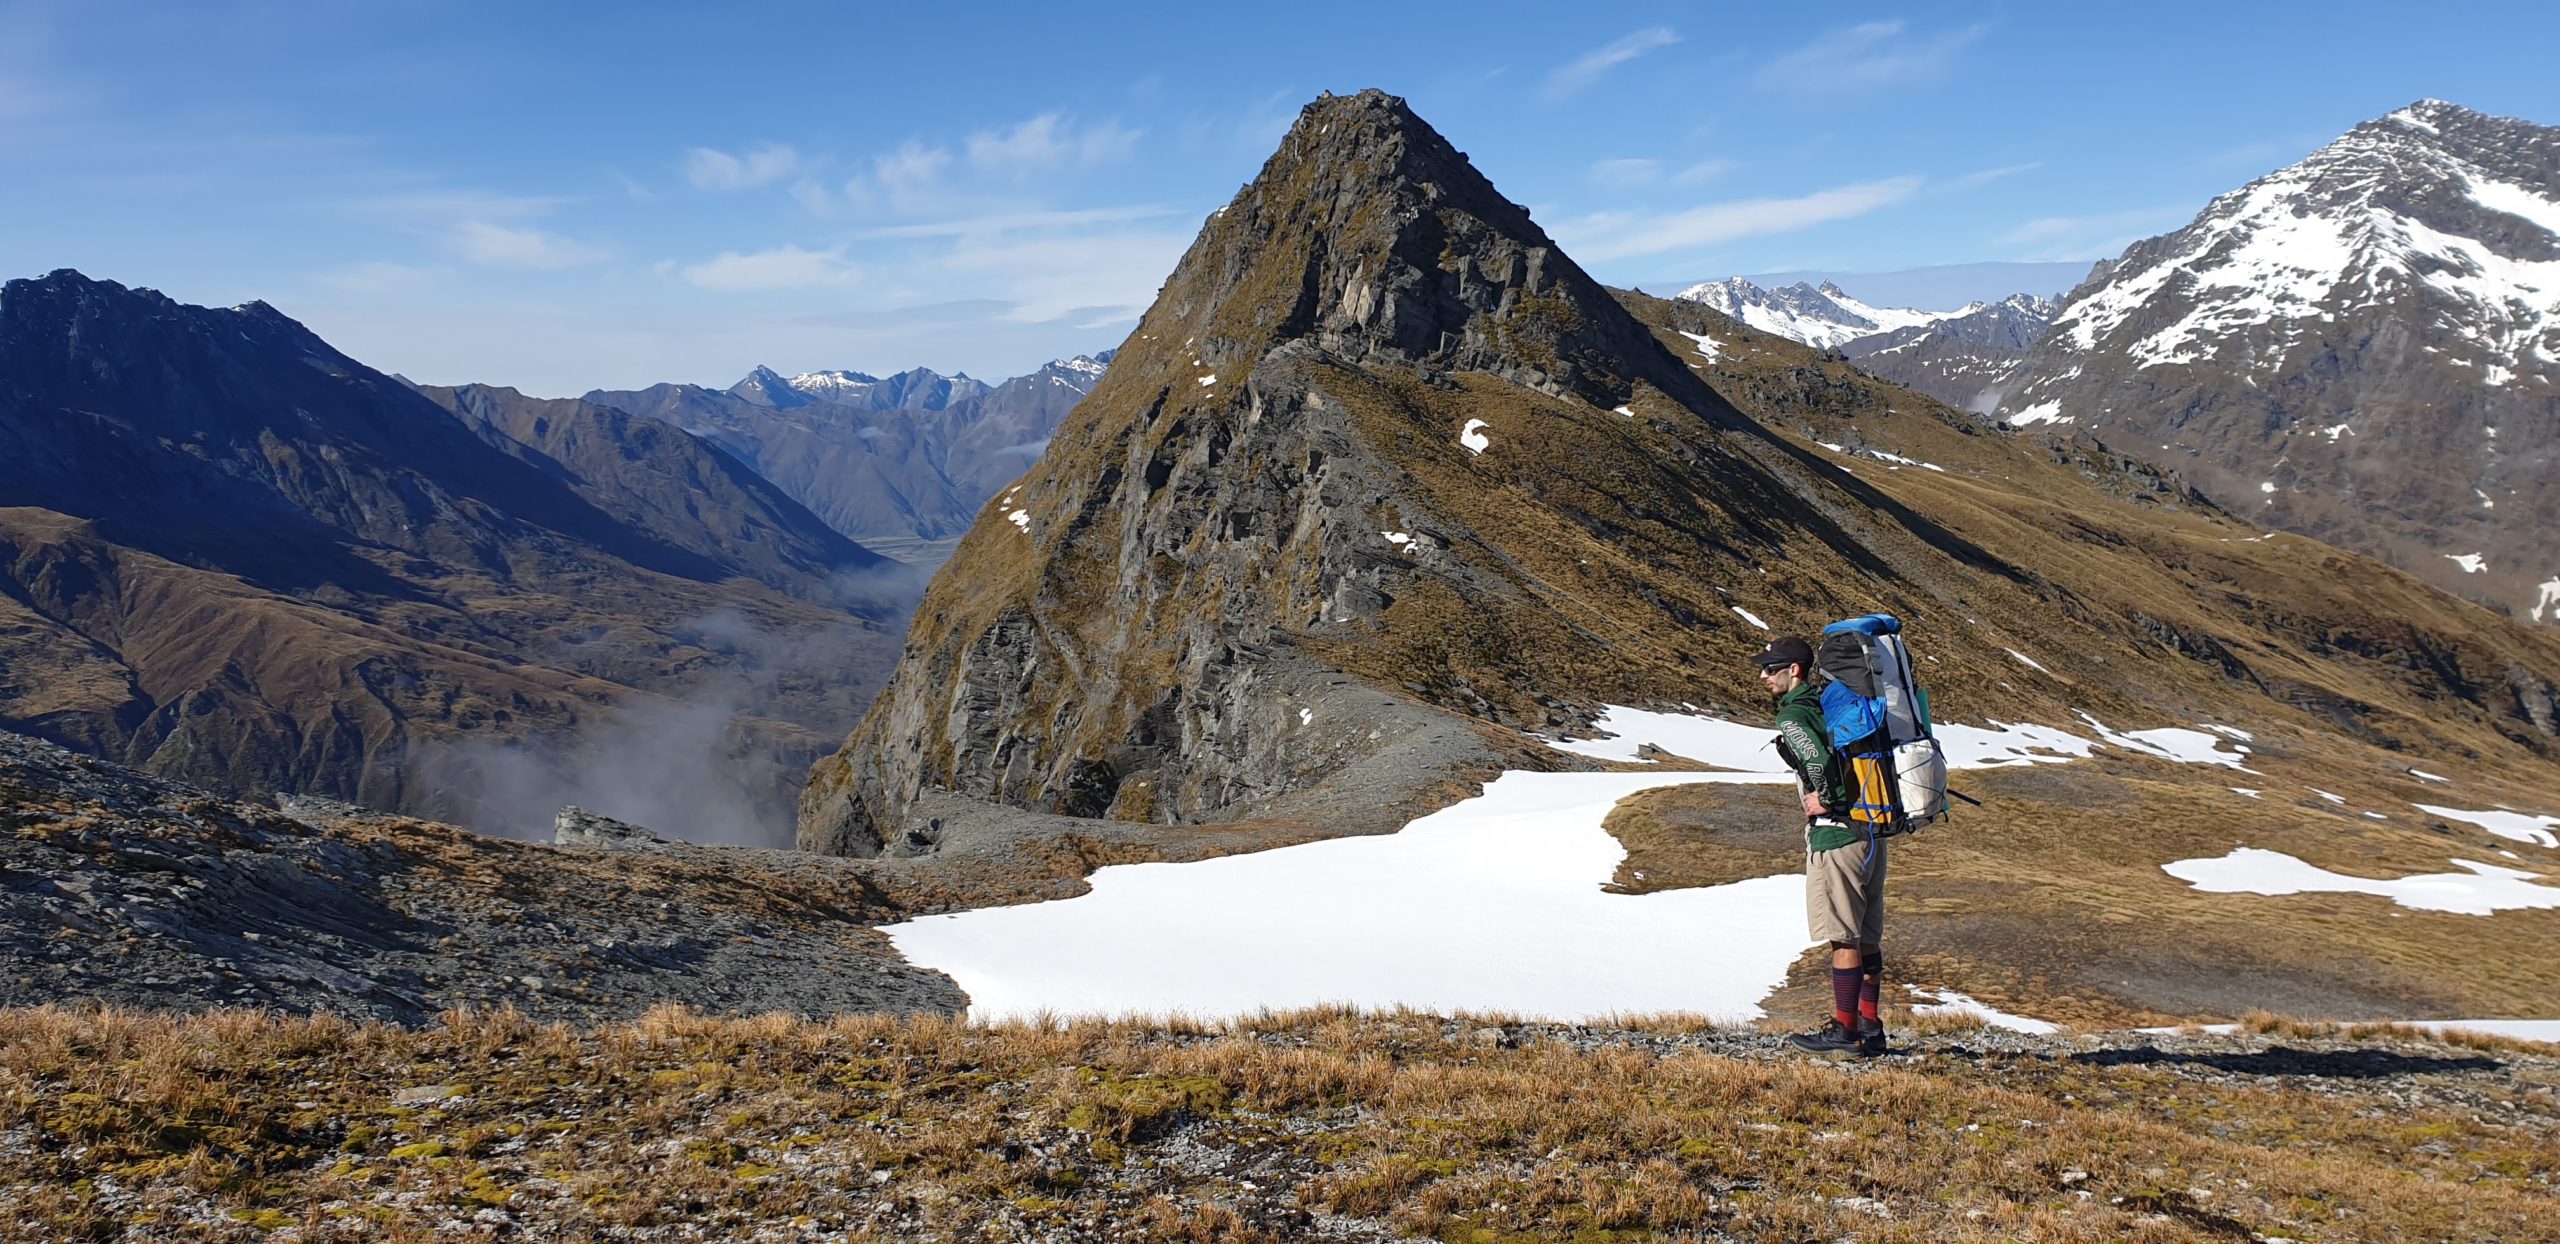
The route then follows the ridge, staying just to the west of the crest.

A the .1690 feature, a line of tussocky bluffs is a crux, but there are several steep ramps to choose from.
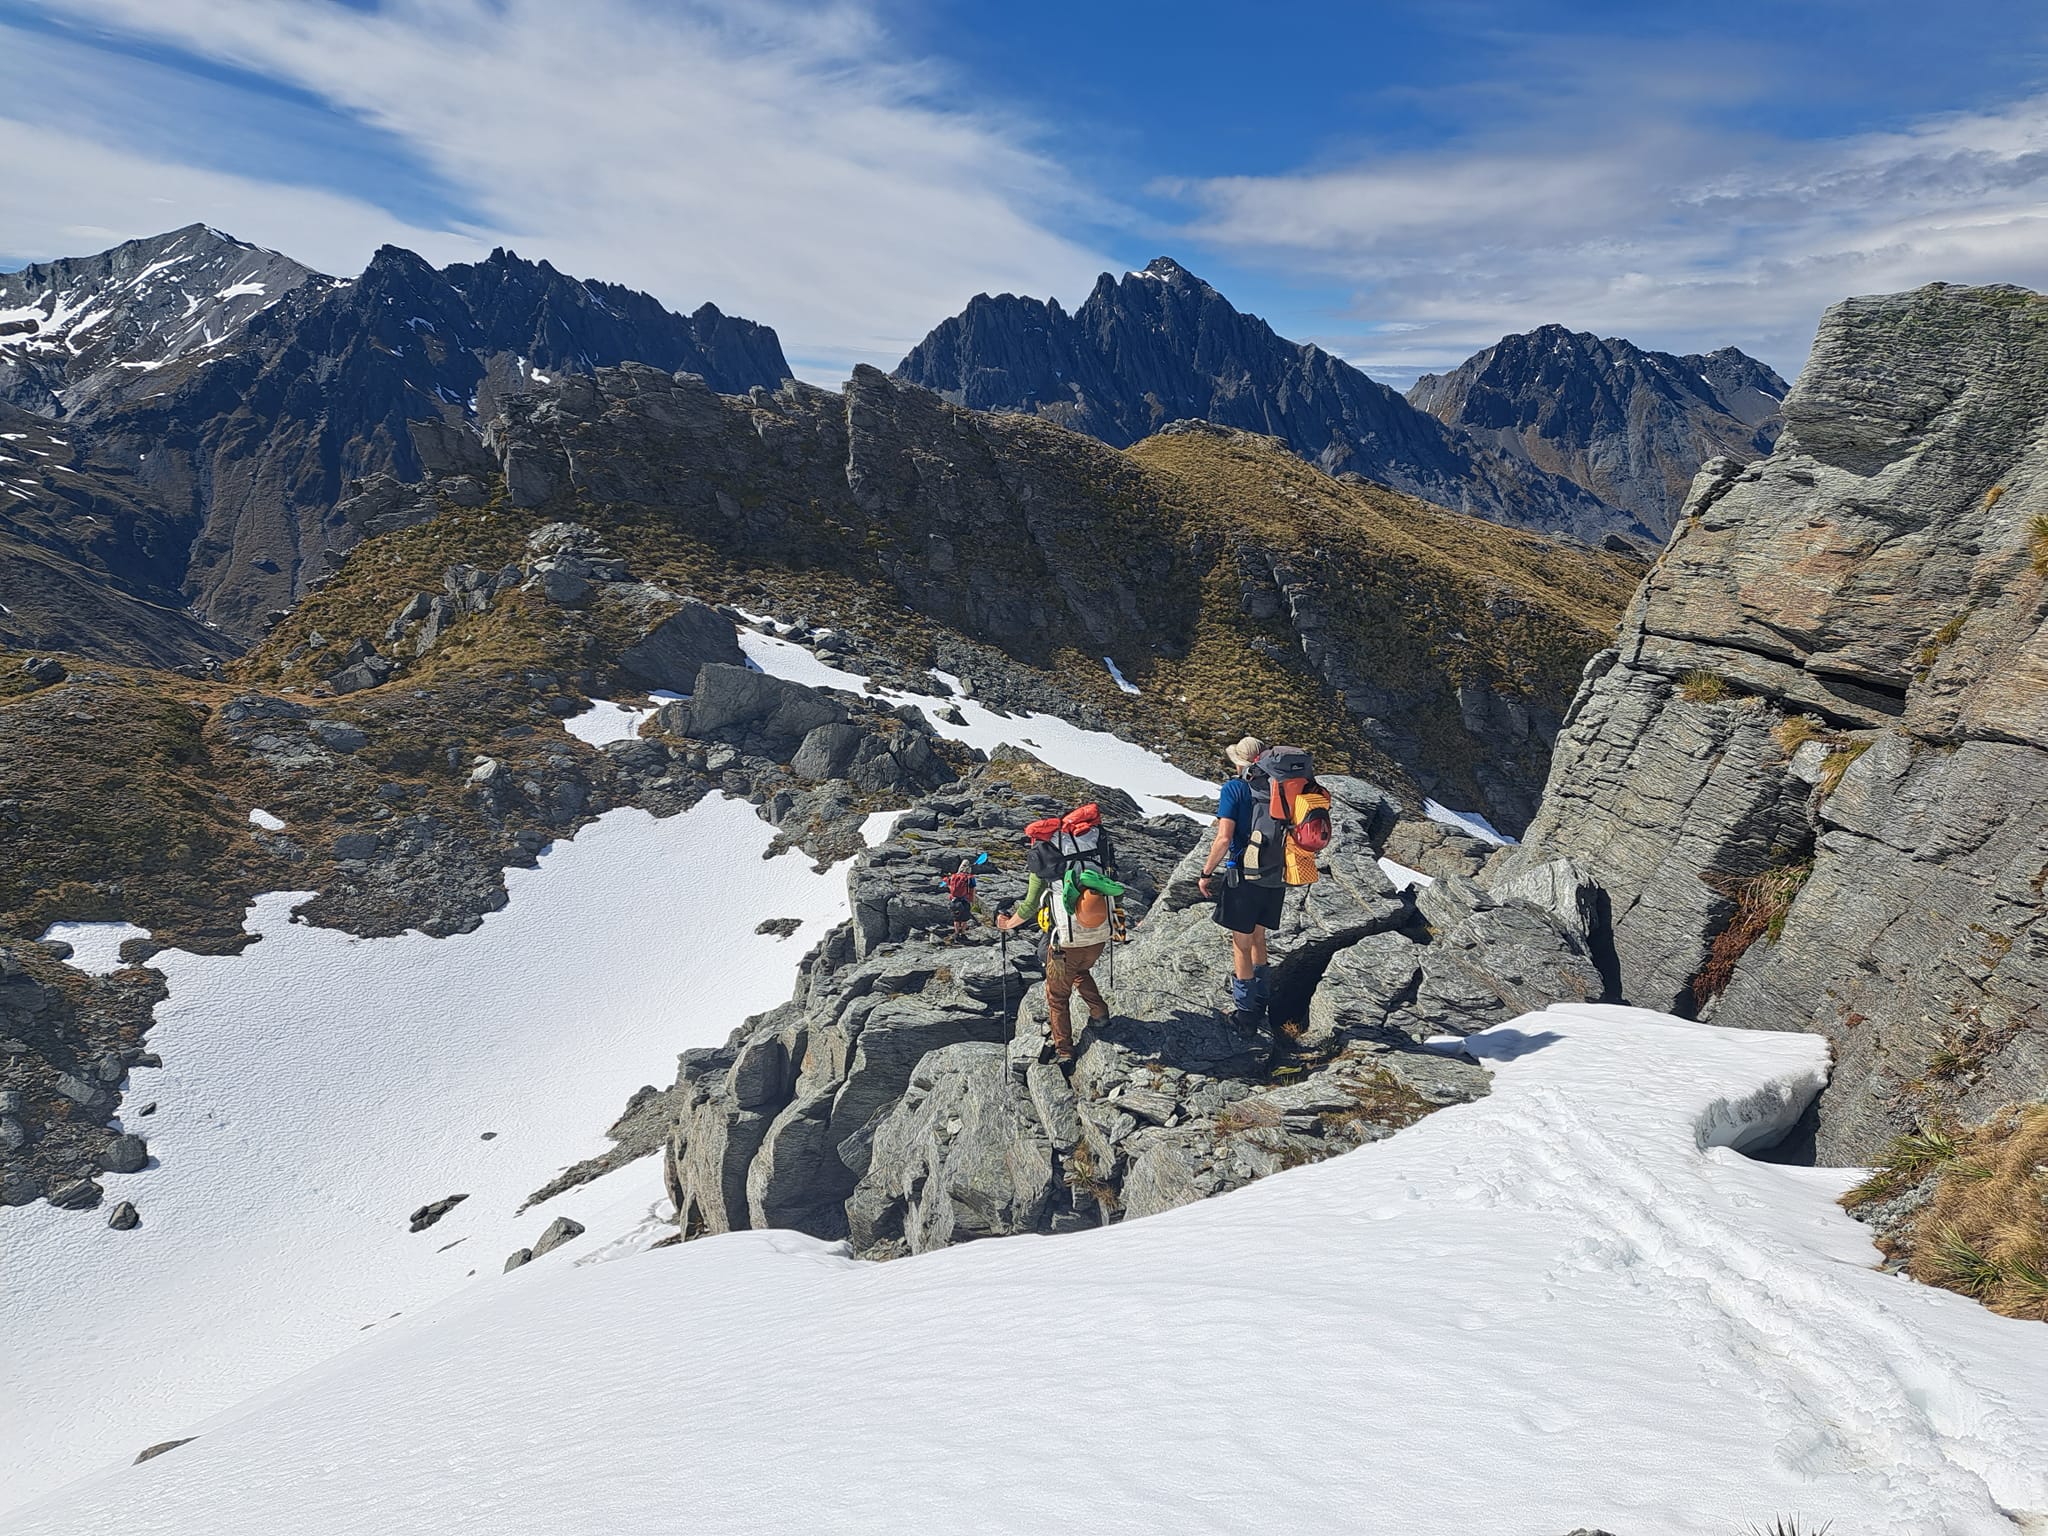
If you can’t get through there, its easy to descend to about 1450m then sidle back to the ridge. In spring there can be lots of hard snow fields on this route, so consider that in your planning.
At 1100m, the two routes combine on the spur overlooking the bluffs into Tummell burn. Looking carefully, you’ll stumble accross a ground pad through the waist high scrub, and a few cairns.
Continue down to 1020m contour to a lone waratah (iron pole) as mentioned in Moirs guide.

If you get the next bit right, its about 1hr from here to the hut.
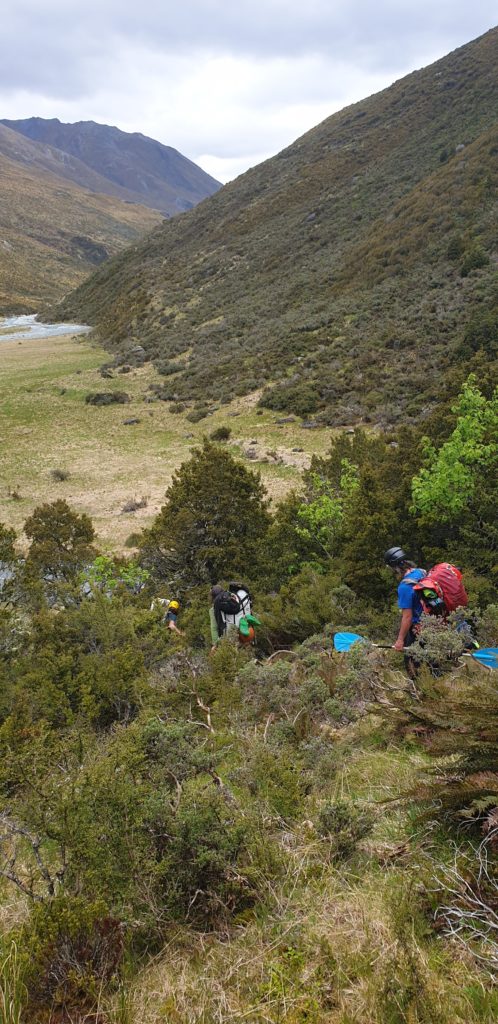
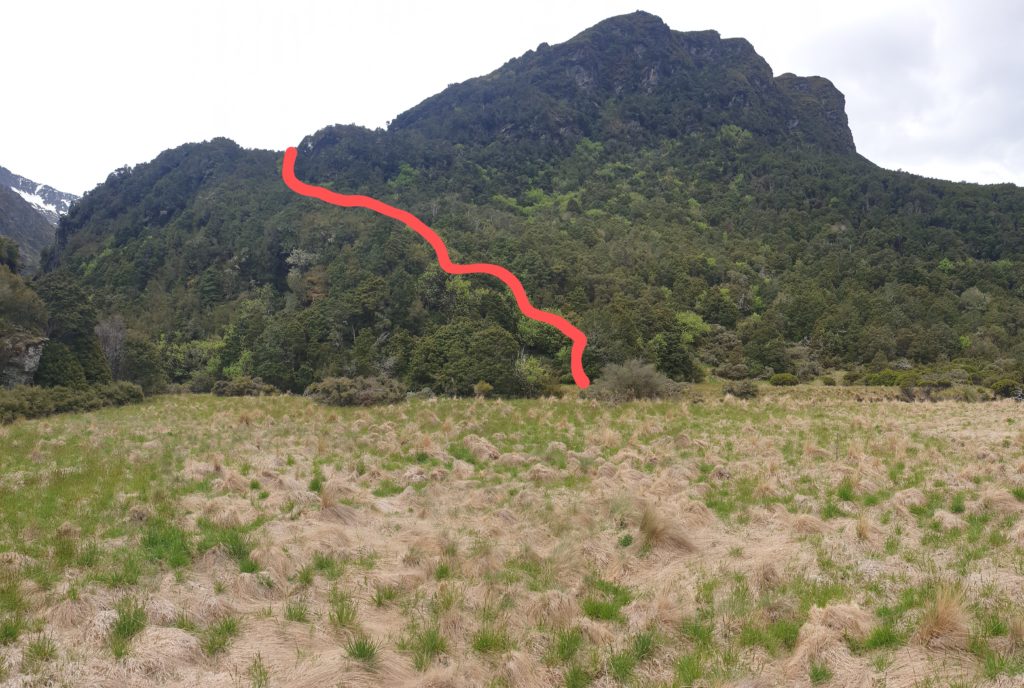
Head west roughly 50m or so through a short bit of thick scrub, until you emerge into a relatively open gully. Descend the gully, which has a few cairns to the bushline. Up till this point, it is reasonably easy to go the right way…..
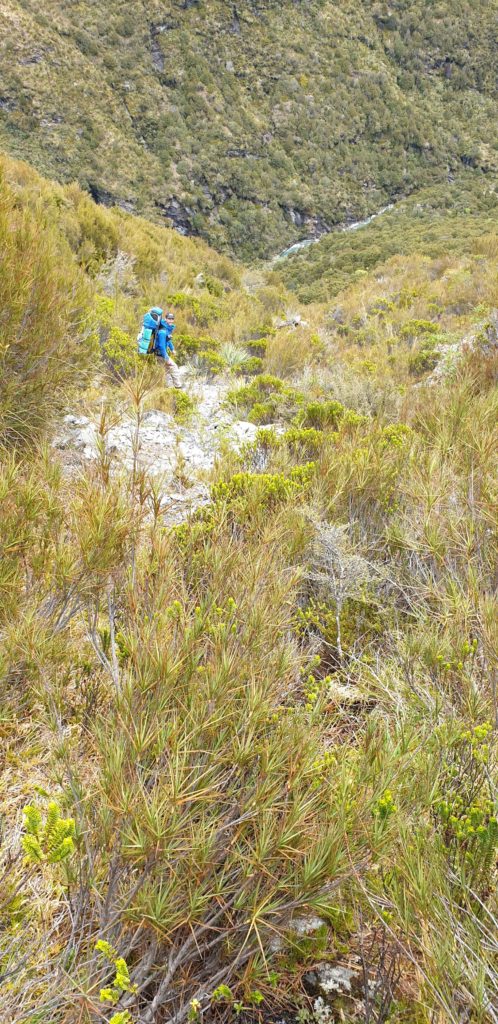
When the gully meets the bush, you might see a bit of permolat in a tree to your left, but either way, sidle east, aiming for the shallow gully on the east side of the lower Tyndall Creek gorge. There are some serious bluffs around if you get off route, so take it easy.
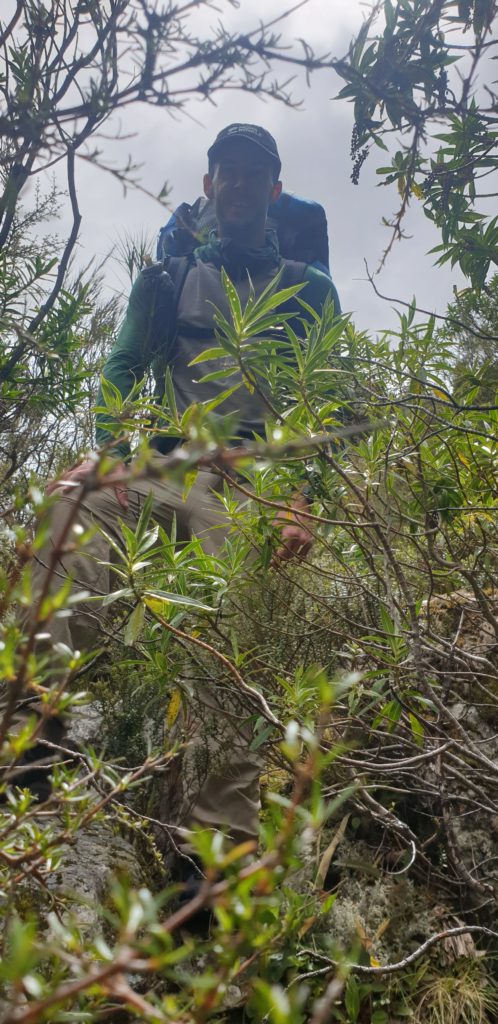
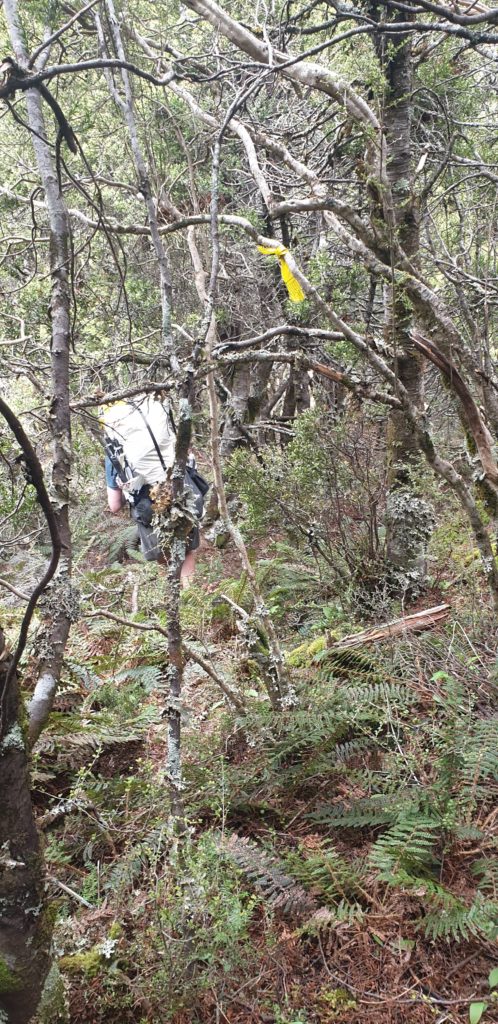
There are sparse markings through the moderate scrub and forest but expect you’ll be following your nose most of the way, and occasionally stumbling on a marker here and there. A GPS is handy, to help guide you into the shallow gully, which leads through relatively open scrub to the flats by the hut.
You can download a GPX of the route we took, but remember, GPS struggles in the bush, and you’ll need to make your own route-finding decisions!
The hut log book has many accounts of people having mini-epics in scrub and bluffs, taking 3 hours or more from the waratah to the hut..
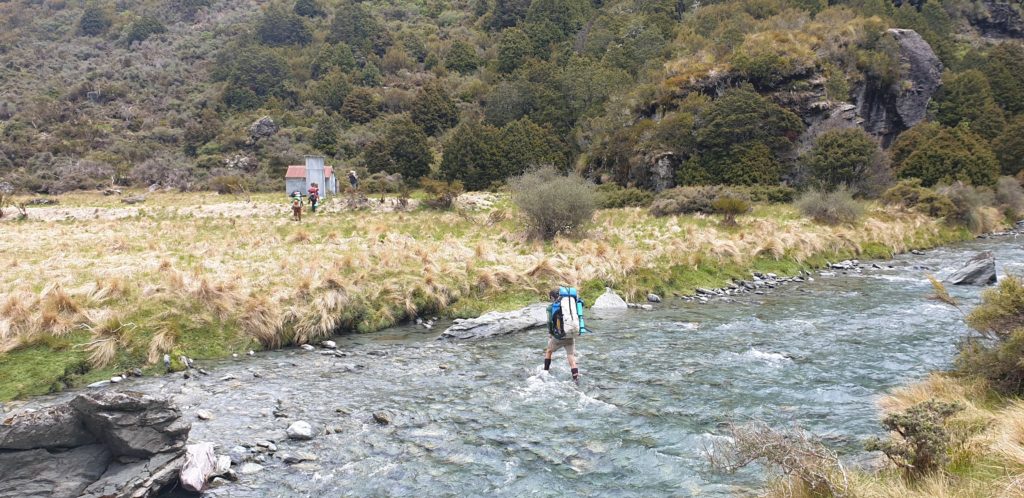
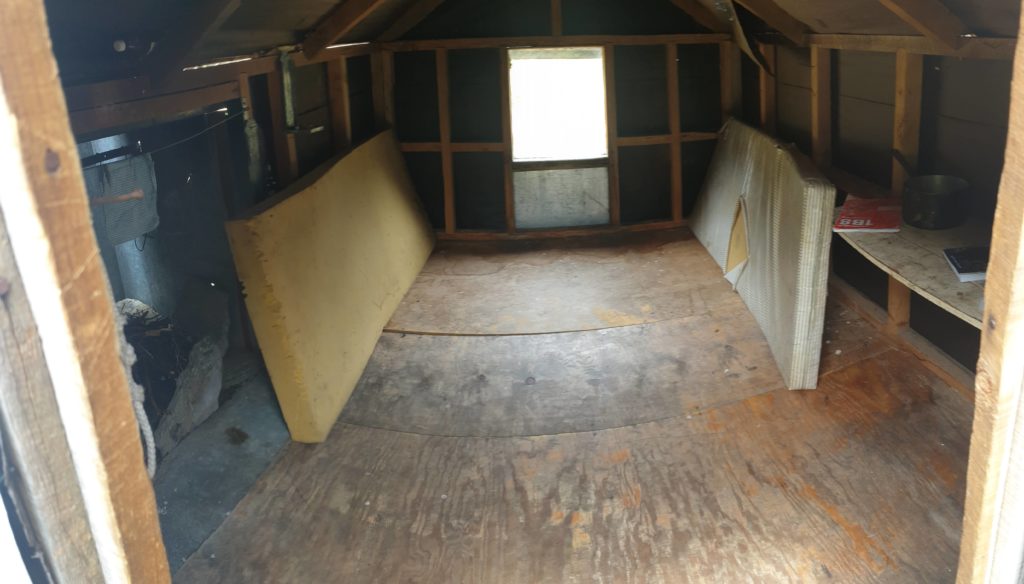
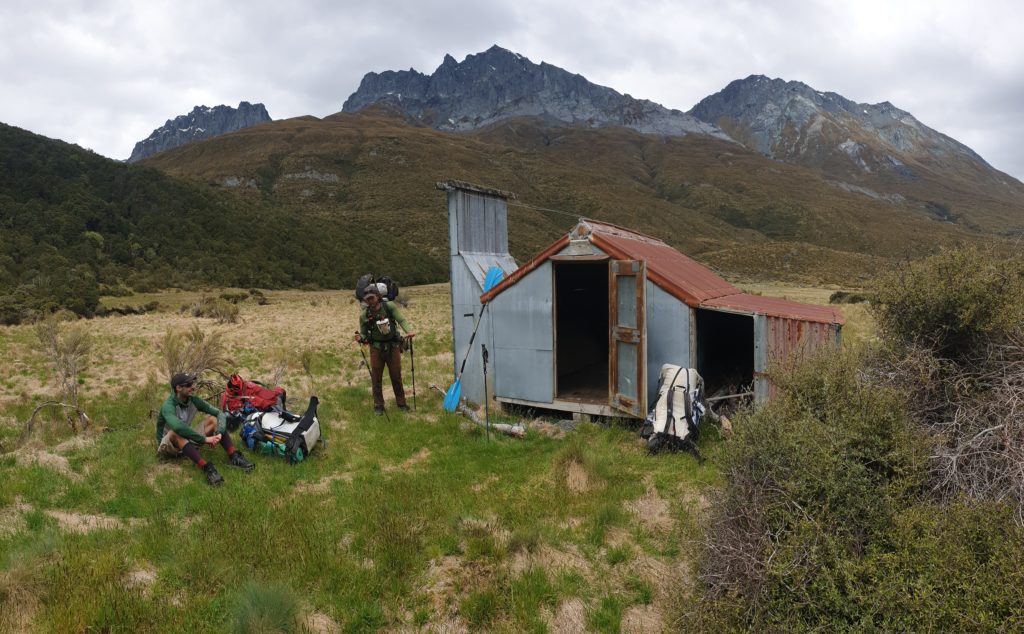
Tummel Burn hut is more of a biv, with a small fireplace and floor space for 4 people. Permission is required from Branches Station to stay here.
Tummel Burn Hut to start of Lochnagar Track 3hrs ( if walking)
In low summer flows, a gorge just below “The Forks” is best negotiated by rockhoping mostly on the true left. In spring flows, part way through the gorge you’ll notice a more appealing route through scrub and grassy leads on the true left. Either way take about an hour. The gorge would be grade IV or more if it had the water to paddle it…
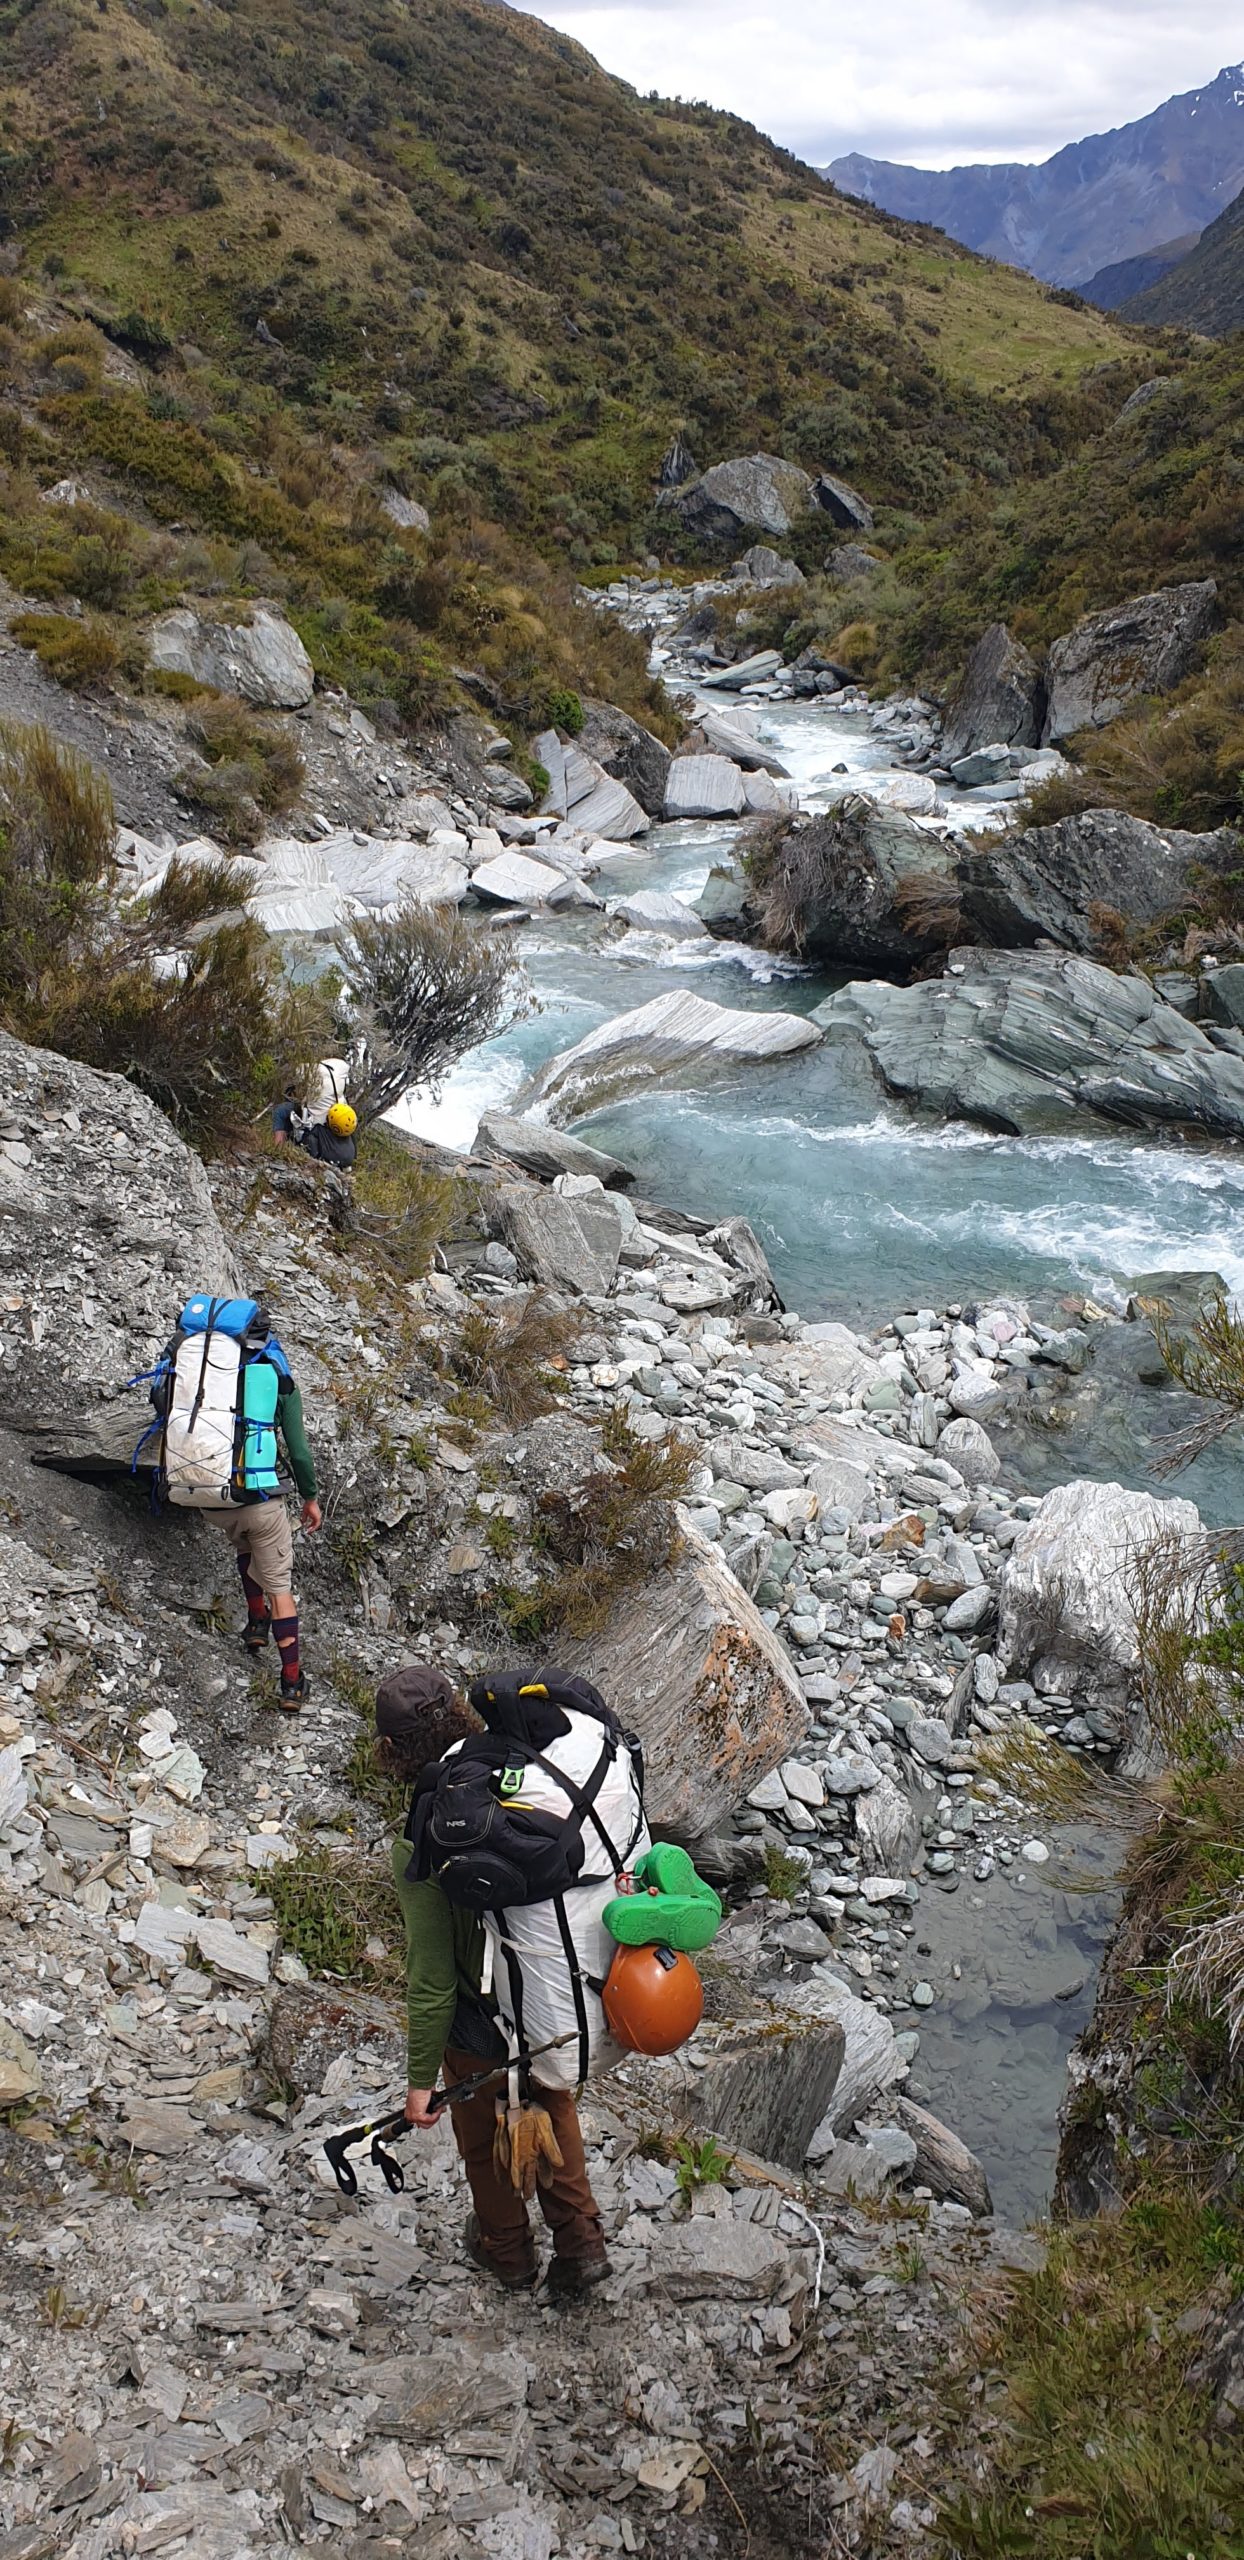
Beneath the gorge, either paddle if there’s enough water, or follow your nose down valley, crossing as needed.
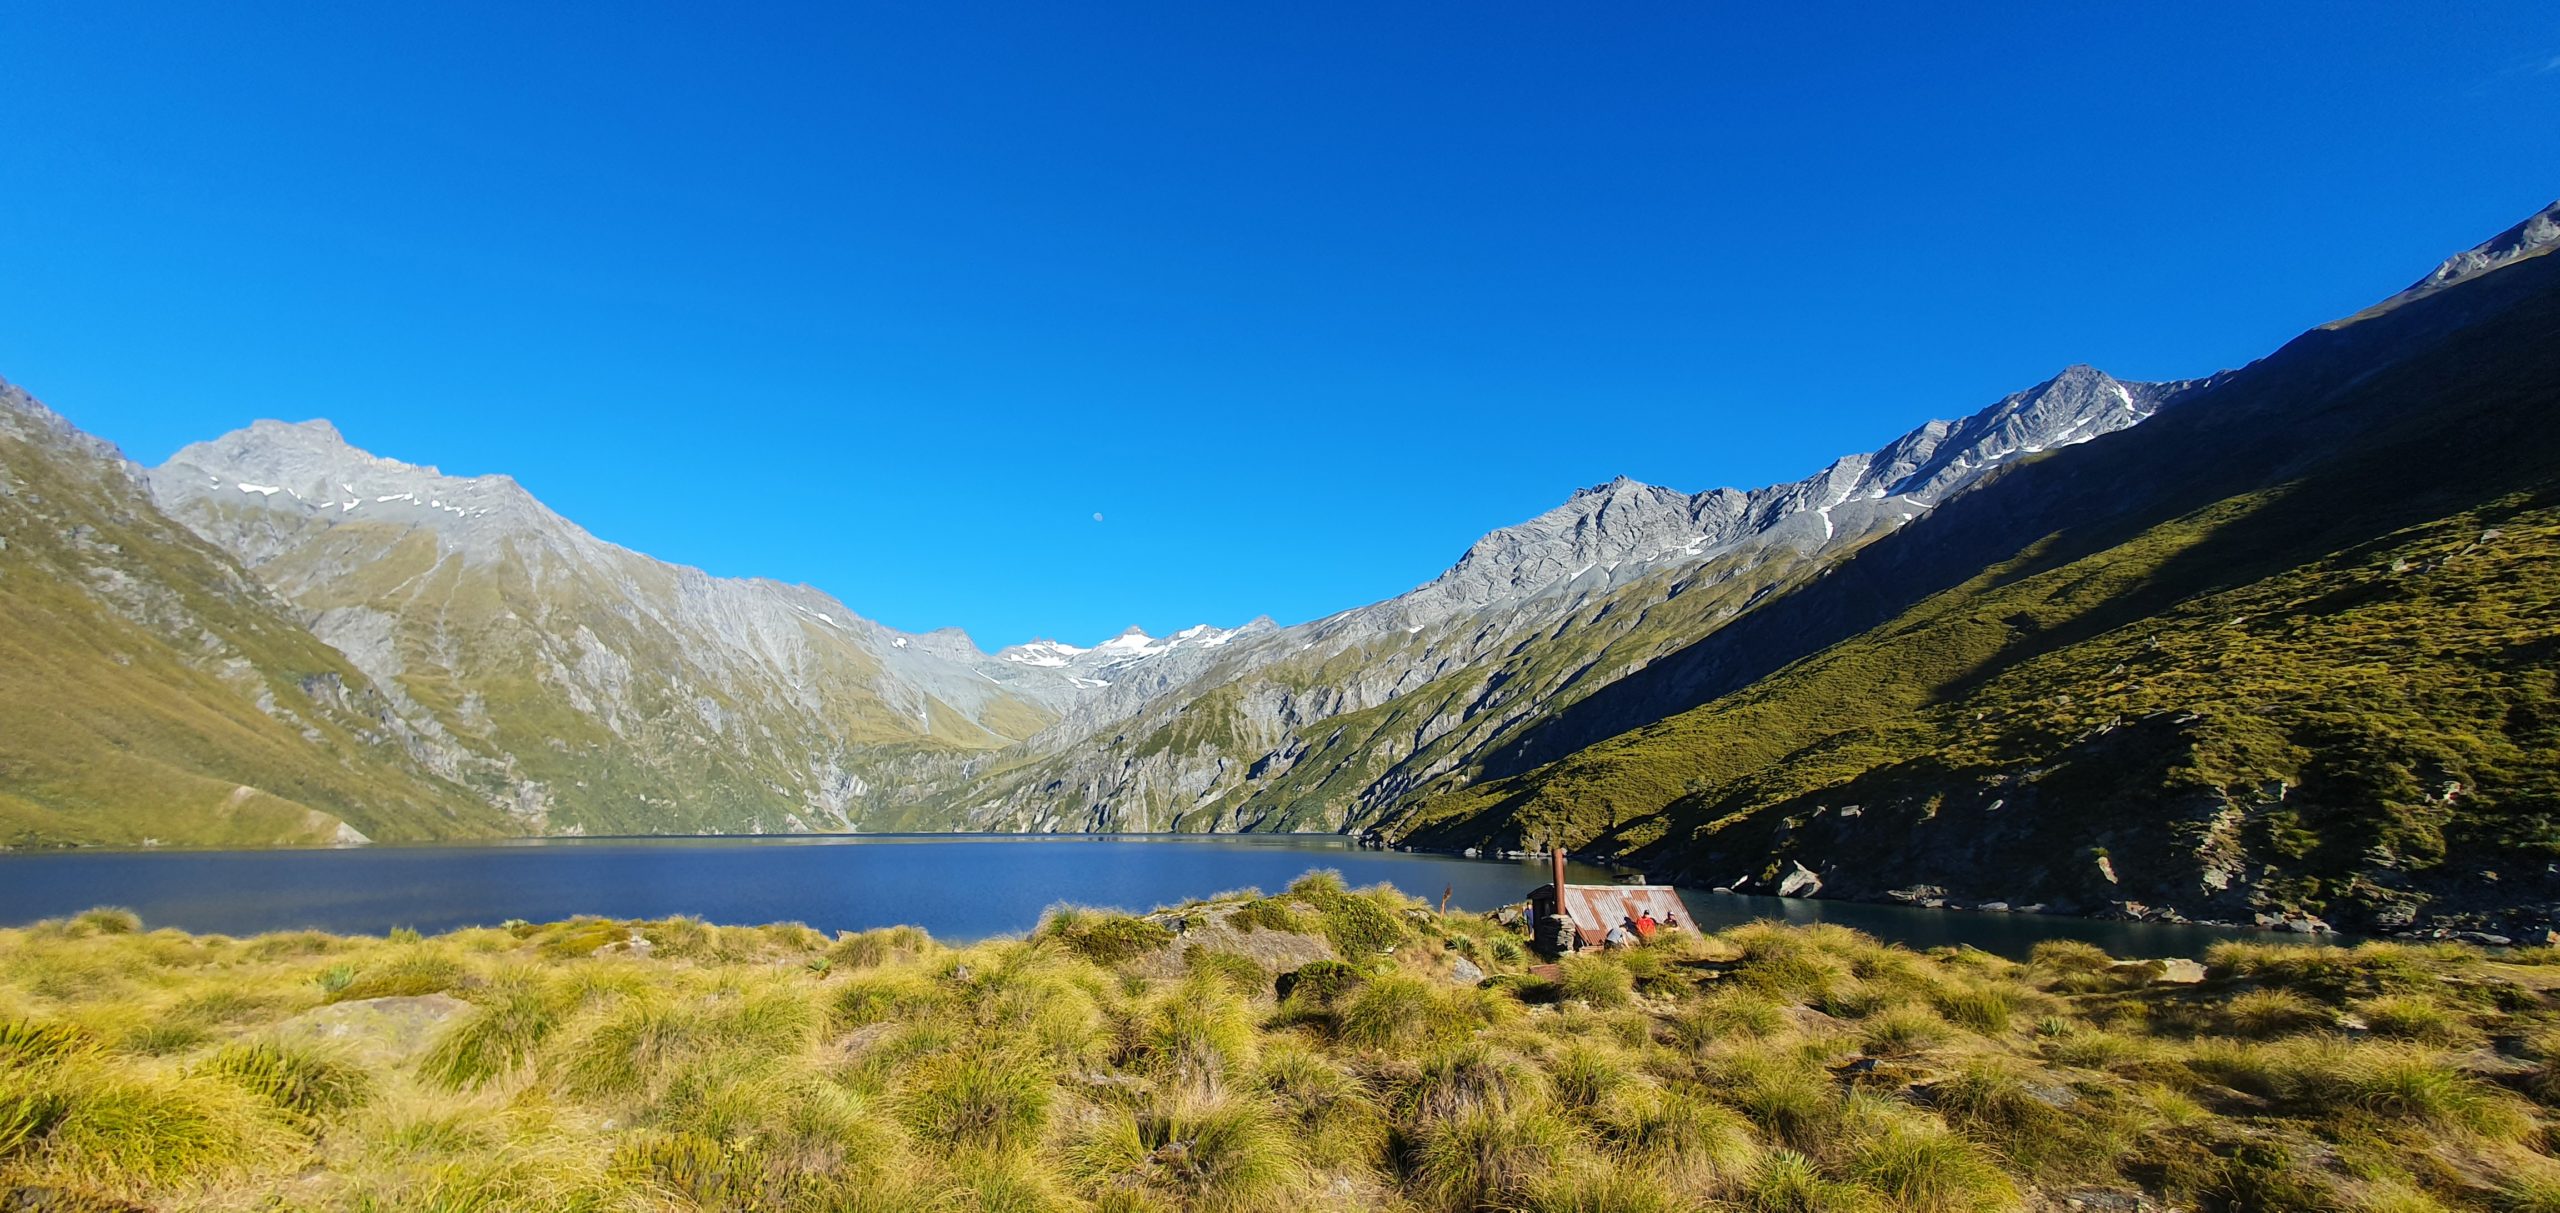
Side trip to Lochnagar 4-5hrs return
Take the track marked on the map up Lake Creek, which peters out into a route which is reasonably well marked and easy to follow. Moirs Guide has more detailed descriptions. Permission is required from Branches Station to stay at Lochnagar Hut (4 bunks).
From Arthurs Point
Driving the Branches Road 1hr
This is an adventure in itself, requiring a 4WD, dry conditions and a stomach for narrow roads above large bluffs. The fact that rental cars aren’t insured on this road should tell you something…
As you drive in, its worth popping in to Skippers Canyon Jets to let them know you’ll be on the water in the near future.
From Arthurs Point, head up the Coronet Peak Road, then follow the signs towards Skippers Canyon. Allow at least 1 hour from Arthurs Point through to MacLeods, more if you’d like to stope and explore the historic sites at Skippers Village.
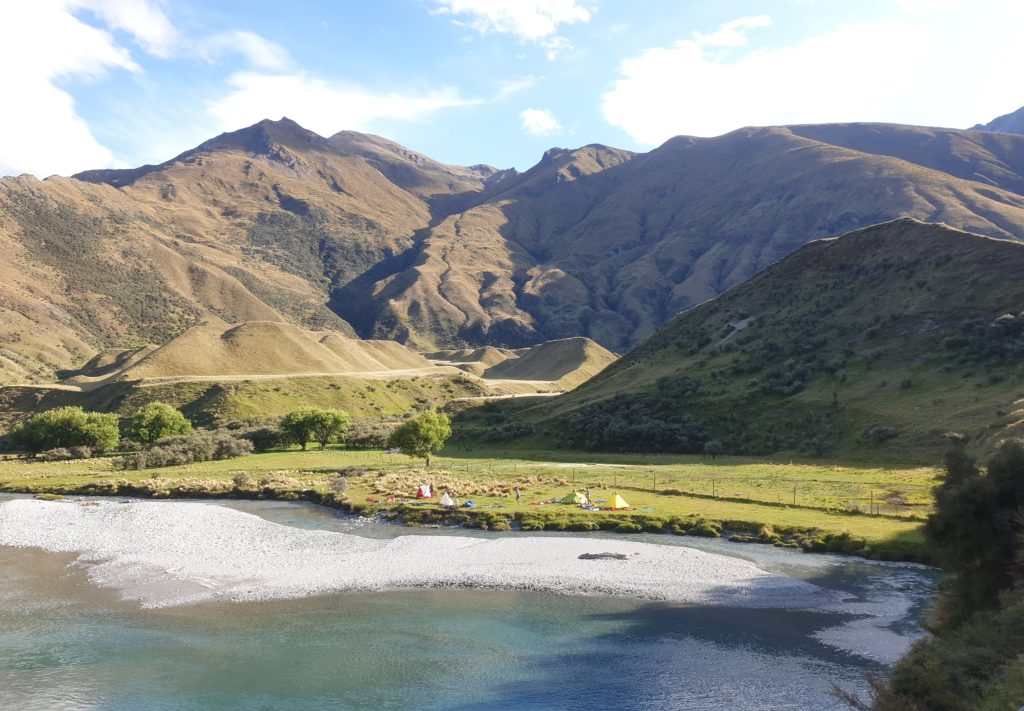
Branches Station to Greenland Spur willows campsite 4-5hrs
From here, permission is required from Branches Station. (See ‘planning and permission section for more info).
If permission is granted, it is important to follow the instructions given by the Farm Manager regarding where to walk. In 2021, the instructions were as follows, but please check when you are requesting permission.
You must not use the main farm track which heads up to ‘The Amphitheatre’
From the road end, follow the farm track which heads to the A3J8 trig feature. When the farm track peters out, follow the true left bank, staying within marginal strip boundary, and certainly on the river-side of any fence line.
Continue following close to the true left bank, until the Shiel Burn. From here, permission is generally granted to use the 4WD farm track up valley.
Visitors should visit the Herenga ā Nuku / Walking Access Commission online mapping tool to understand the private property boundaries. It is worth noting that these maps also show the location of marginal strips (aka ‘Queens Chain’). These technically provide legal public access along much of the river banks. However, the location of the marginal strip often doesn’t correspond with land that is convenient or even possible to actually walk along (ie, they run along the gorge cliff tops in several places). So permission from Branches Station is indeed required to complete the upper sections of this trip.
Mostly you can see the rapids during the walk in, but if you try to look into the gorges you won’t see everything.
At Greenland Spur, use the stock bridge to cross to the true right, and with permission, enjoy good camping near willow trees on the true right bank.
Greenland Spur Willows to Lochnagar track start. 1.5-2hrs
Continue up valley on the true right marginal strip. Then, near Seventeen Mile Creek, follow the 4WD track over to the true left. Take a look at the upper rapids of II/II+ as you walk onto the Lochnagar track junction.
The paddling in detail
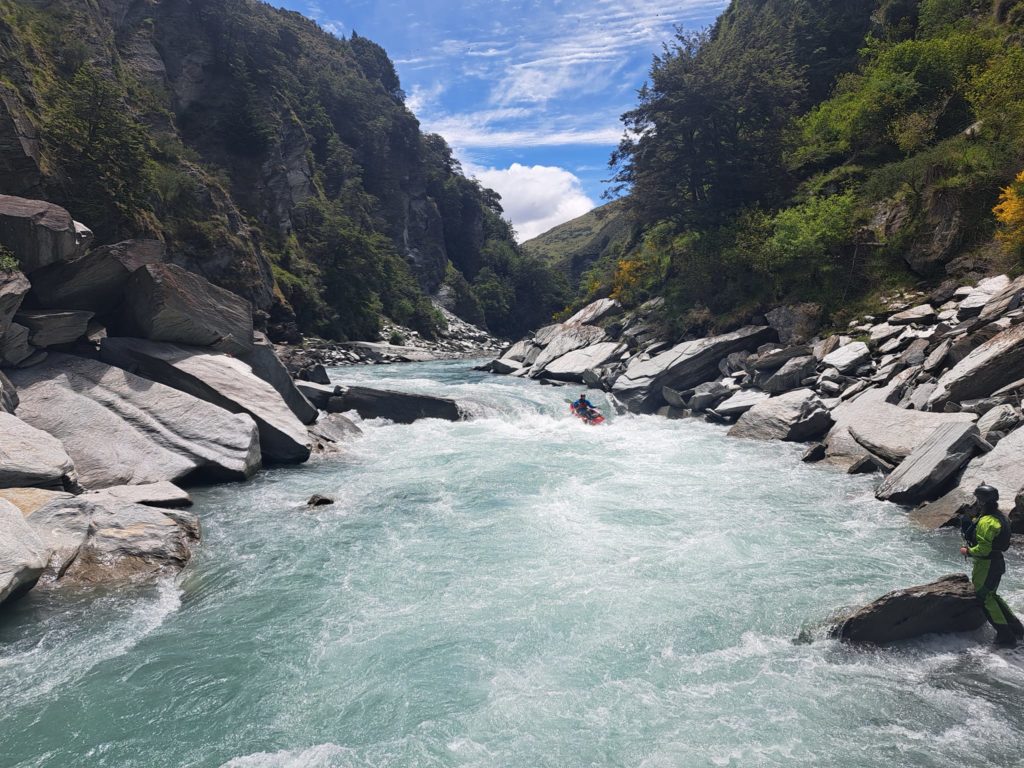
The headwaters to MacLeods campsite (I/II/III) “occasional packrafters”
When flows are suitable for the trip, parties can usually put on around Pine Creek Flat. If its a bit bony, you’ll appreciate the extra water after the confluence of Lake Creek (which comes from Lochnagar).
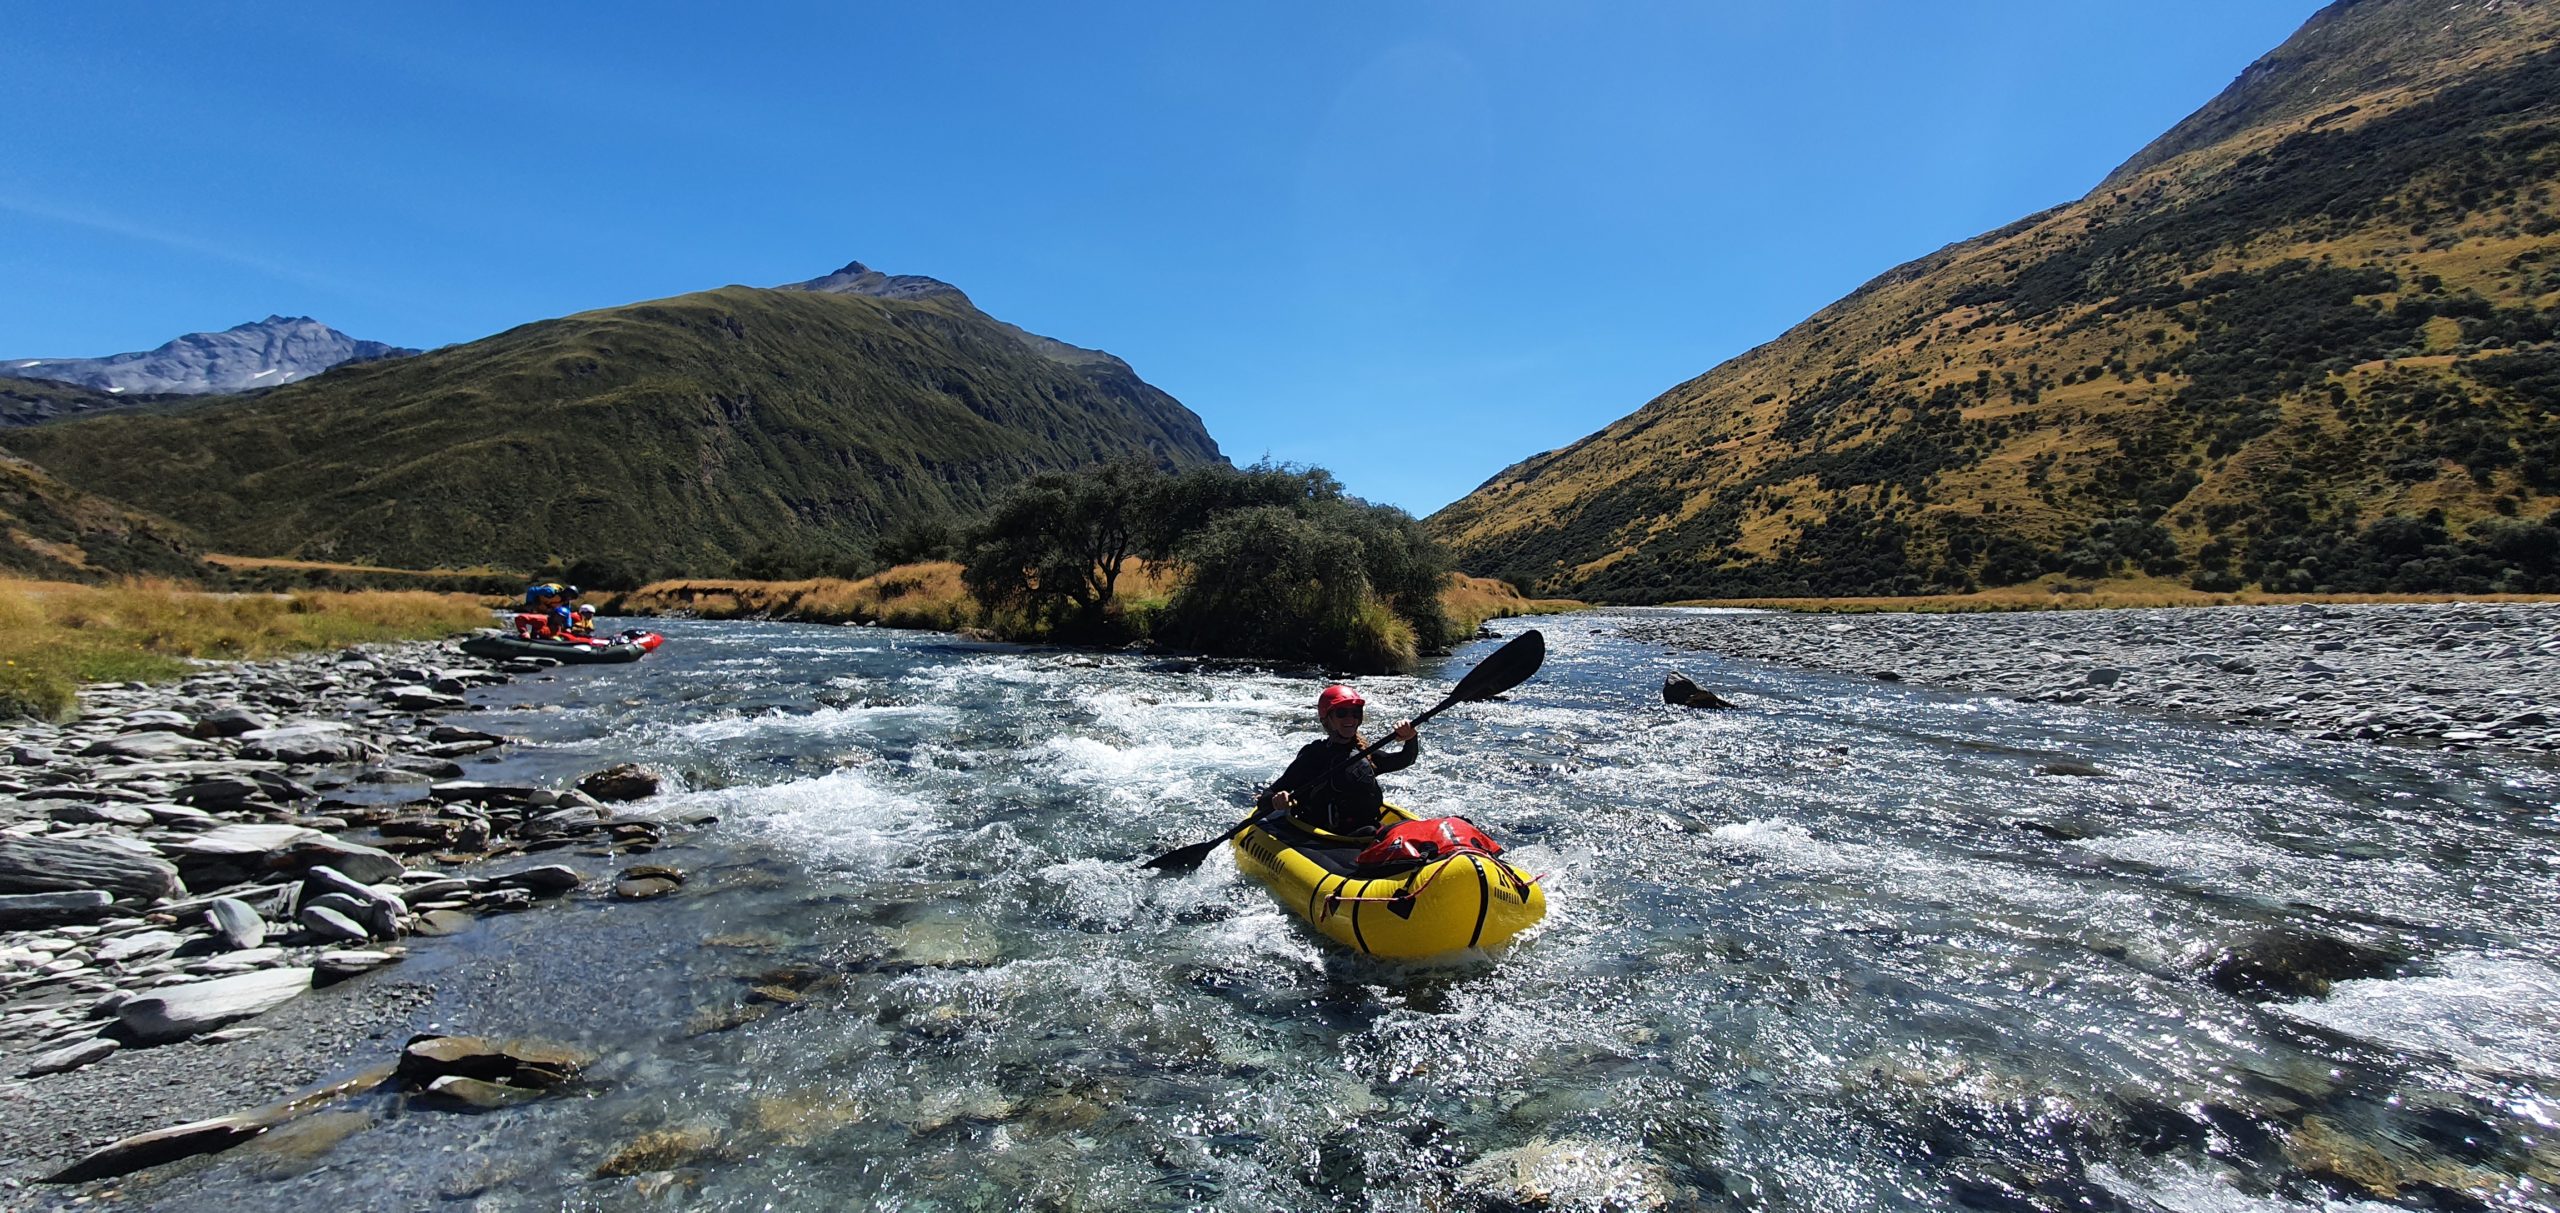
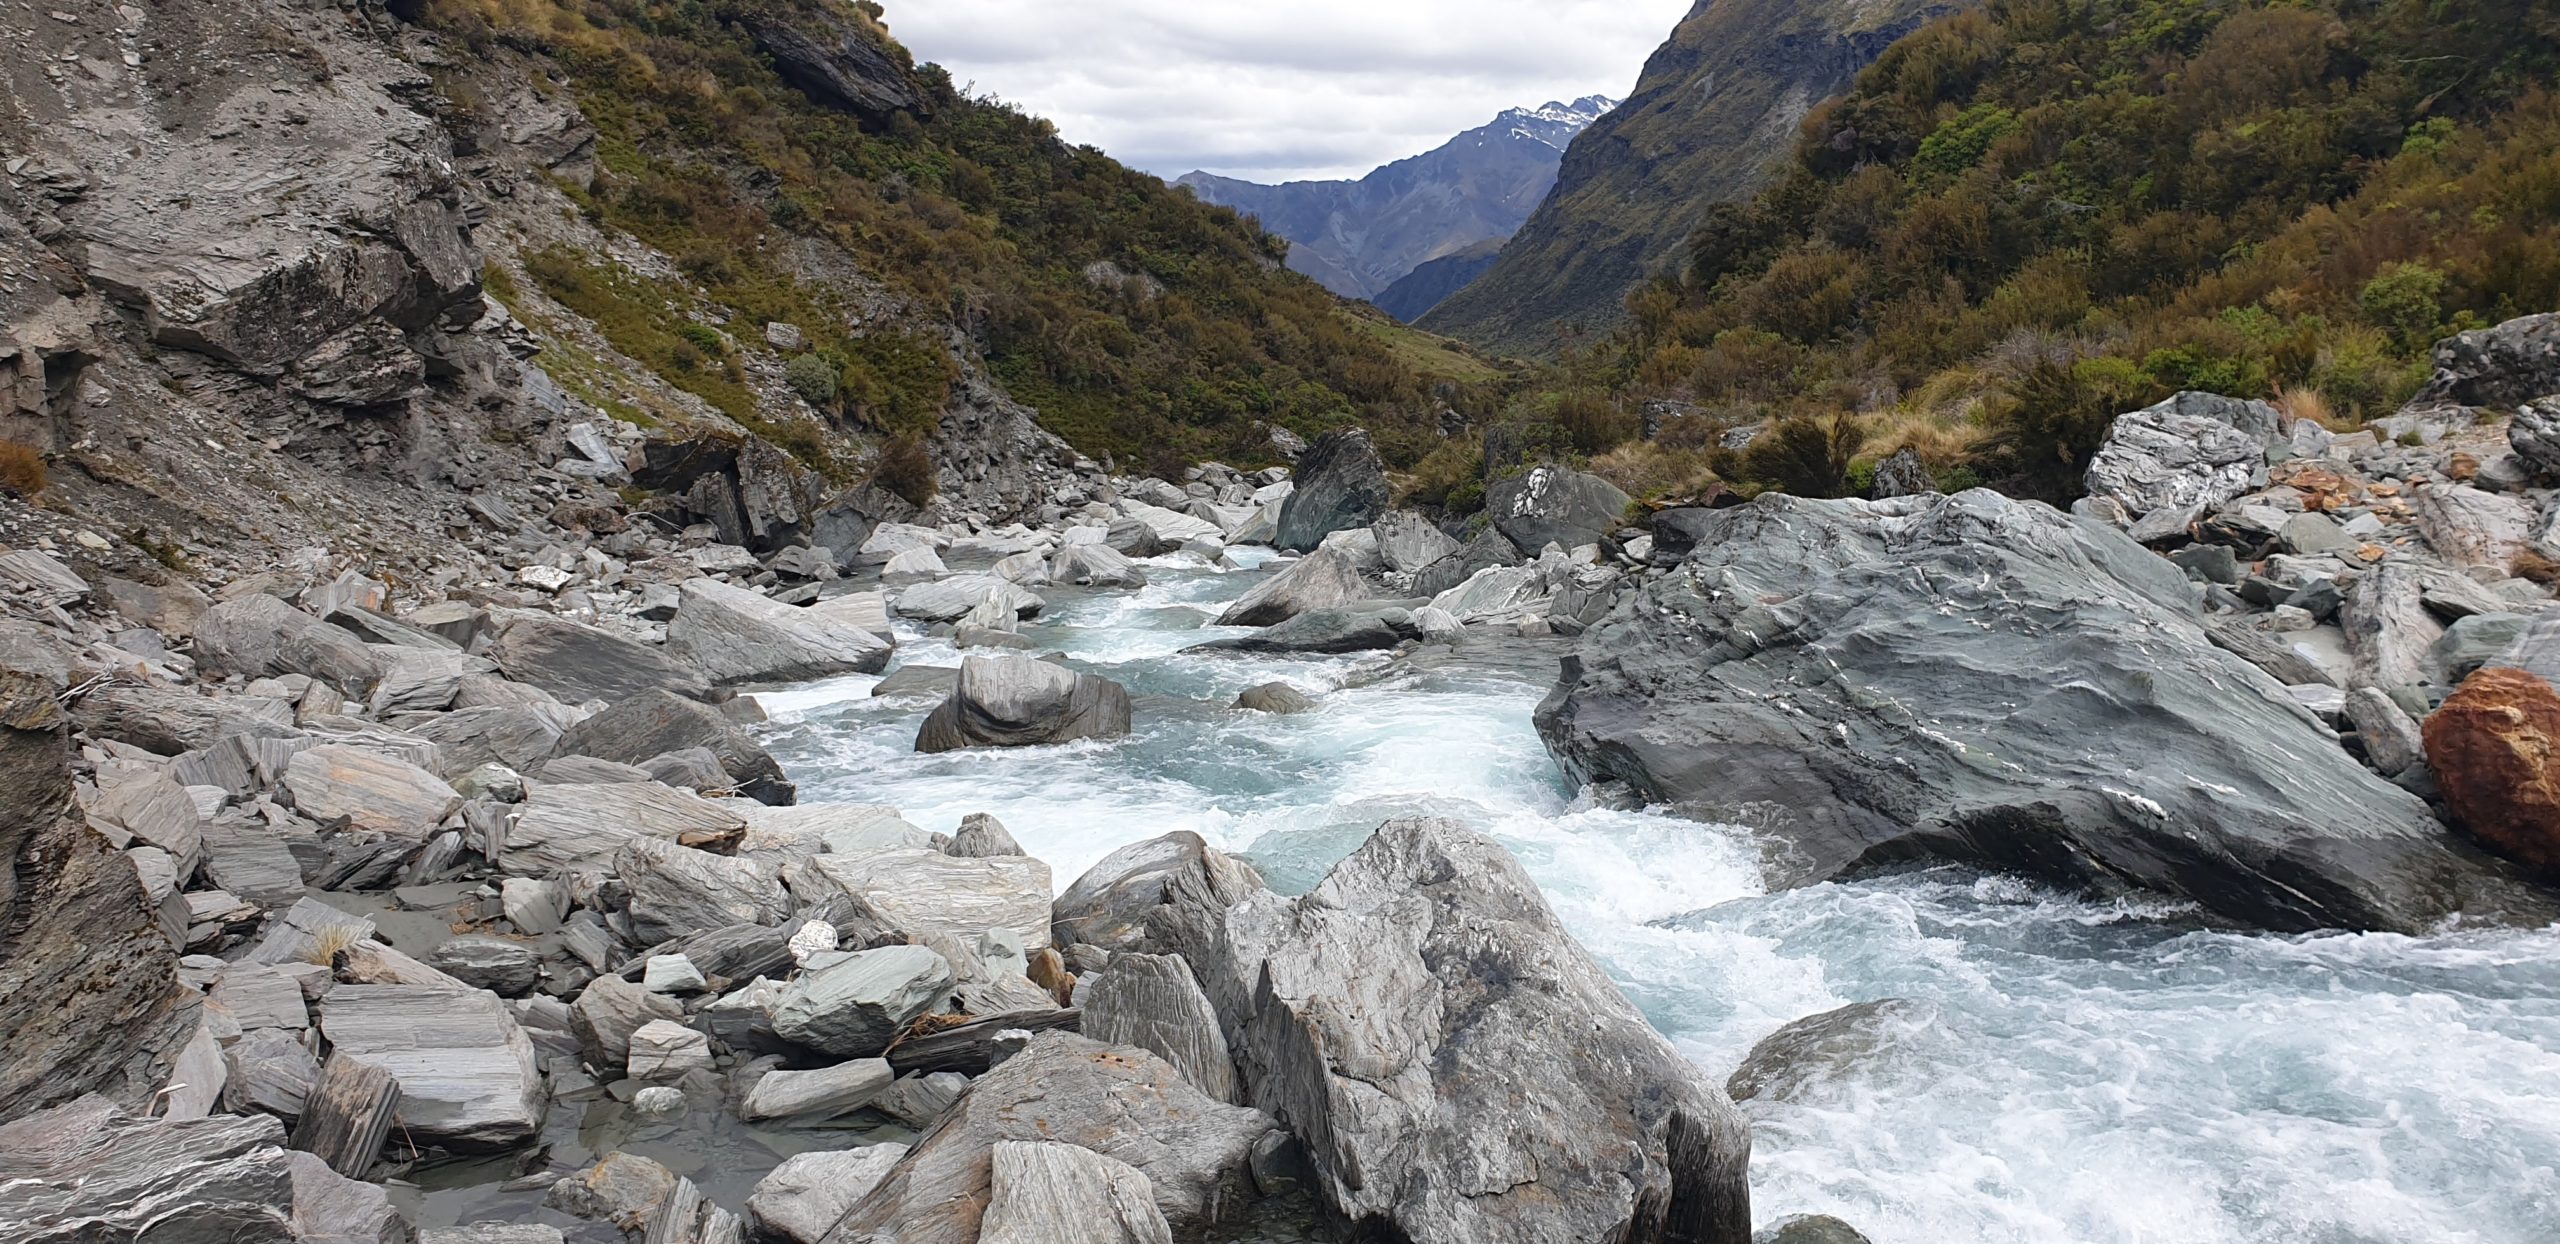
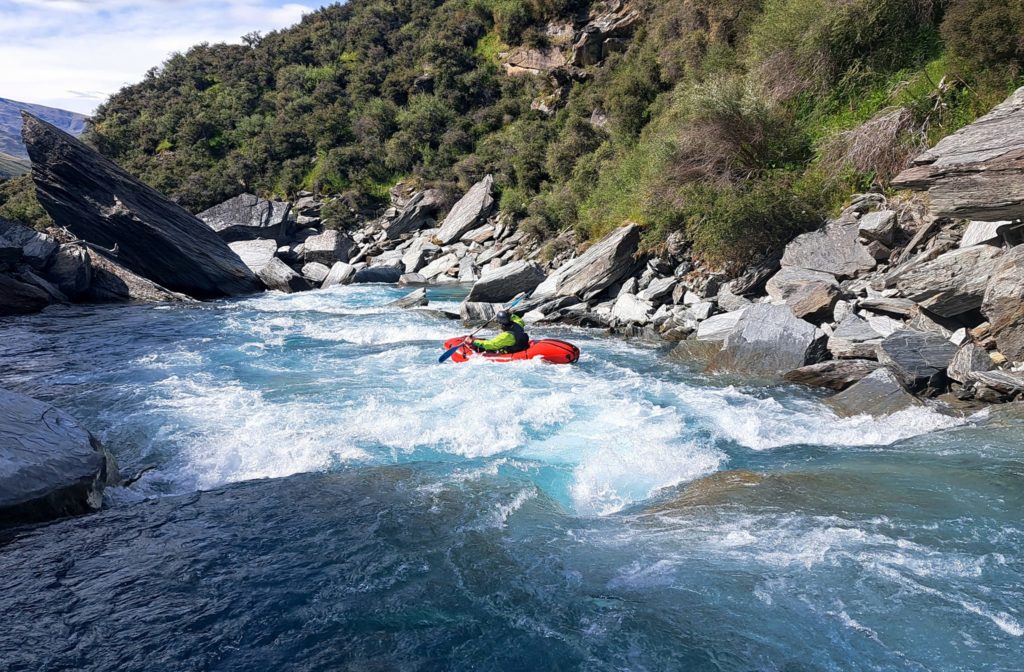
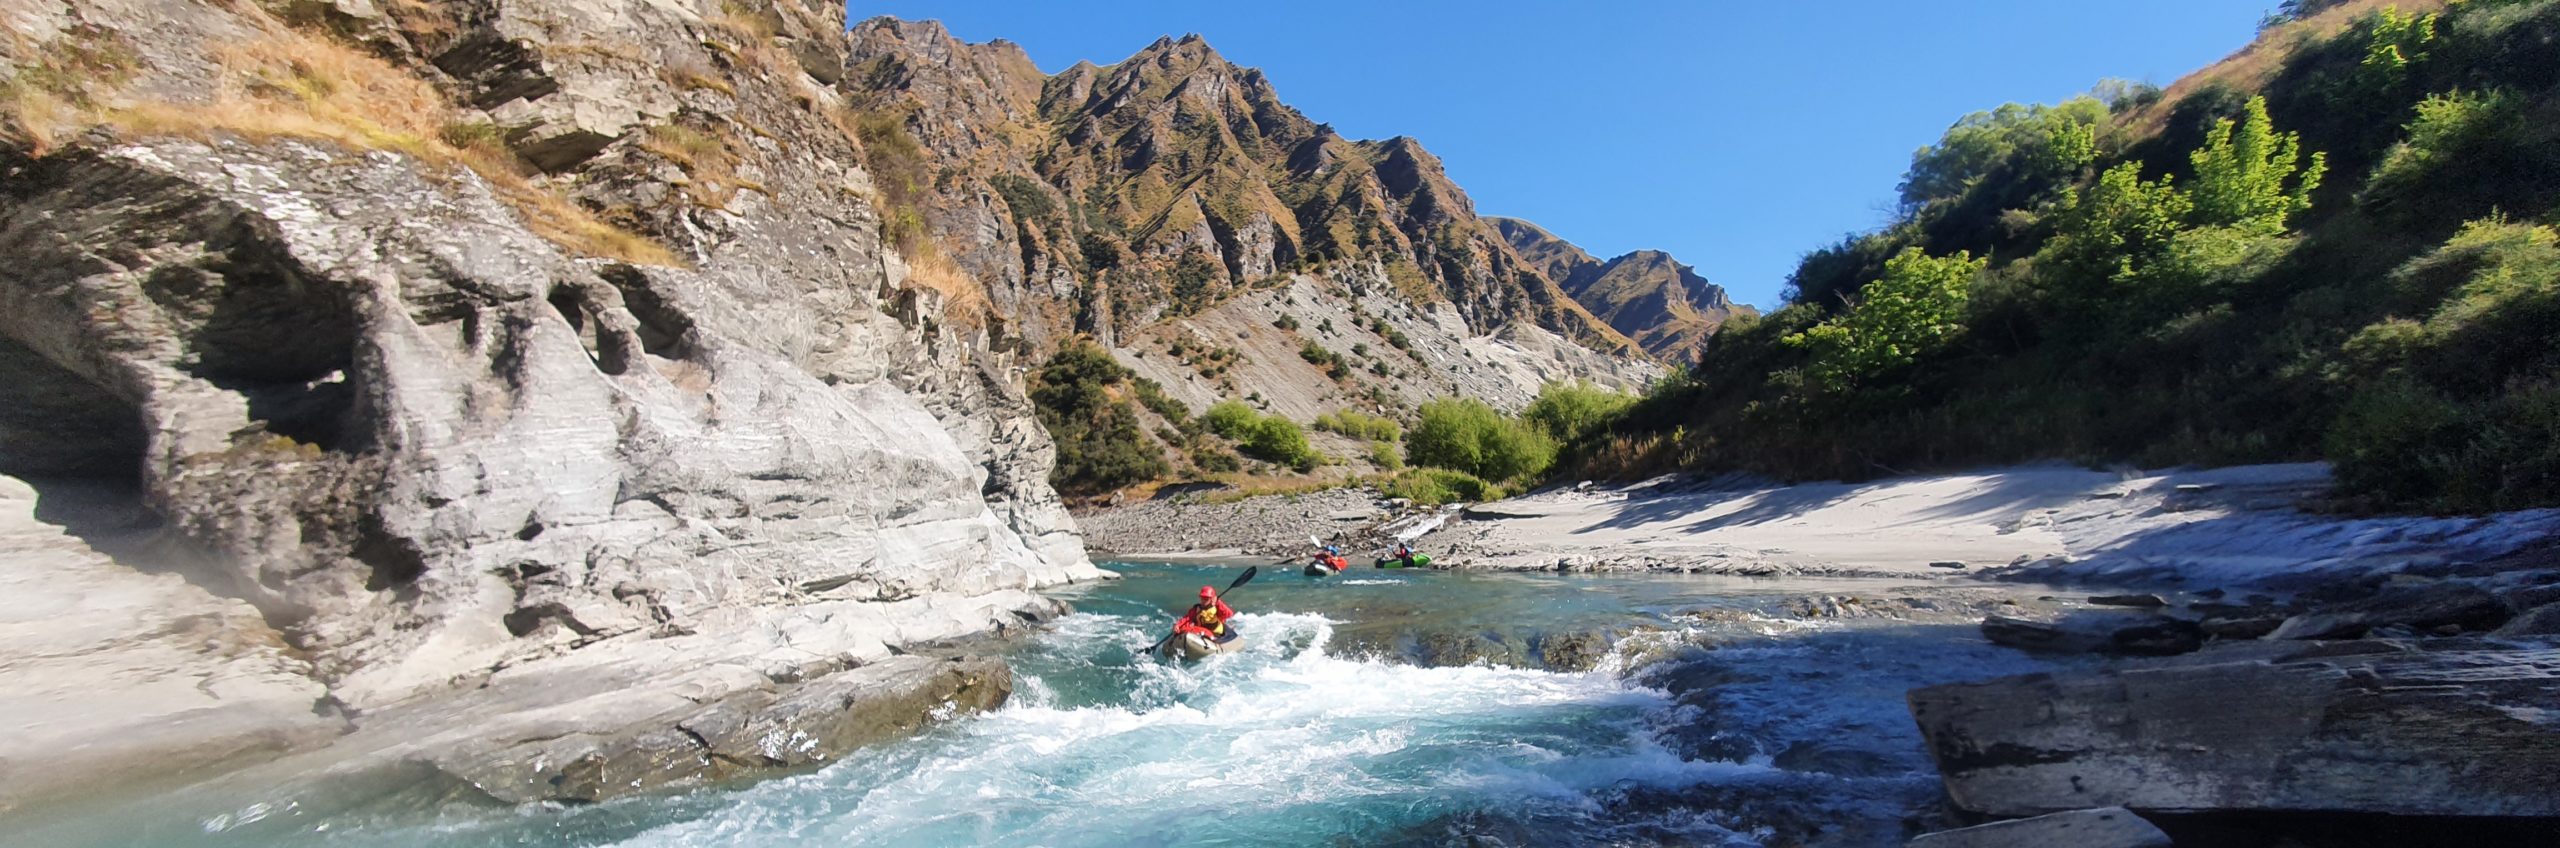
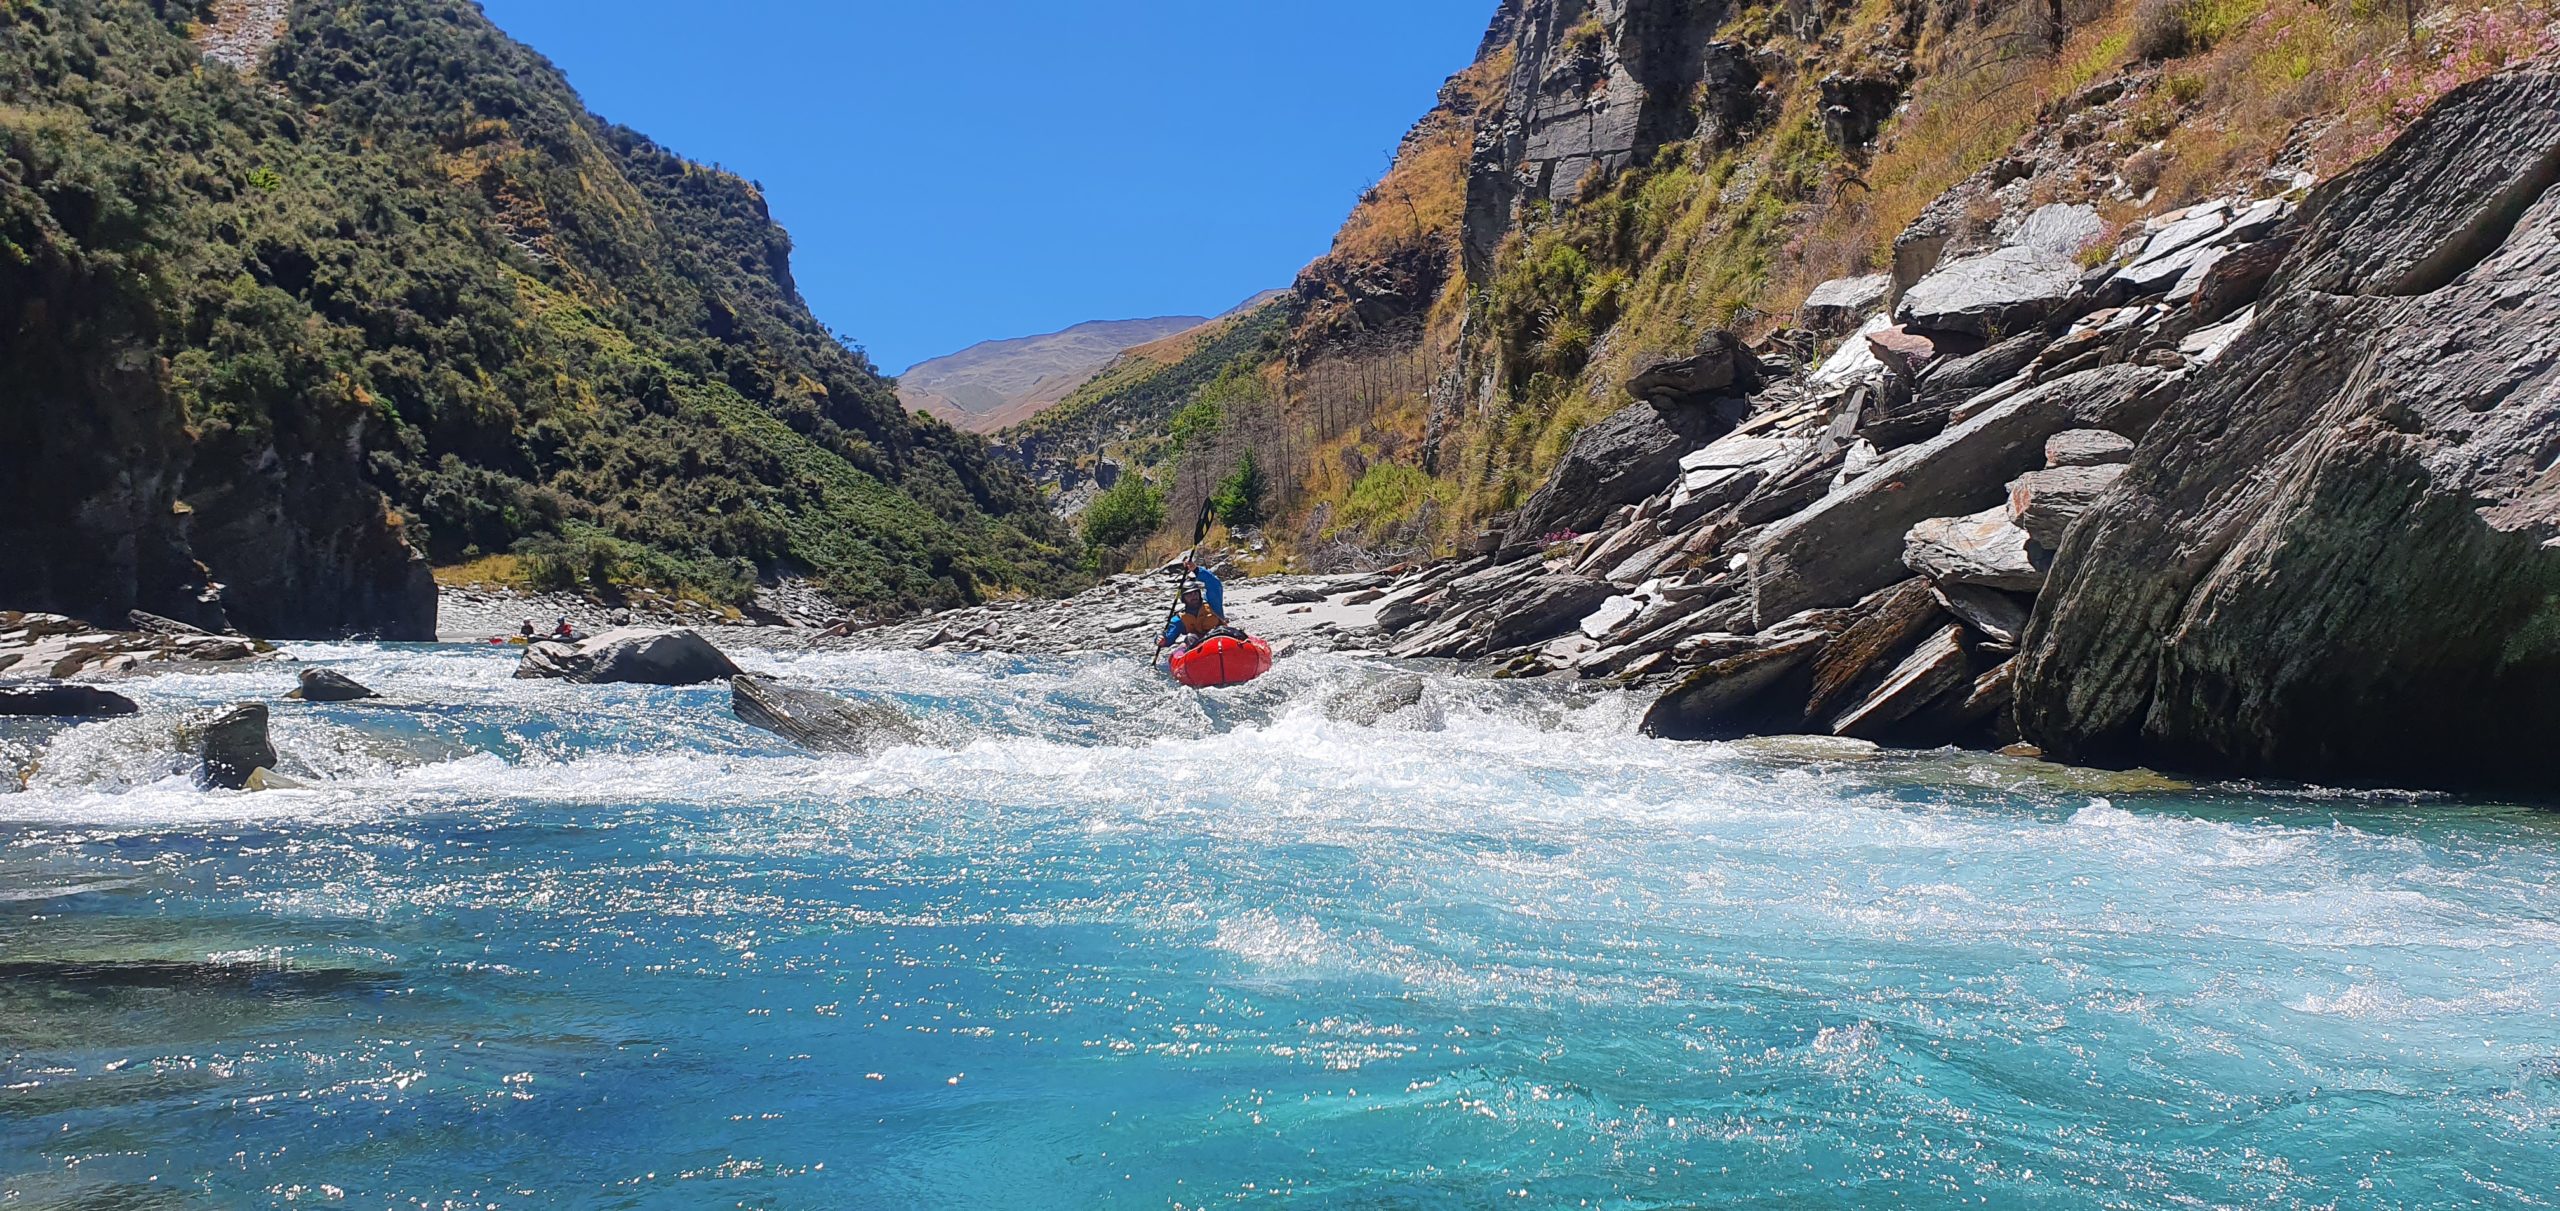
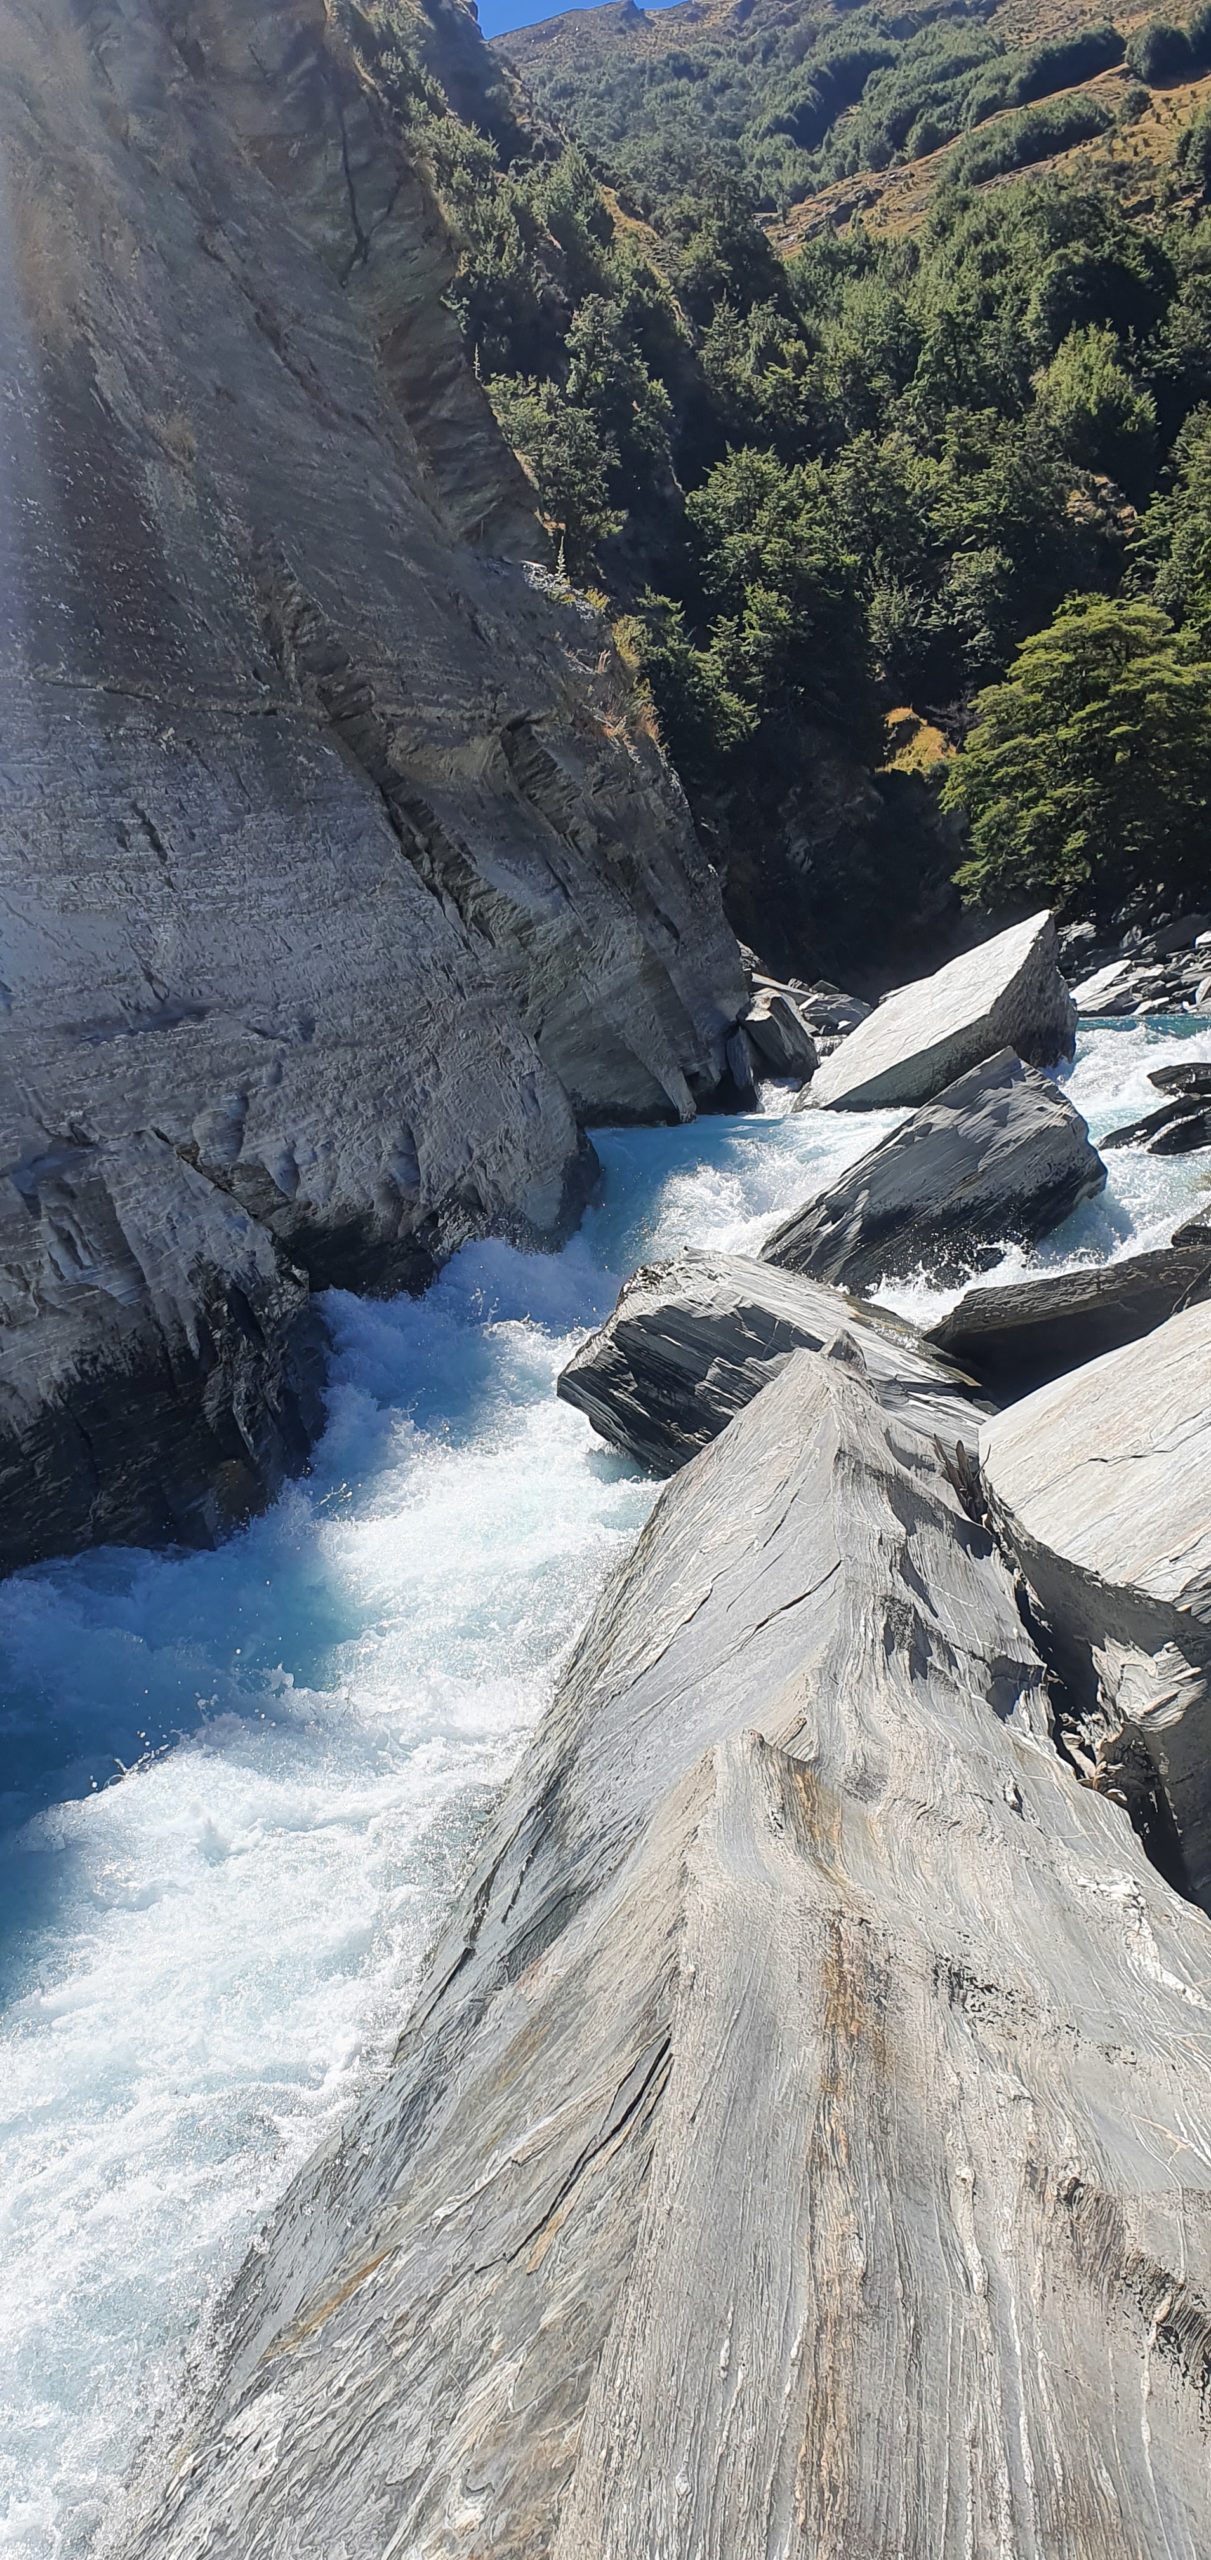
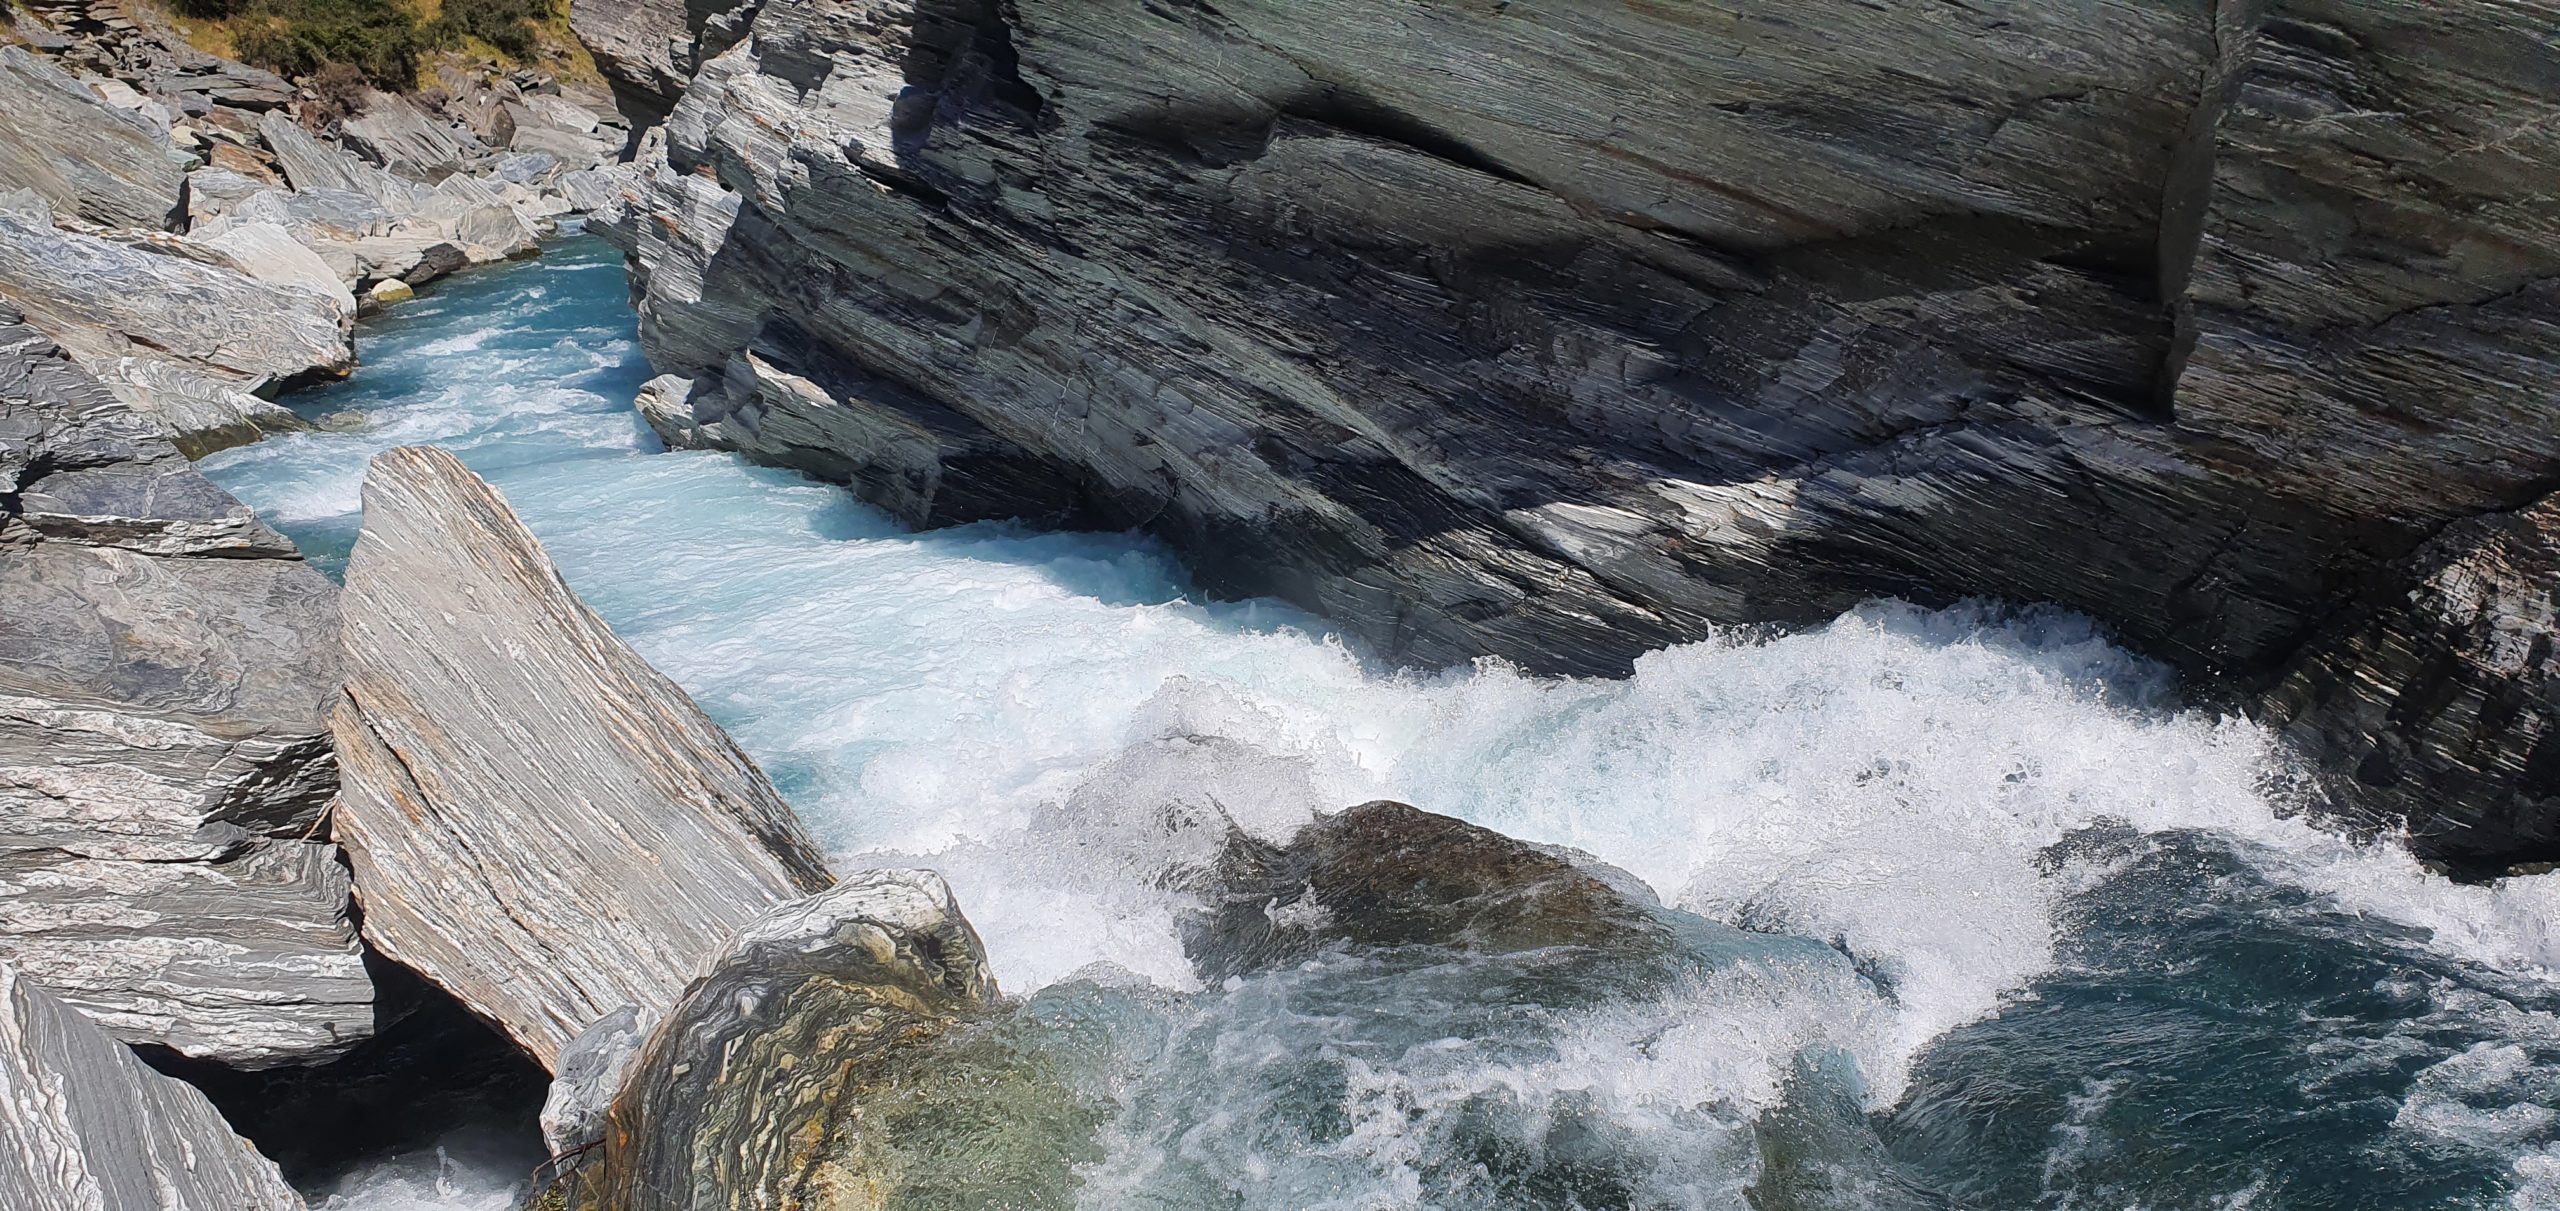
The lines on the map say it all; the section begins with some fun, splashy II/II+, and then alternates between easy II features, wide-open braids, and a couple of spectacular, short, sharp gorges up to grade III, which can all be portaged.
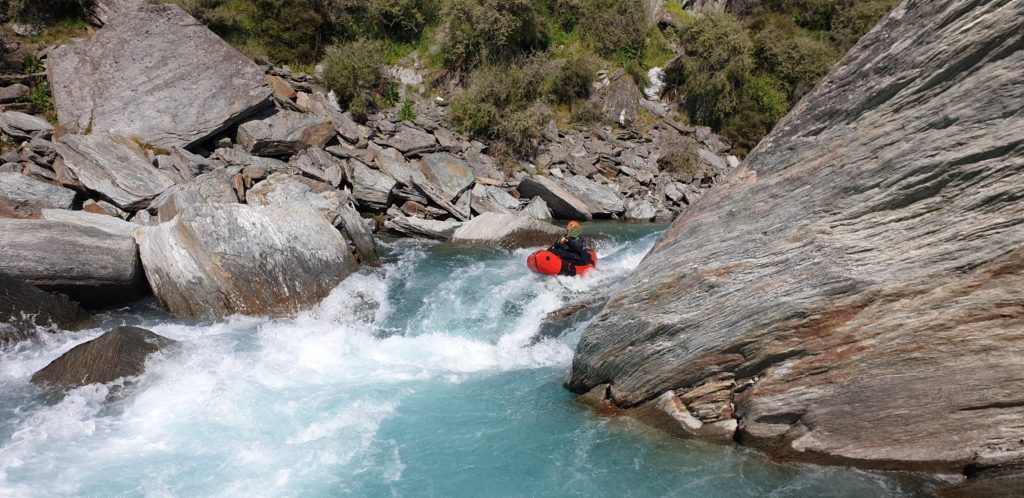
Greenland Spur Gorge (II+) Requires some manuevering at the entrance. The gorge is so short that you can just about see the whole way through it from upstream, but it is fully committing. There’s lots of big eddies though and great photos to be had from the stock bridge. The gorge exits into a huge pool with the Greenland Spur Willows camp immediately on the true right.
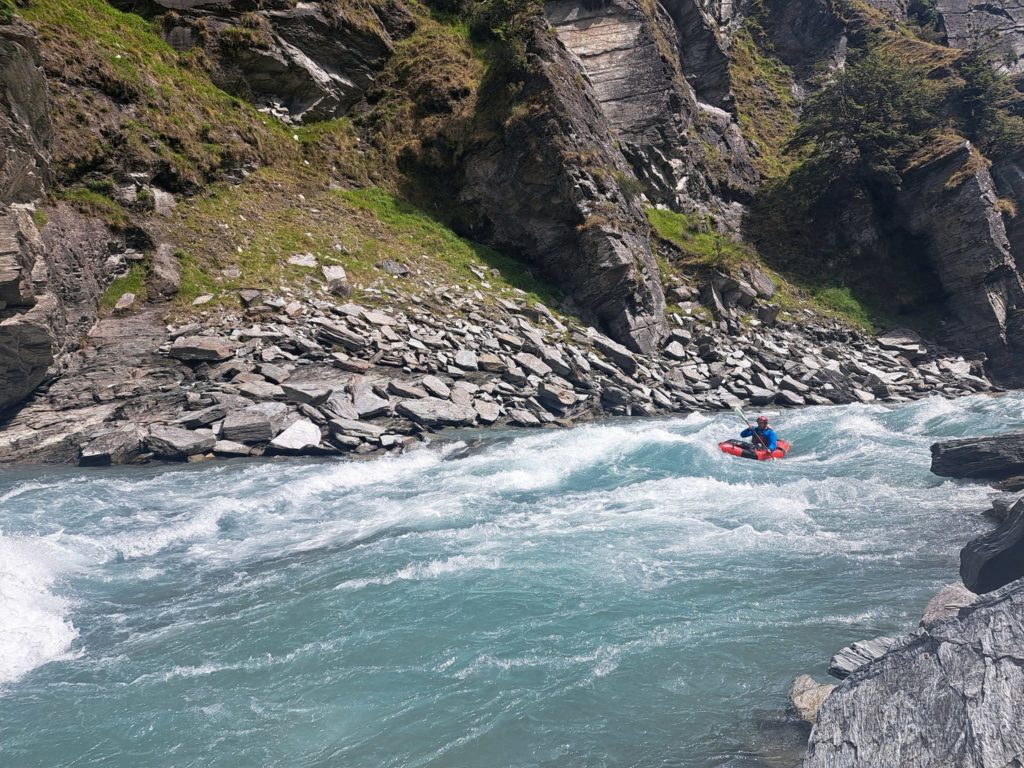
Sixteen Mile Gorge (II+/III-) Easy to scout, with boulder gardens leading up to the first rapid requiring some grade III manenuvering. There’s plenty of good eddies through the gorge. A sharks fin marks the end of the gorge and goes either side.
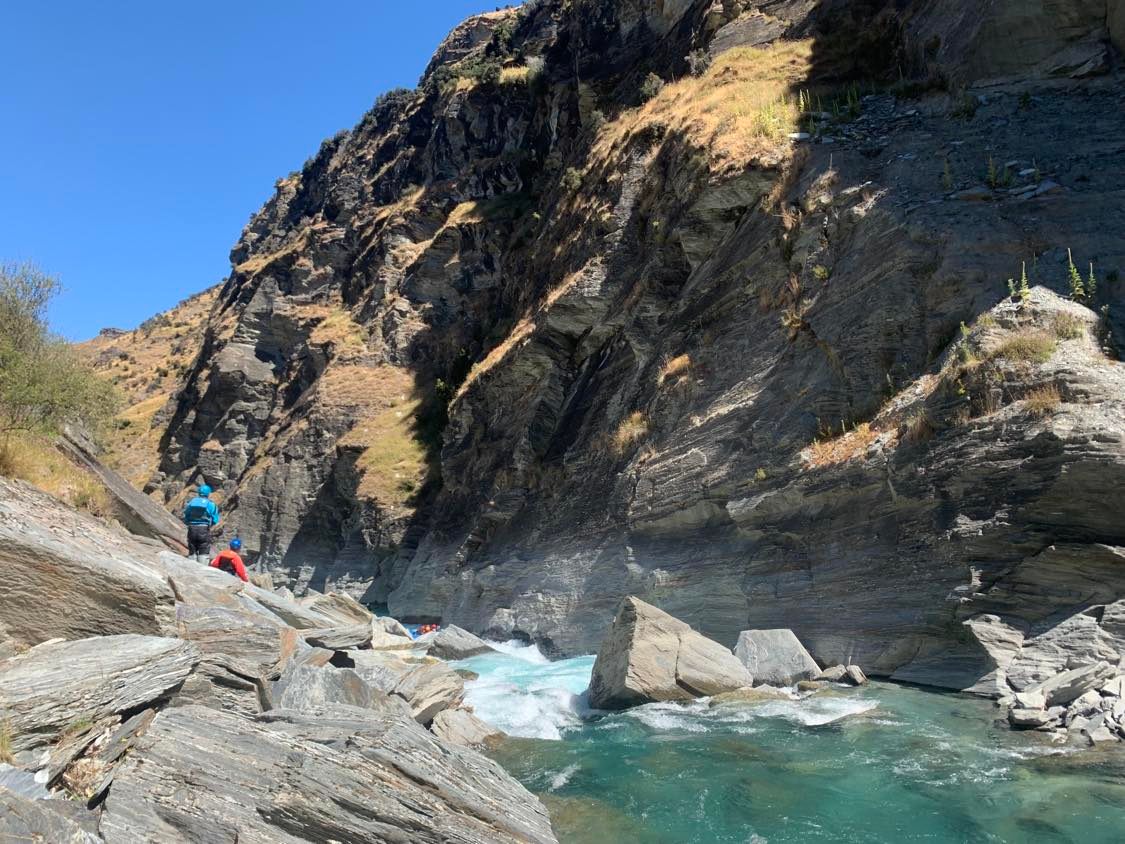
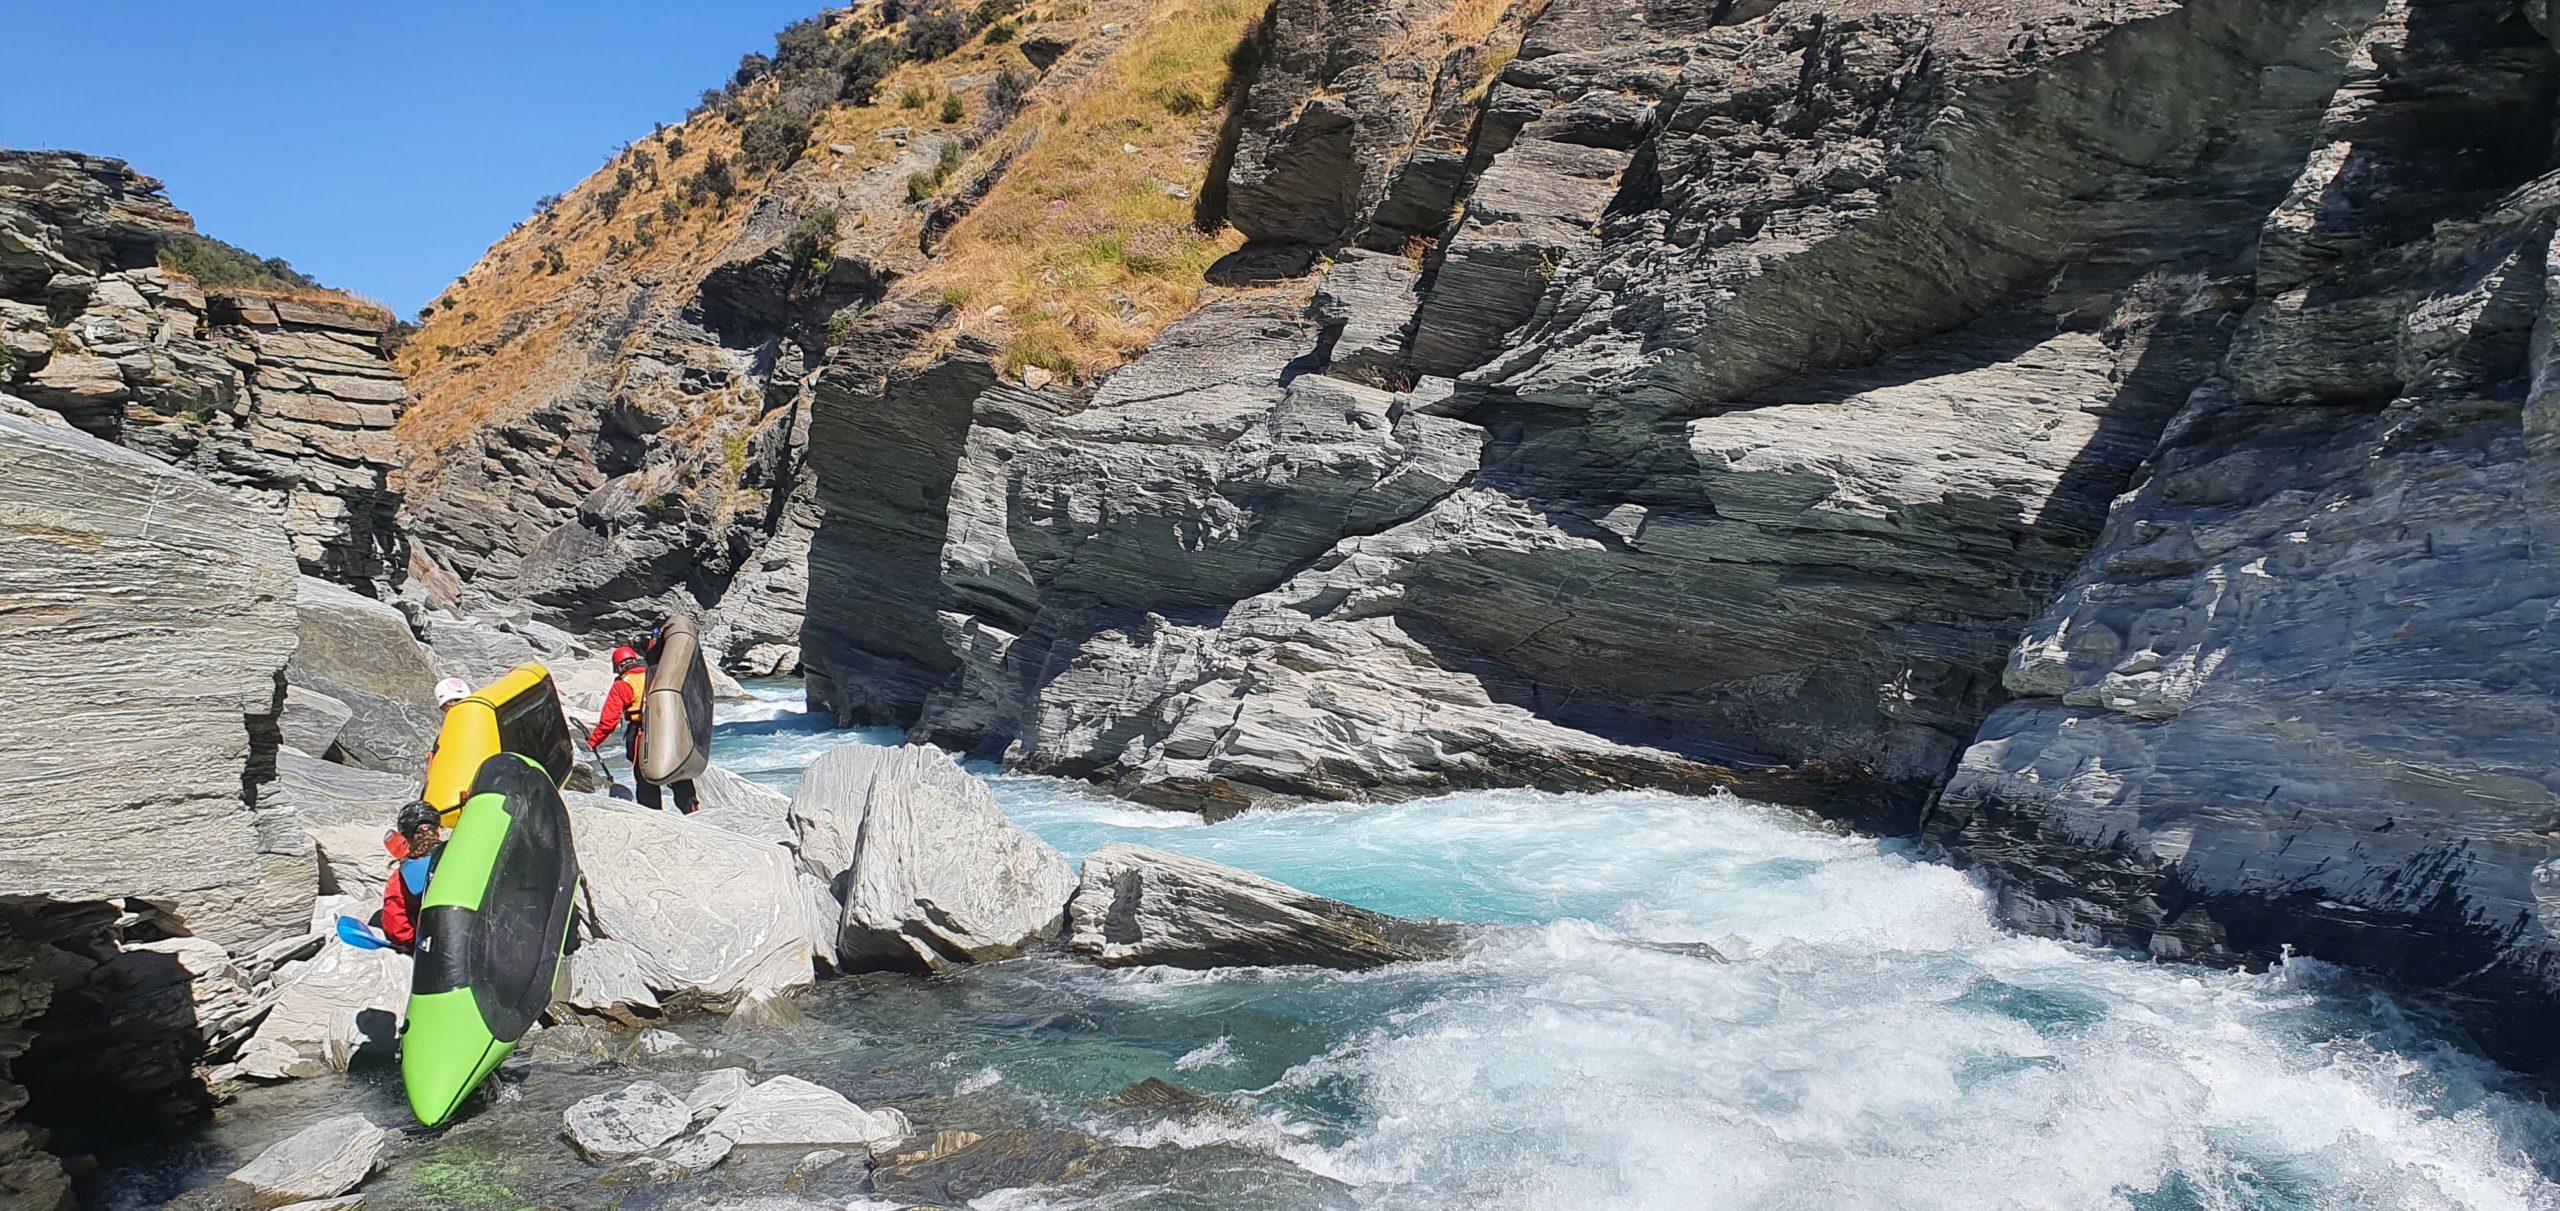
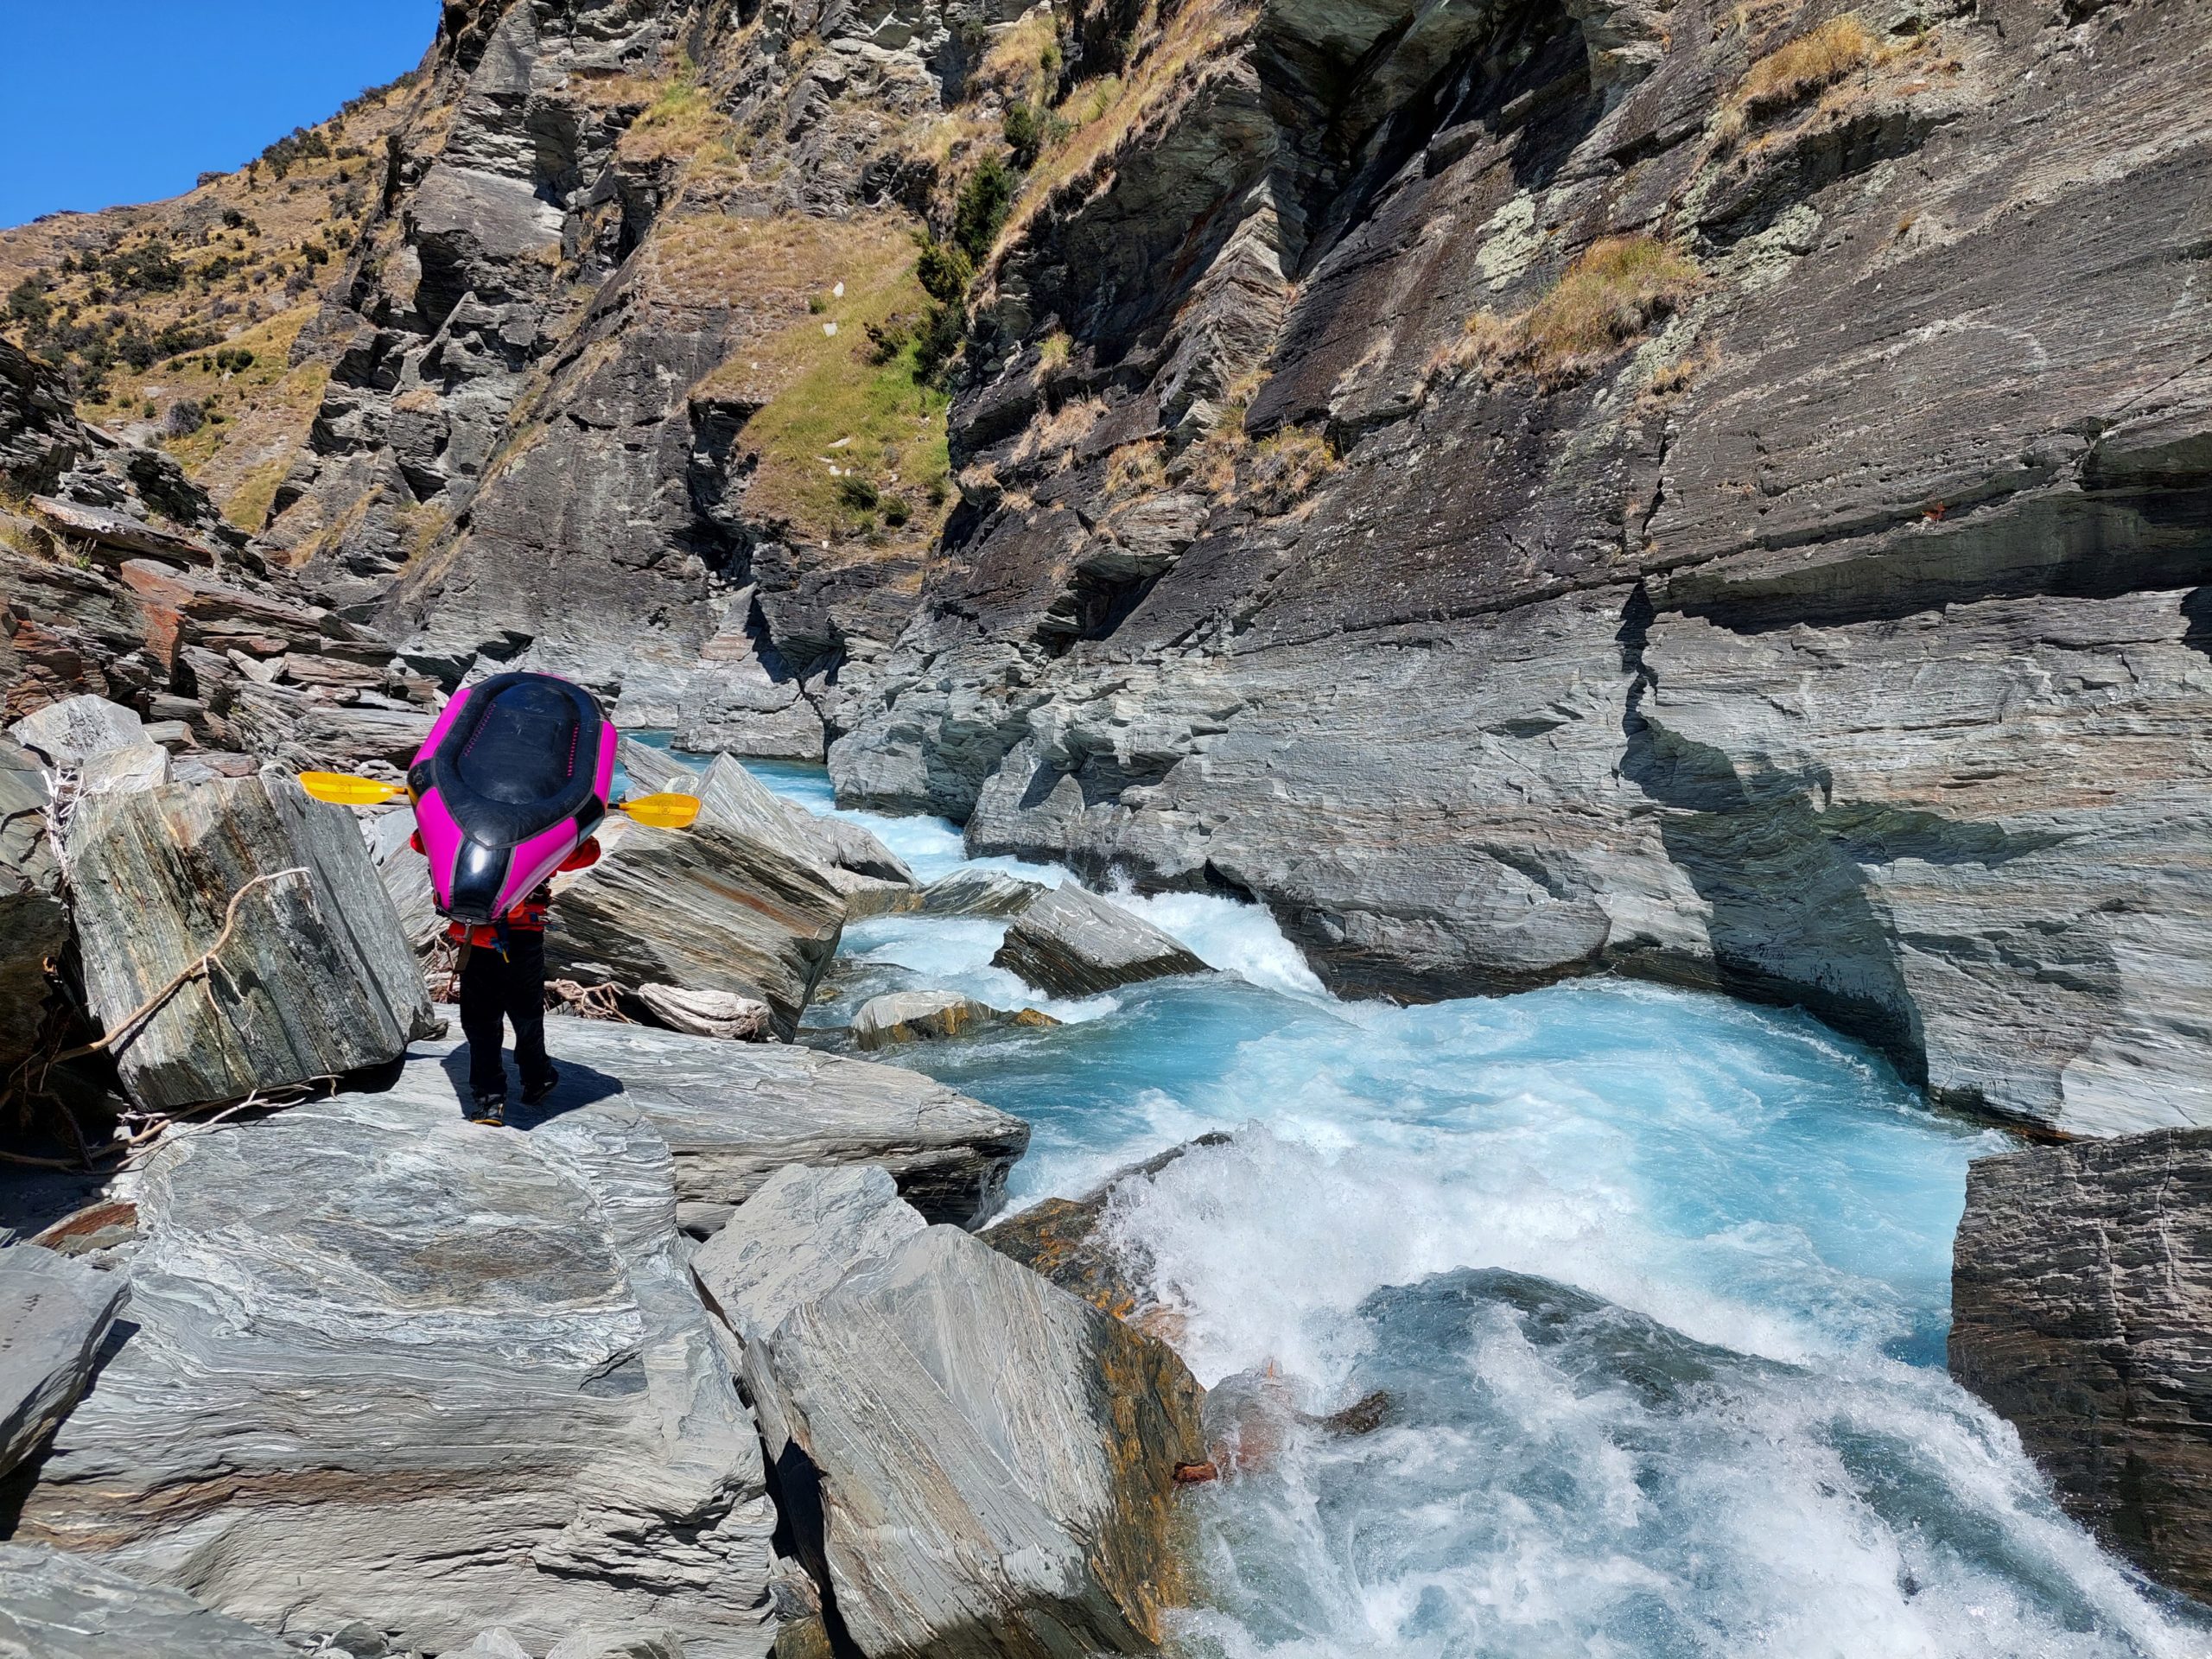
Saddle Creek/Broken Bridge gorge (III) This gorge is the crux of this section and is solid grade III maneuvering and rescue skills. It is pretty short, but definitely a step up from anything paddled so far. Portaging is easy via the 4WD track on the true left, provide you take out before the gorge begins!
Keep an eye out for the river banks closing in. As soon as they do, take out, consult the map and decide if you’re going to portage. Once you can see the ‘broken bridge’ you are already in the gorge. Escape from the ‘broken bridge’ is possible, just a bit time-consuming and strenuous…
Below Branches, you get a nice long rest on bouncy braids or a long grind, depending on river flows and the wind.
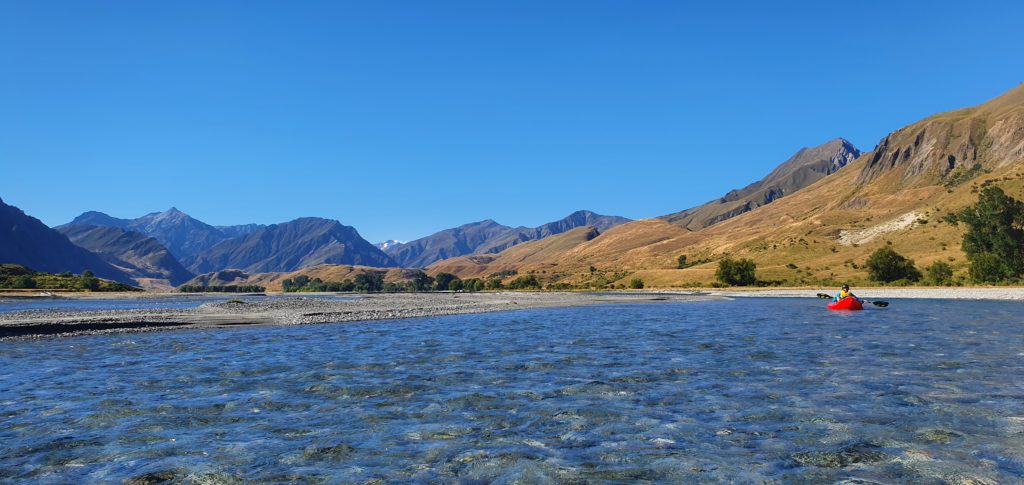
From the Campbell Saddle bridge, the river becomes a single channel again, with a grade II boulder garden rapid at Strohles flat to keep you awake.
The best camping option is at McCleods bluff. Keep an eye out for an old cableway then take out on the true left. A vehicle track leads a short distance up to a large, grassy flat. It is sheltered on all sides by poplar trees and has a long-drop toilet.

Times will vary, but Jenny and her team took roughly 6-7hr at 30 cumecs, from Greenland Spur Willow camp through to McLeods Bluff, with some scouting and portaging. In spring flows it could be as quick as 4-5hrs at 40 cumecs.
MacLeod’s to Skippers (II+) “popular with kayakers”
This is the section that is very popular with newer kayakers, with fantastic II+ paddling with lots of neat features to enjoy and practice on.
This section is well described in whitewater NZ’s Riverguide.
Times will vary, but expect 1-2 hours with no scouting or portaging, depending on flows.
Before you begin this section, start thinking about the Jetboats. Get the radio ready if you’ve got one, check your timing plan and get the map out. Its easy to get distracted by the fun of this section and inadvertently enter the Jetboat section, as the Skippers bridge comes into view without much warning.
To avoid that mistake, about halfway between McLeods and Skippers, you’ll see a set of solar panels near the water line on the true left. This is the “Shotover at Peats Hut” gauge, and is a useful time check to make sure you’re going to hit your time slot for heading through the Jetboat section. If you’re early here, find a beach an have a snack whilst you wait to get back on time.
The options for waiting on a beach get fewer and fewer as you continue downstream, so choose a beach early before you run out of options: once you see Skippers bridge, its too late to beach out.
Be aware that the Jetboats head 50m or so upstream of the bridge to end their run, through the narrow canyon beneath Skippers bridge.

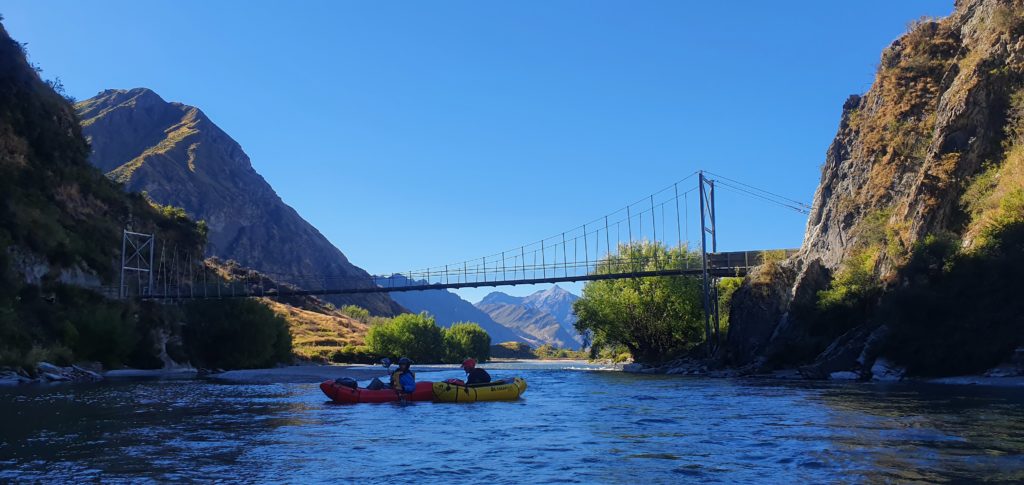
Skippers to Deep Creek (I/II) “The Skippers Canyon Jet section”
This is the section that is commercially jet boated by Skippers Canyon Jet. This is when you’ll be glad you called the company before your trip (03 4429434) and got an idea of the jetboat trip schedule….. Make sure you re-read the ‘Planning and permission’ section info about the jetboat!
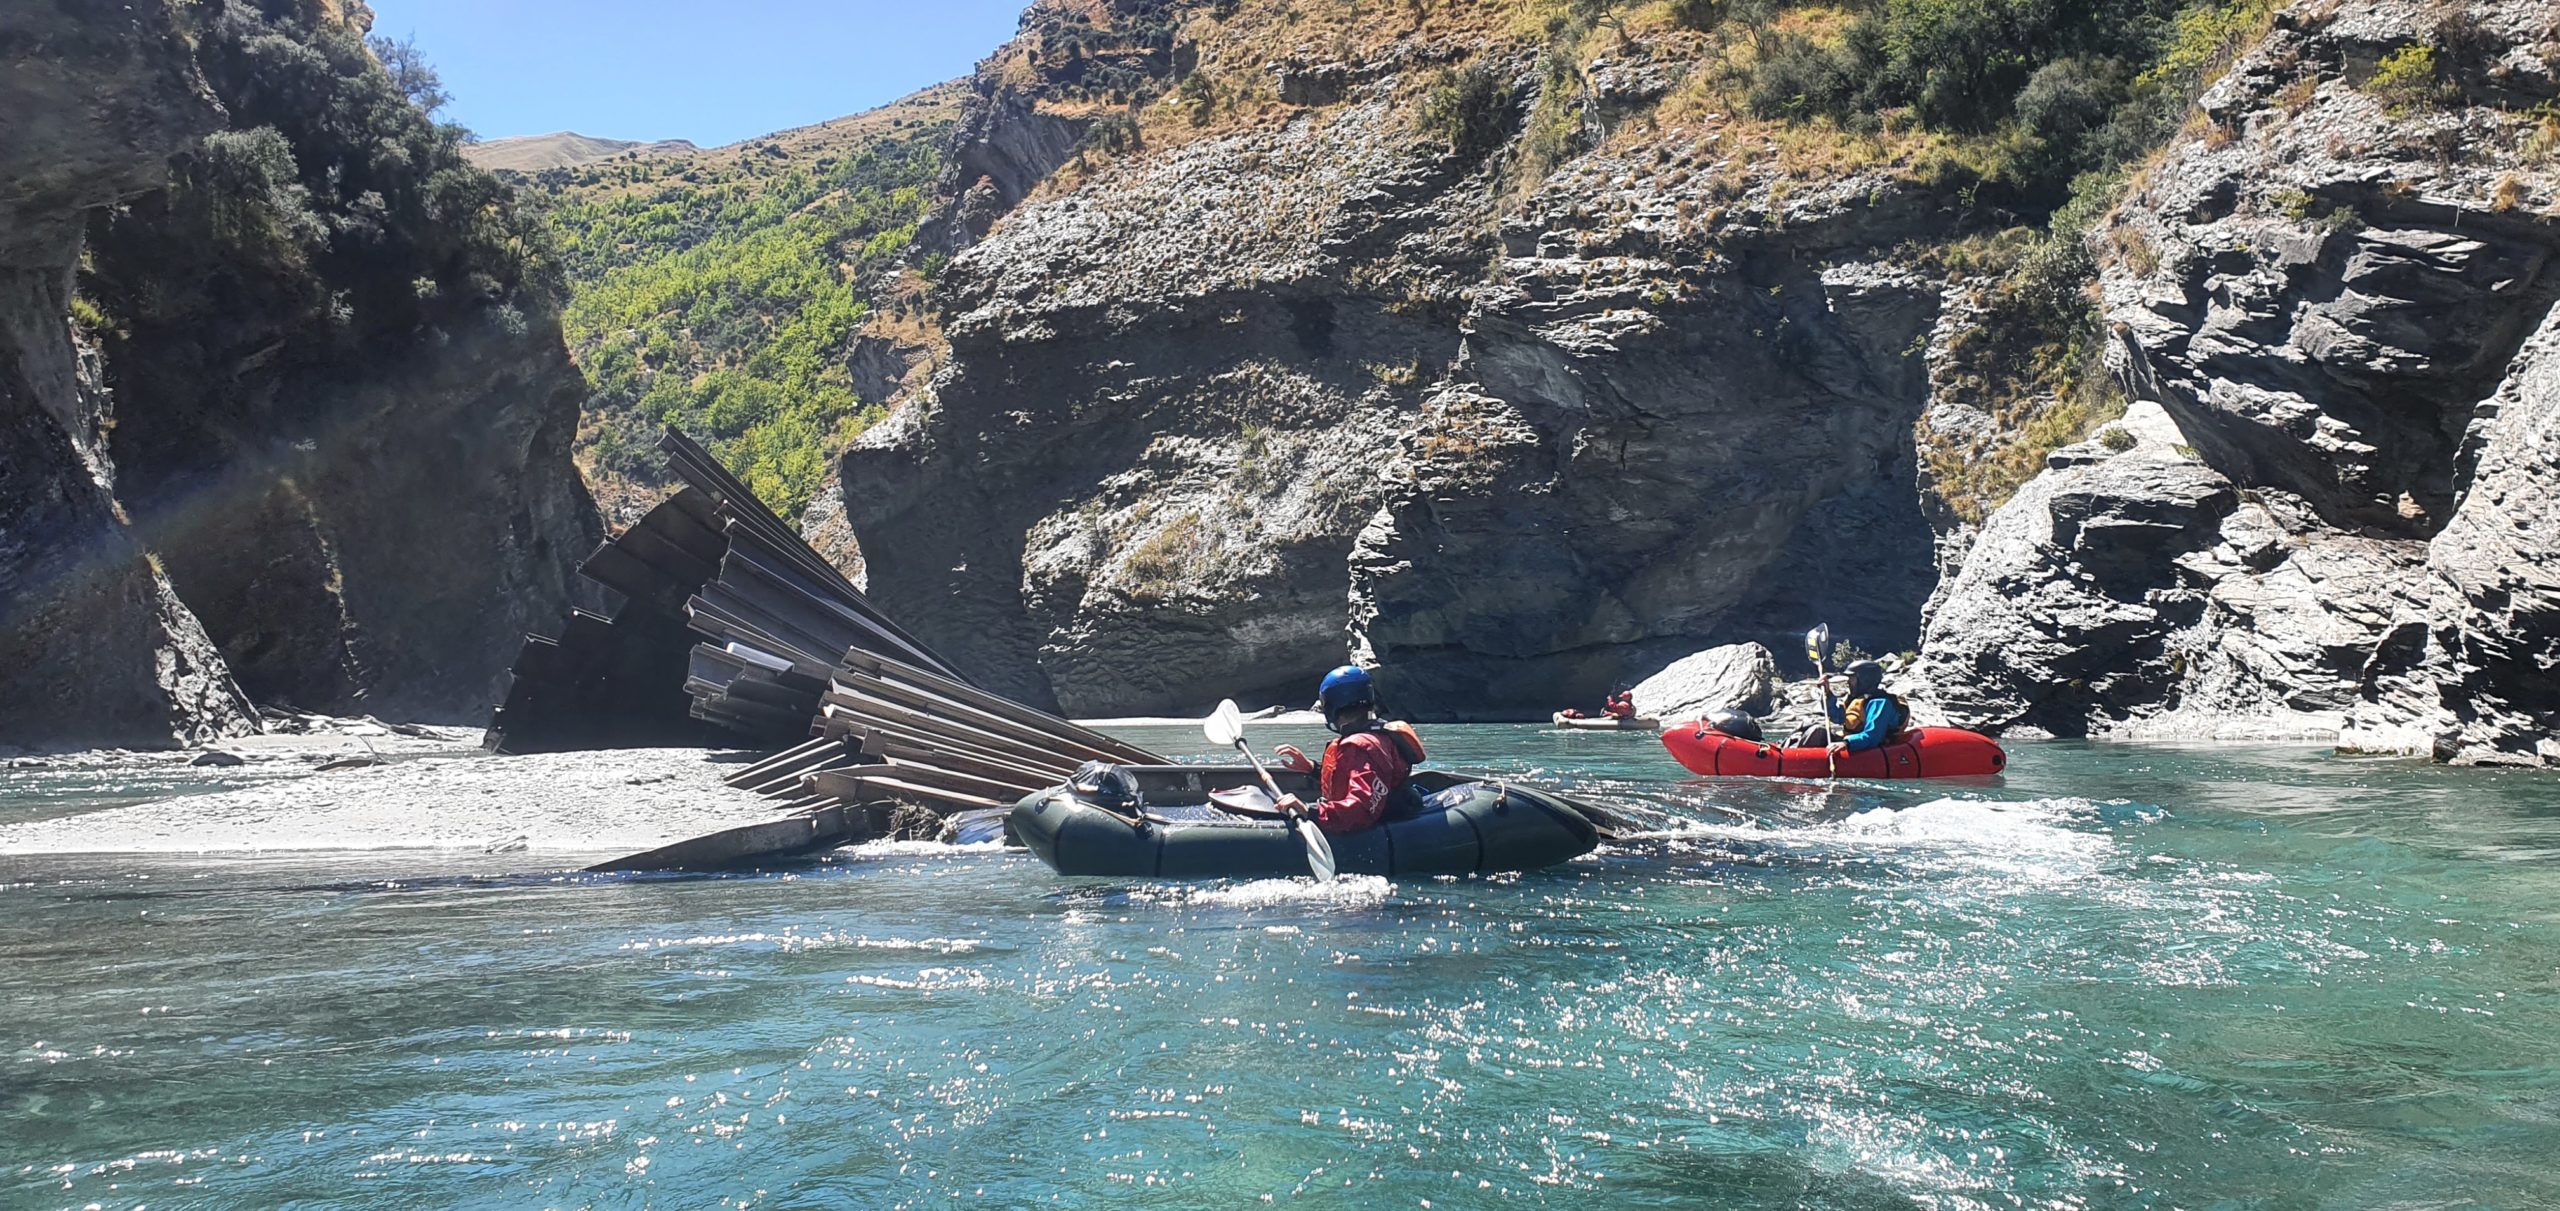
Keep your eyes peeled for mining hazards in the water. There is metal both on the sides of the river and lurking beneath the surface. It certainly adds interest checking out the relics and present-day ropes/wires/dredges.
Depending on flows, there can be some grade II wave trains and features to keep you awake between the flatter sections.
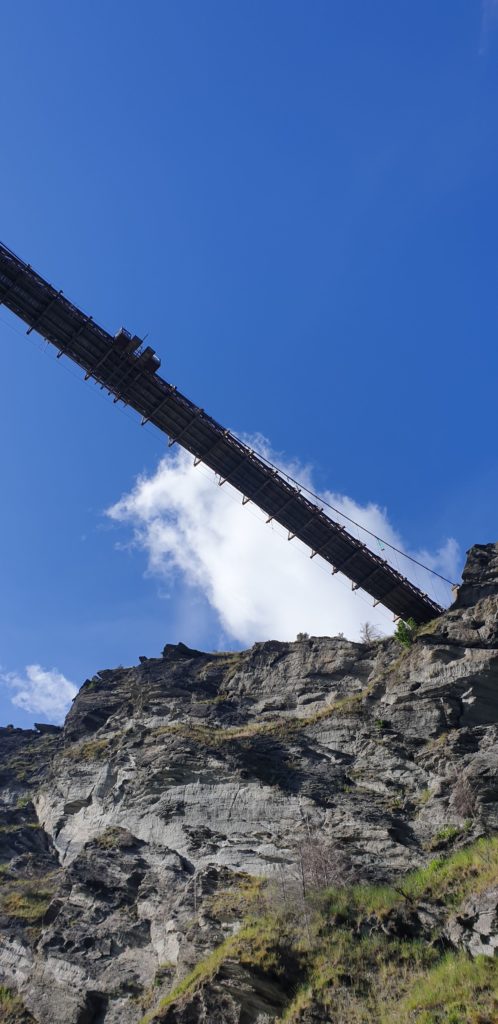
Beneath Skippers Bridge, under the Pipeline Bungy and Tyree’s cut are some of the narrowest bits of this section, which can be barely wider than a jetboat.
For more info, see the Whitewater NZ riverguide.

Deep Creek to Edith Cavell Bridge, Arthurs Point (IV with portage options) “The rafting section”
This is the commercially rafted section of the Shotover, and is described in the Whitewater NZ riverguide,
Depending on flows, most of this II/II+ paddling with a few III rapids that can sneak up on you if you’re not paying attention. Slips tend to be the reason for the rapids. Eddy out and scout when you can’t see what is coming up.
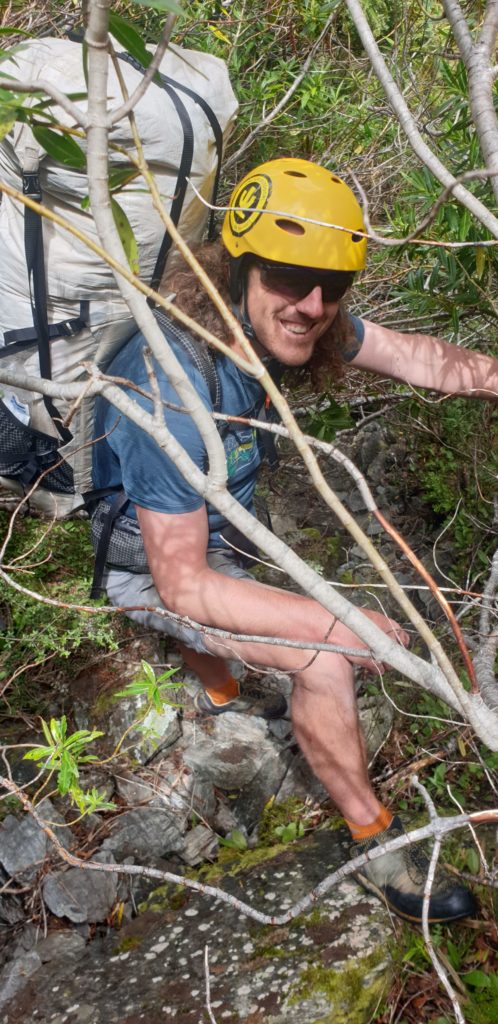
The crux begins rather abruptly, just above the Moonlight Creek confluence. It is easy enough to eddy out above, but also easy enough to enter the gnar if you’re not paying attention. A shark’s fin of rock in the middle of the river marks the start of a long series of IV rapids collectively called “Mother”. This section can be portaged with difficulty on the true left. (climbing/scrambling, ropework and teamwork may be required). At the start of the portage, you can climb out of the bedrock gorge 5-10m or so on a rough trail used by the rafters, and portage a bit more easily through the spiky scrub.
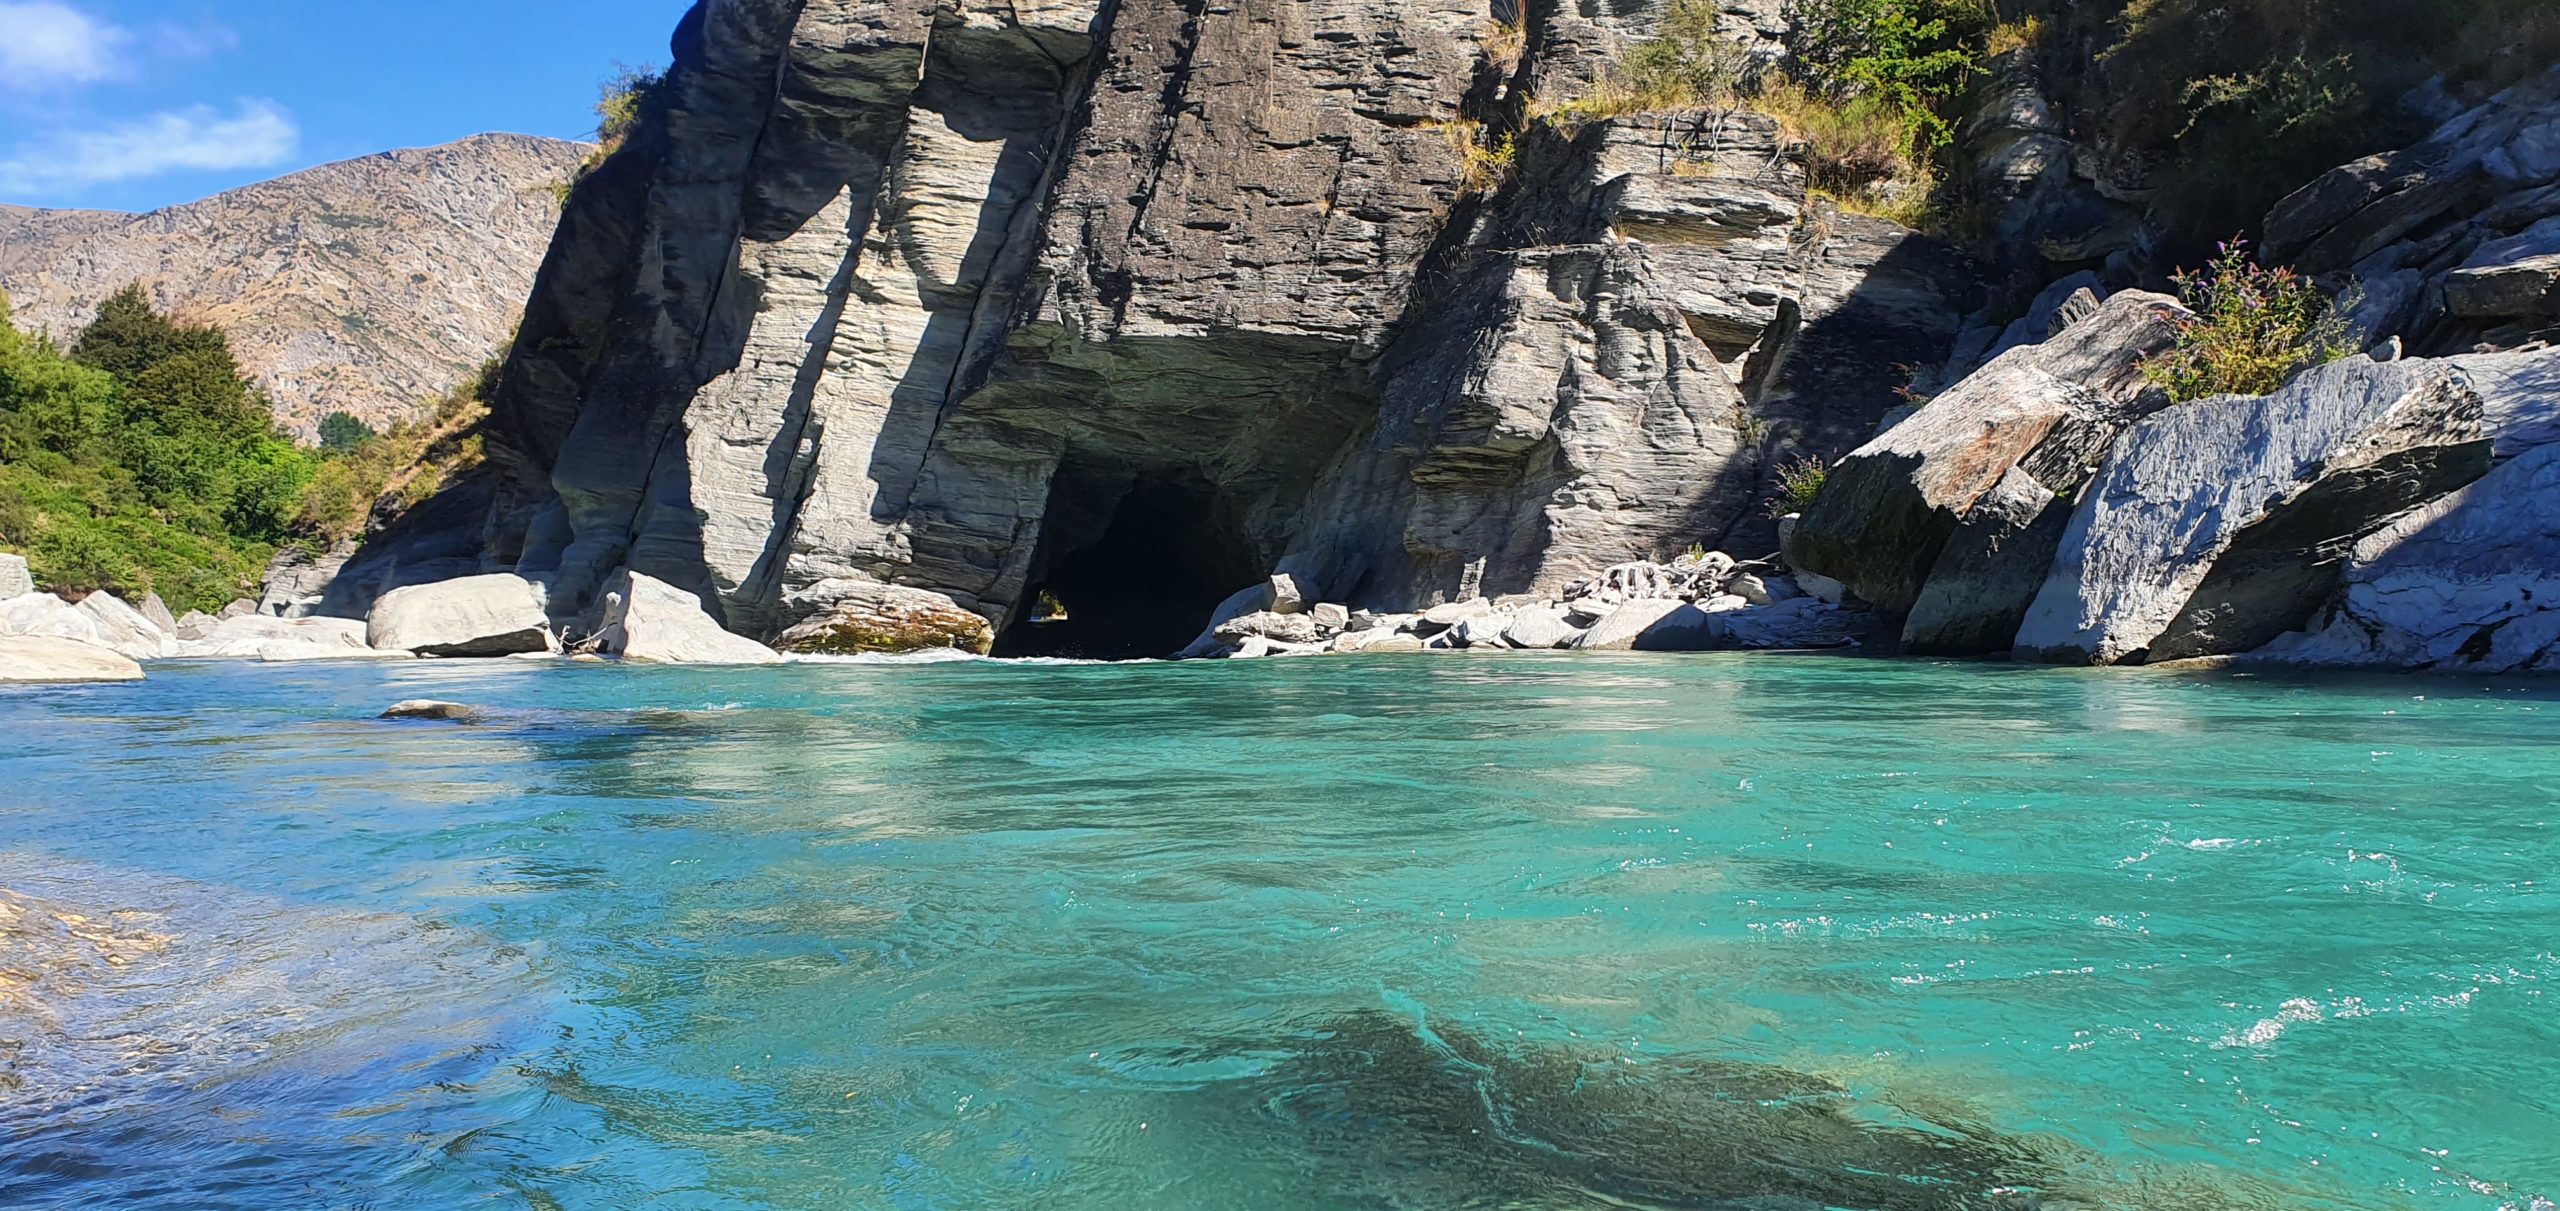
There’s another grade III/IV drop “Jaws” near the Shotover Canyon Swing (Devils Creek), before arriving at the final set of obstacles: The Tunnel on river right and Mother In law (IV) river left.
It’s really important to reiterate: a flip in the Tunnel, which is followed immediately by the cascade Rapid is extremely serious. Its well-known that there are a number of bone-breaking, cheese-grating type rocks which will get you if you have an out-of-boat experience. A better option is to paddle Mother In Law rapid, or portage (on the left)
Mother in Law rapid is the final bit of class IV, and at the start, has a nasty undercut on the true right (make sure you have right to left cross-current momentum…!)
Below here, it’s basically flat water, but be on the look out for Skippers Jet Jetboats, which frequently roar up to look at the exit of the tunnel. Take out at the start of the gravel beach, and follow the signs which direct people up through a wee track towards the public carpark, and Canyon Brewery, which serves beer and pizza overlooking the river. What more could you ask for??
I’m not a grade IV paddler: can I still do it?
Packrafters who aren’t grade IV paddlers can portage through “the rafting section”, but must be able to catch grade III eddies without. You should be paddling competently at grade III level to contemplate that plan of “paddle the gorge and portage the IV” The portaging is strenous, and at times technically tricky (think rockclimbing moves and team work if flows are up) This isn’t a section that beginners should bumble into, thinking the portage is simple.
You’ve been warned… Now go enjoy!
Flows
The Shotover has a huge catchment, with high peaks that hold plenty of snow, so you can expect the flows to increase as the days heat up when the snow is still around. Similarly, the big catchment = lots of water when it rains, so you’ll want a stable weather window earlier in the melt season, rather than trying to start hiking at the right time to hit good flow after it has rained.
The packrafters have provided flow info from the Shotover at Peats Hut, which is about 9km below the Branches road end.
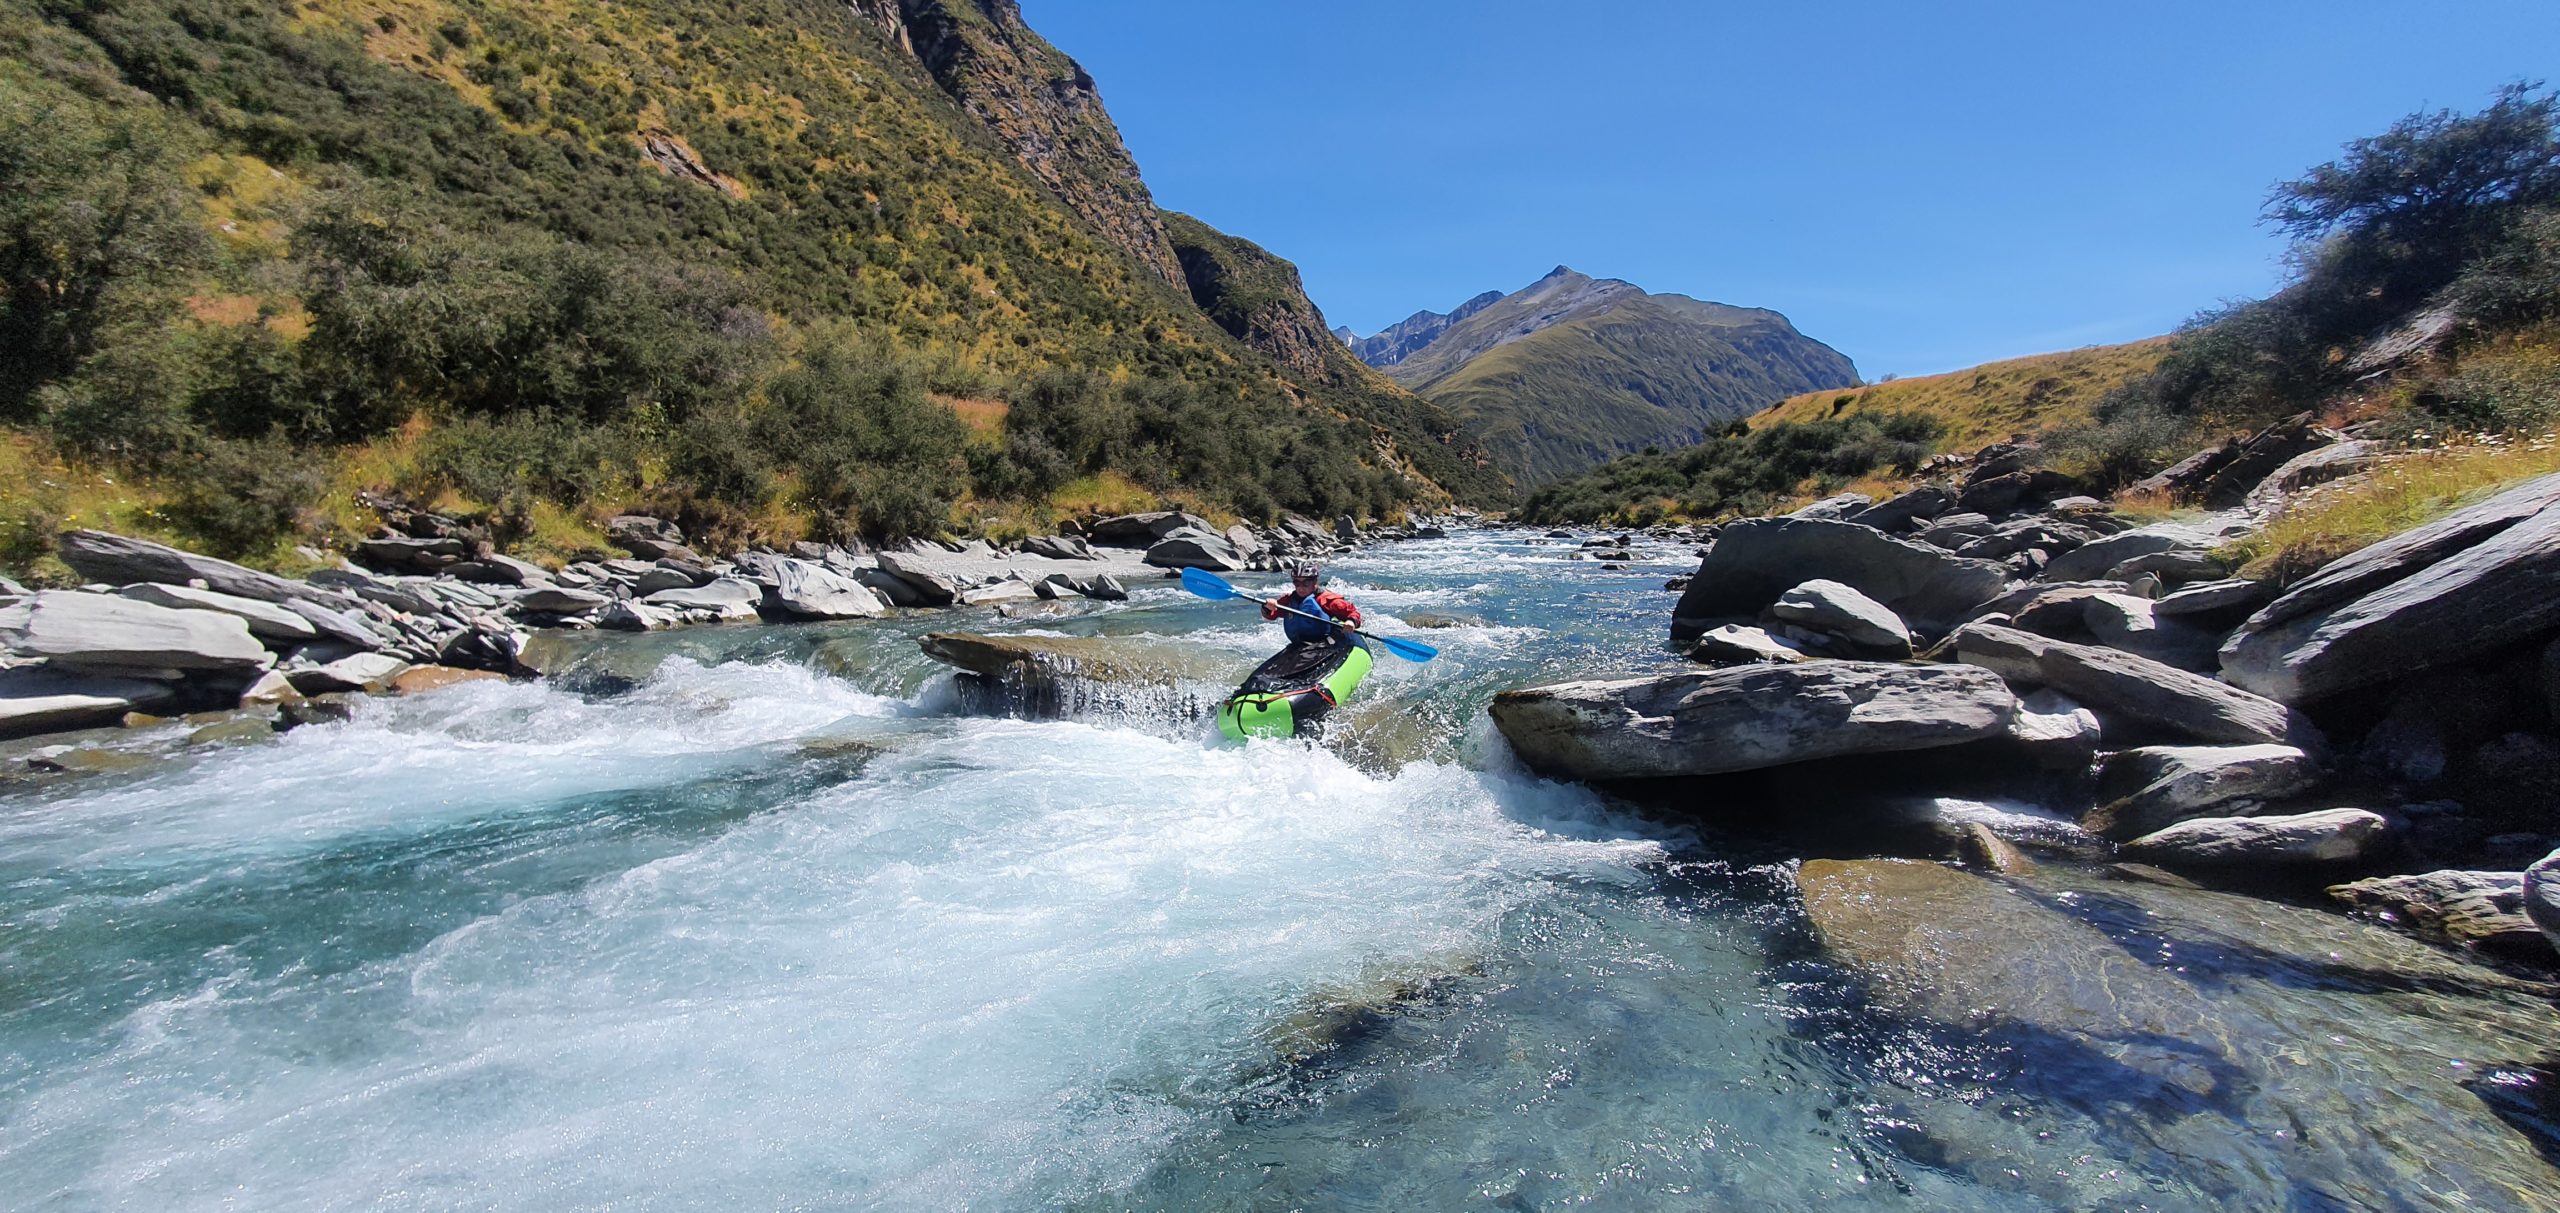
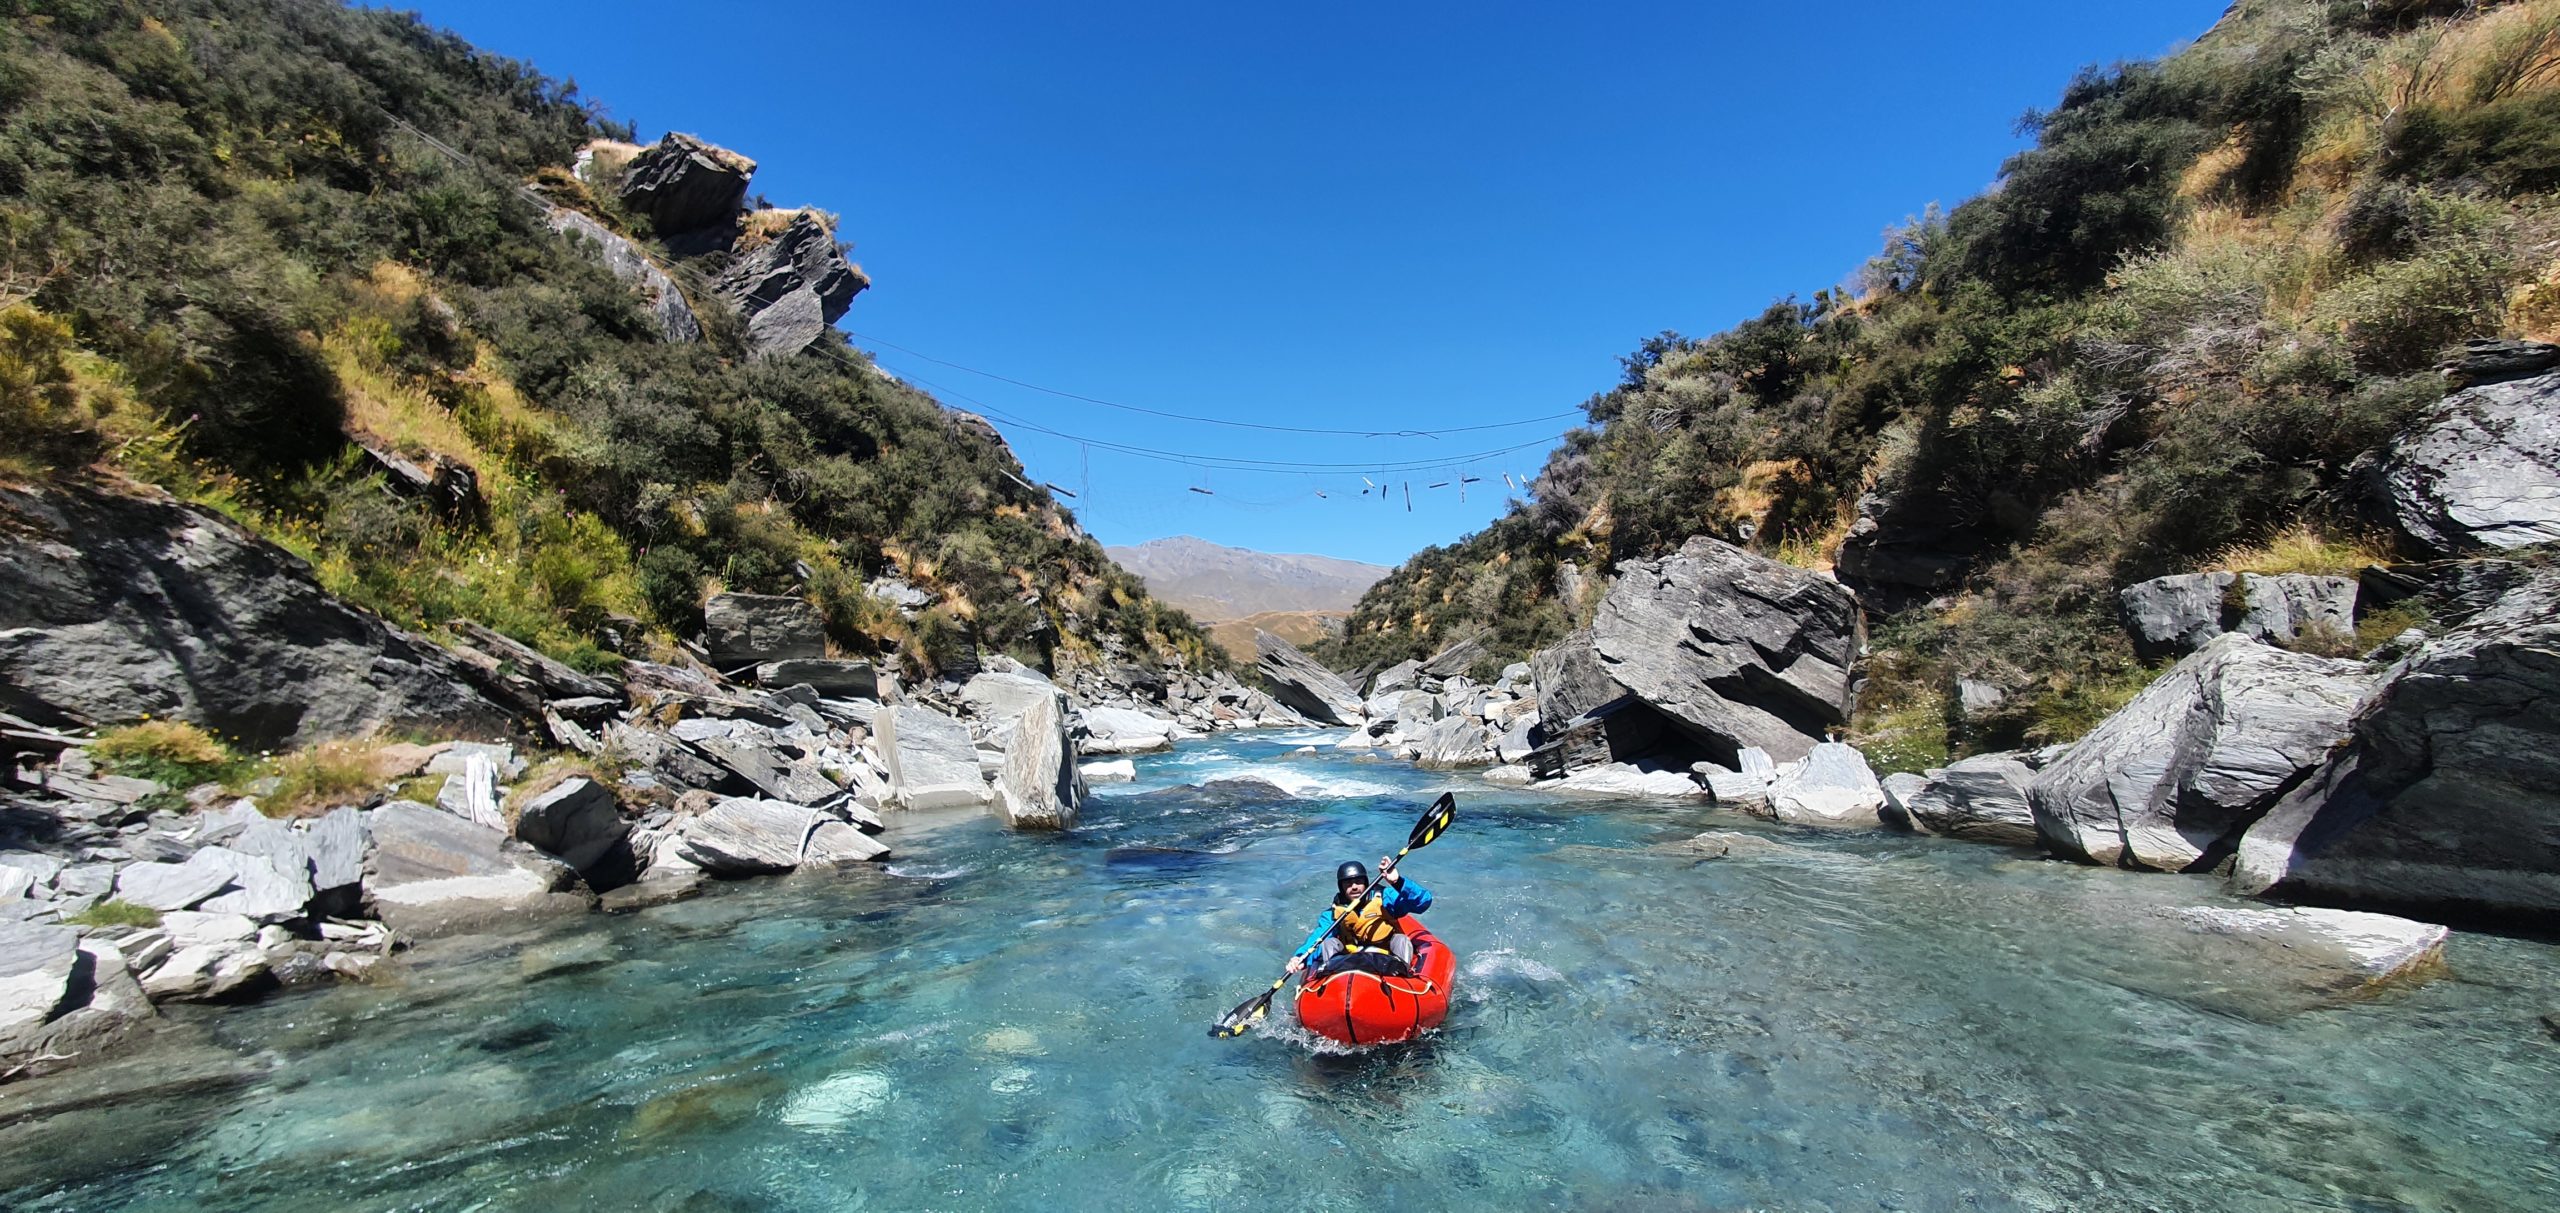
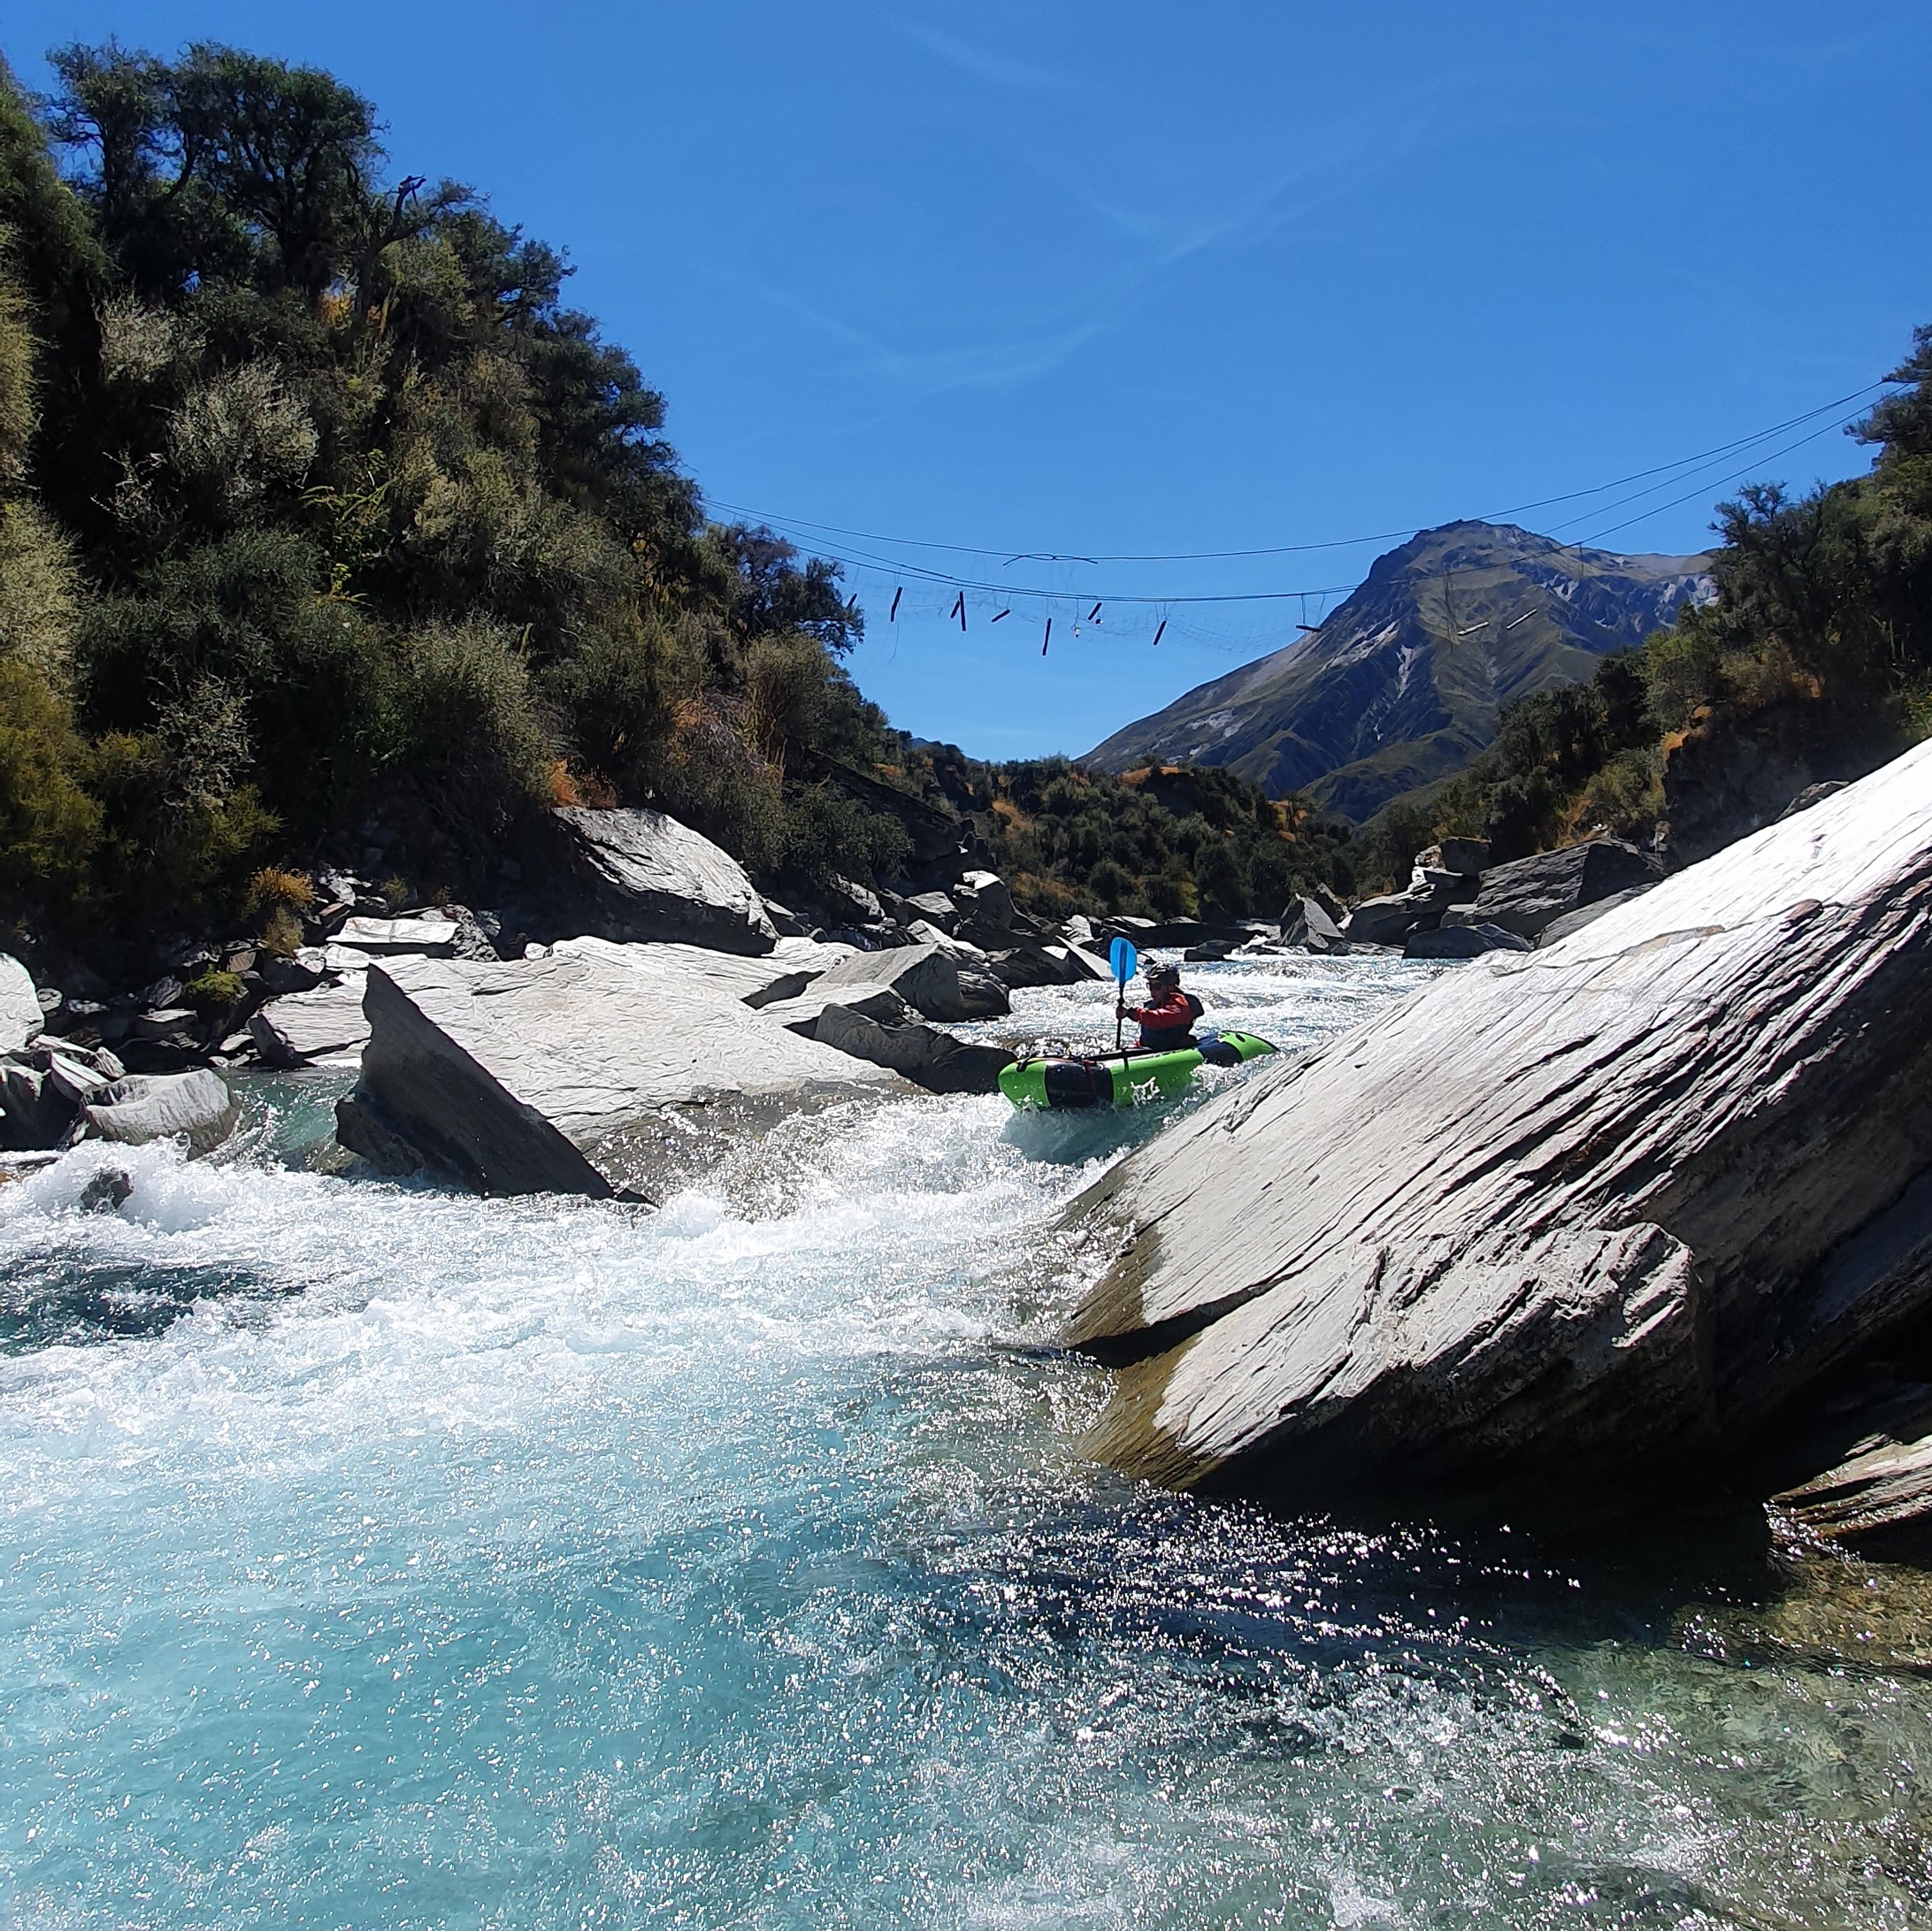
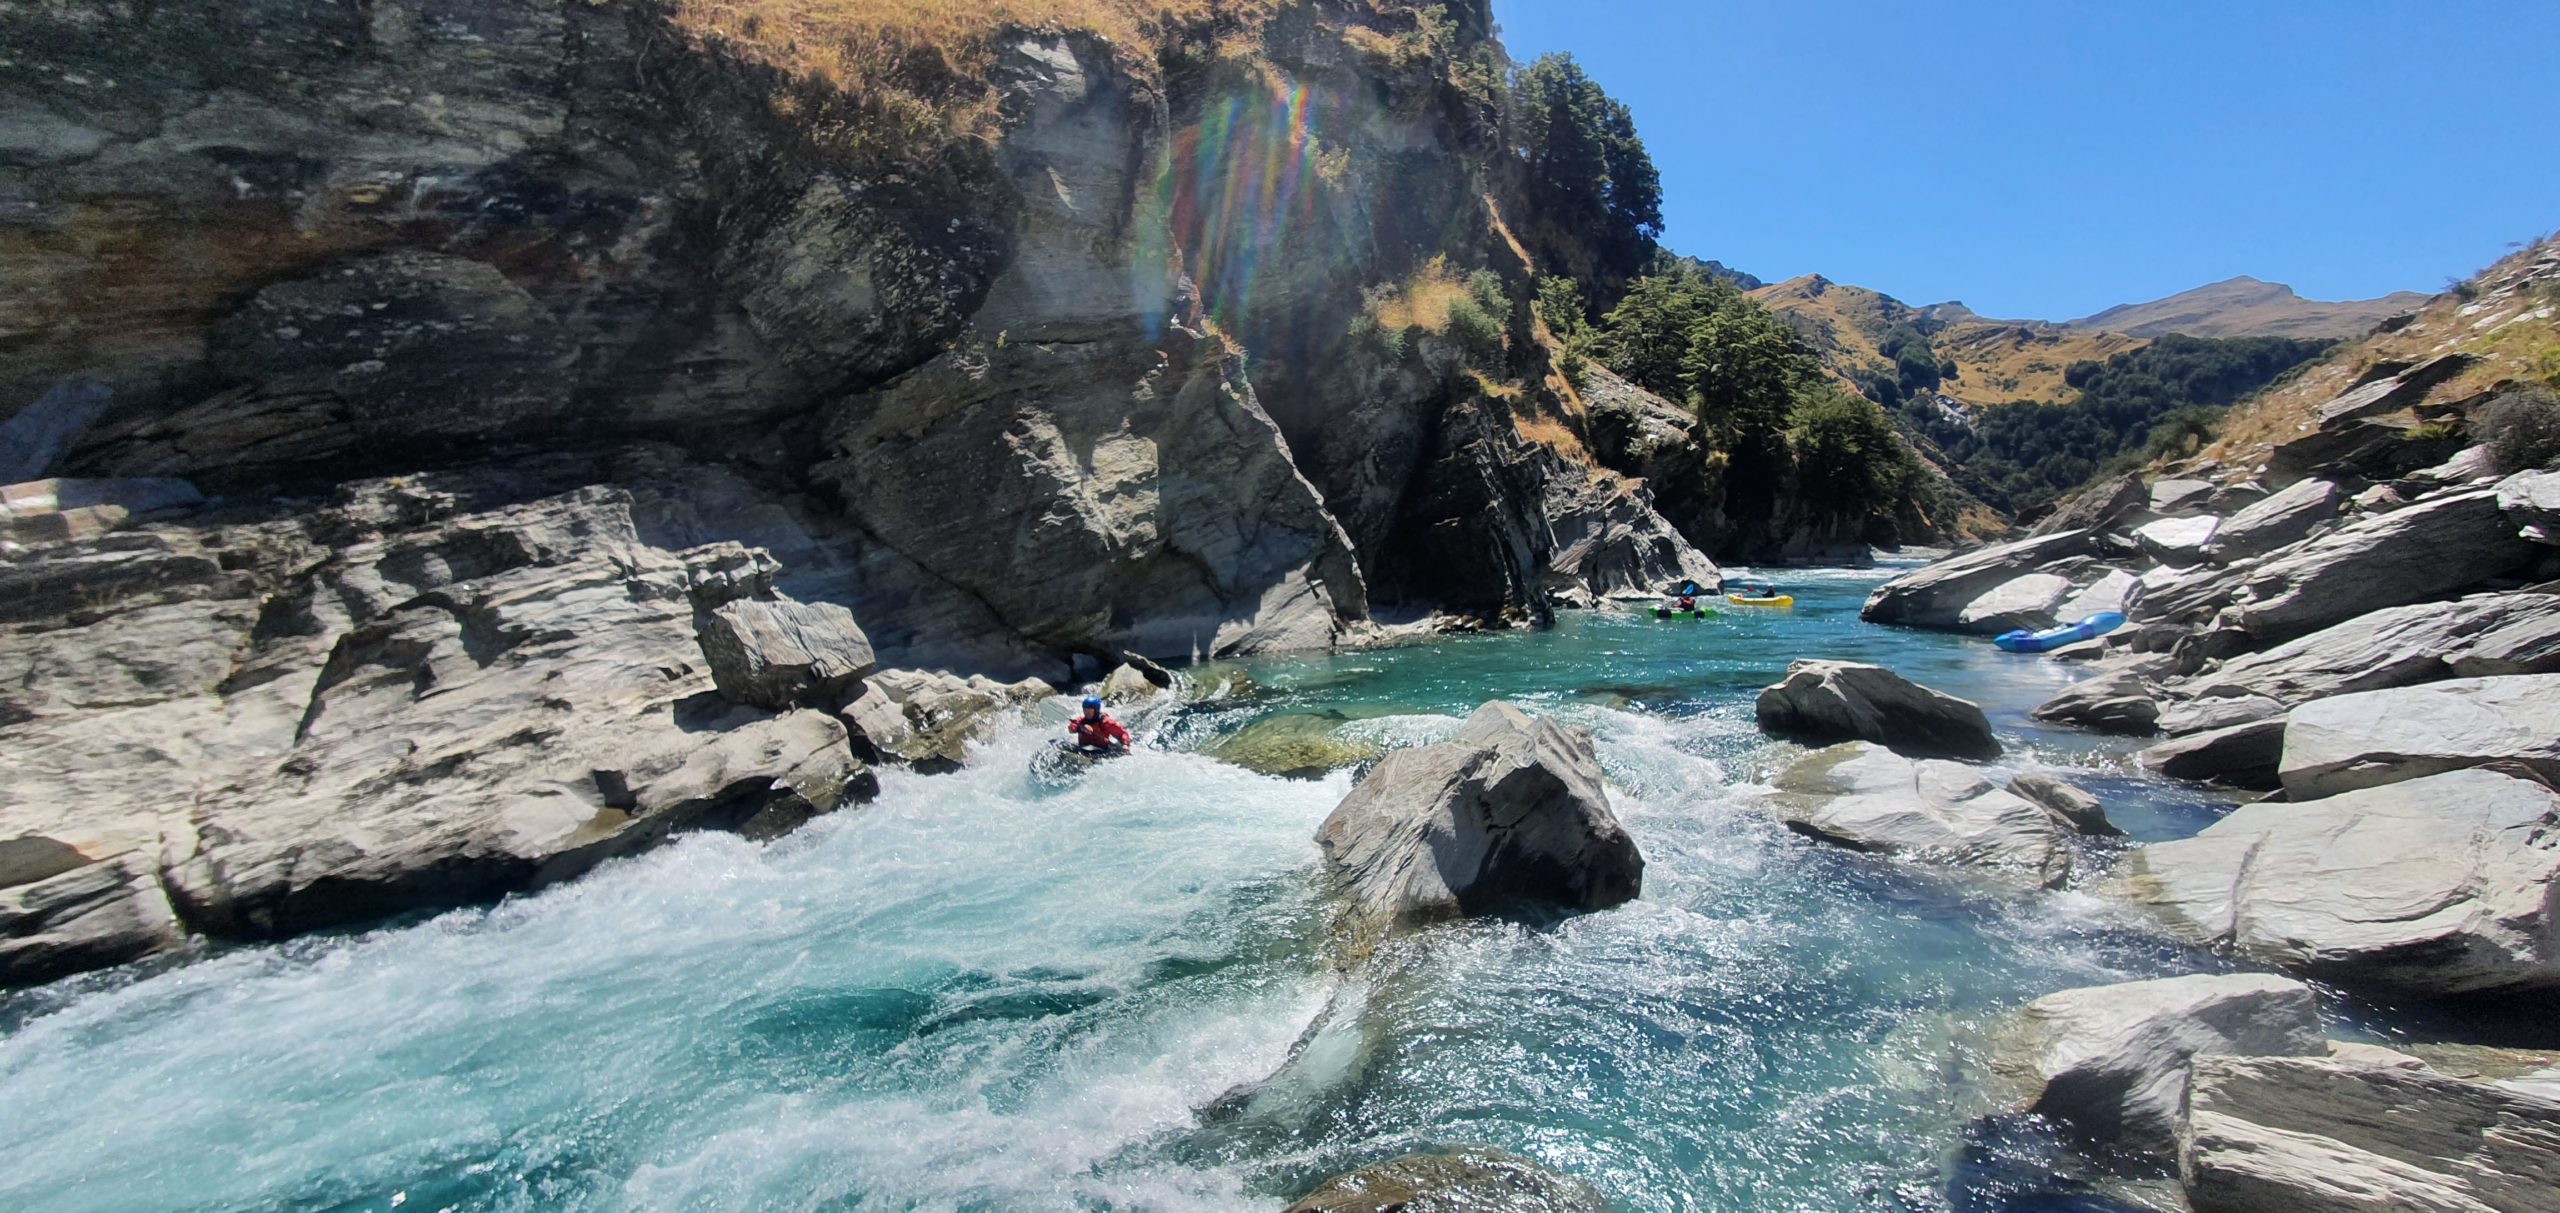
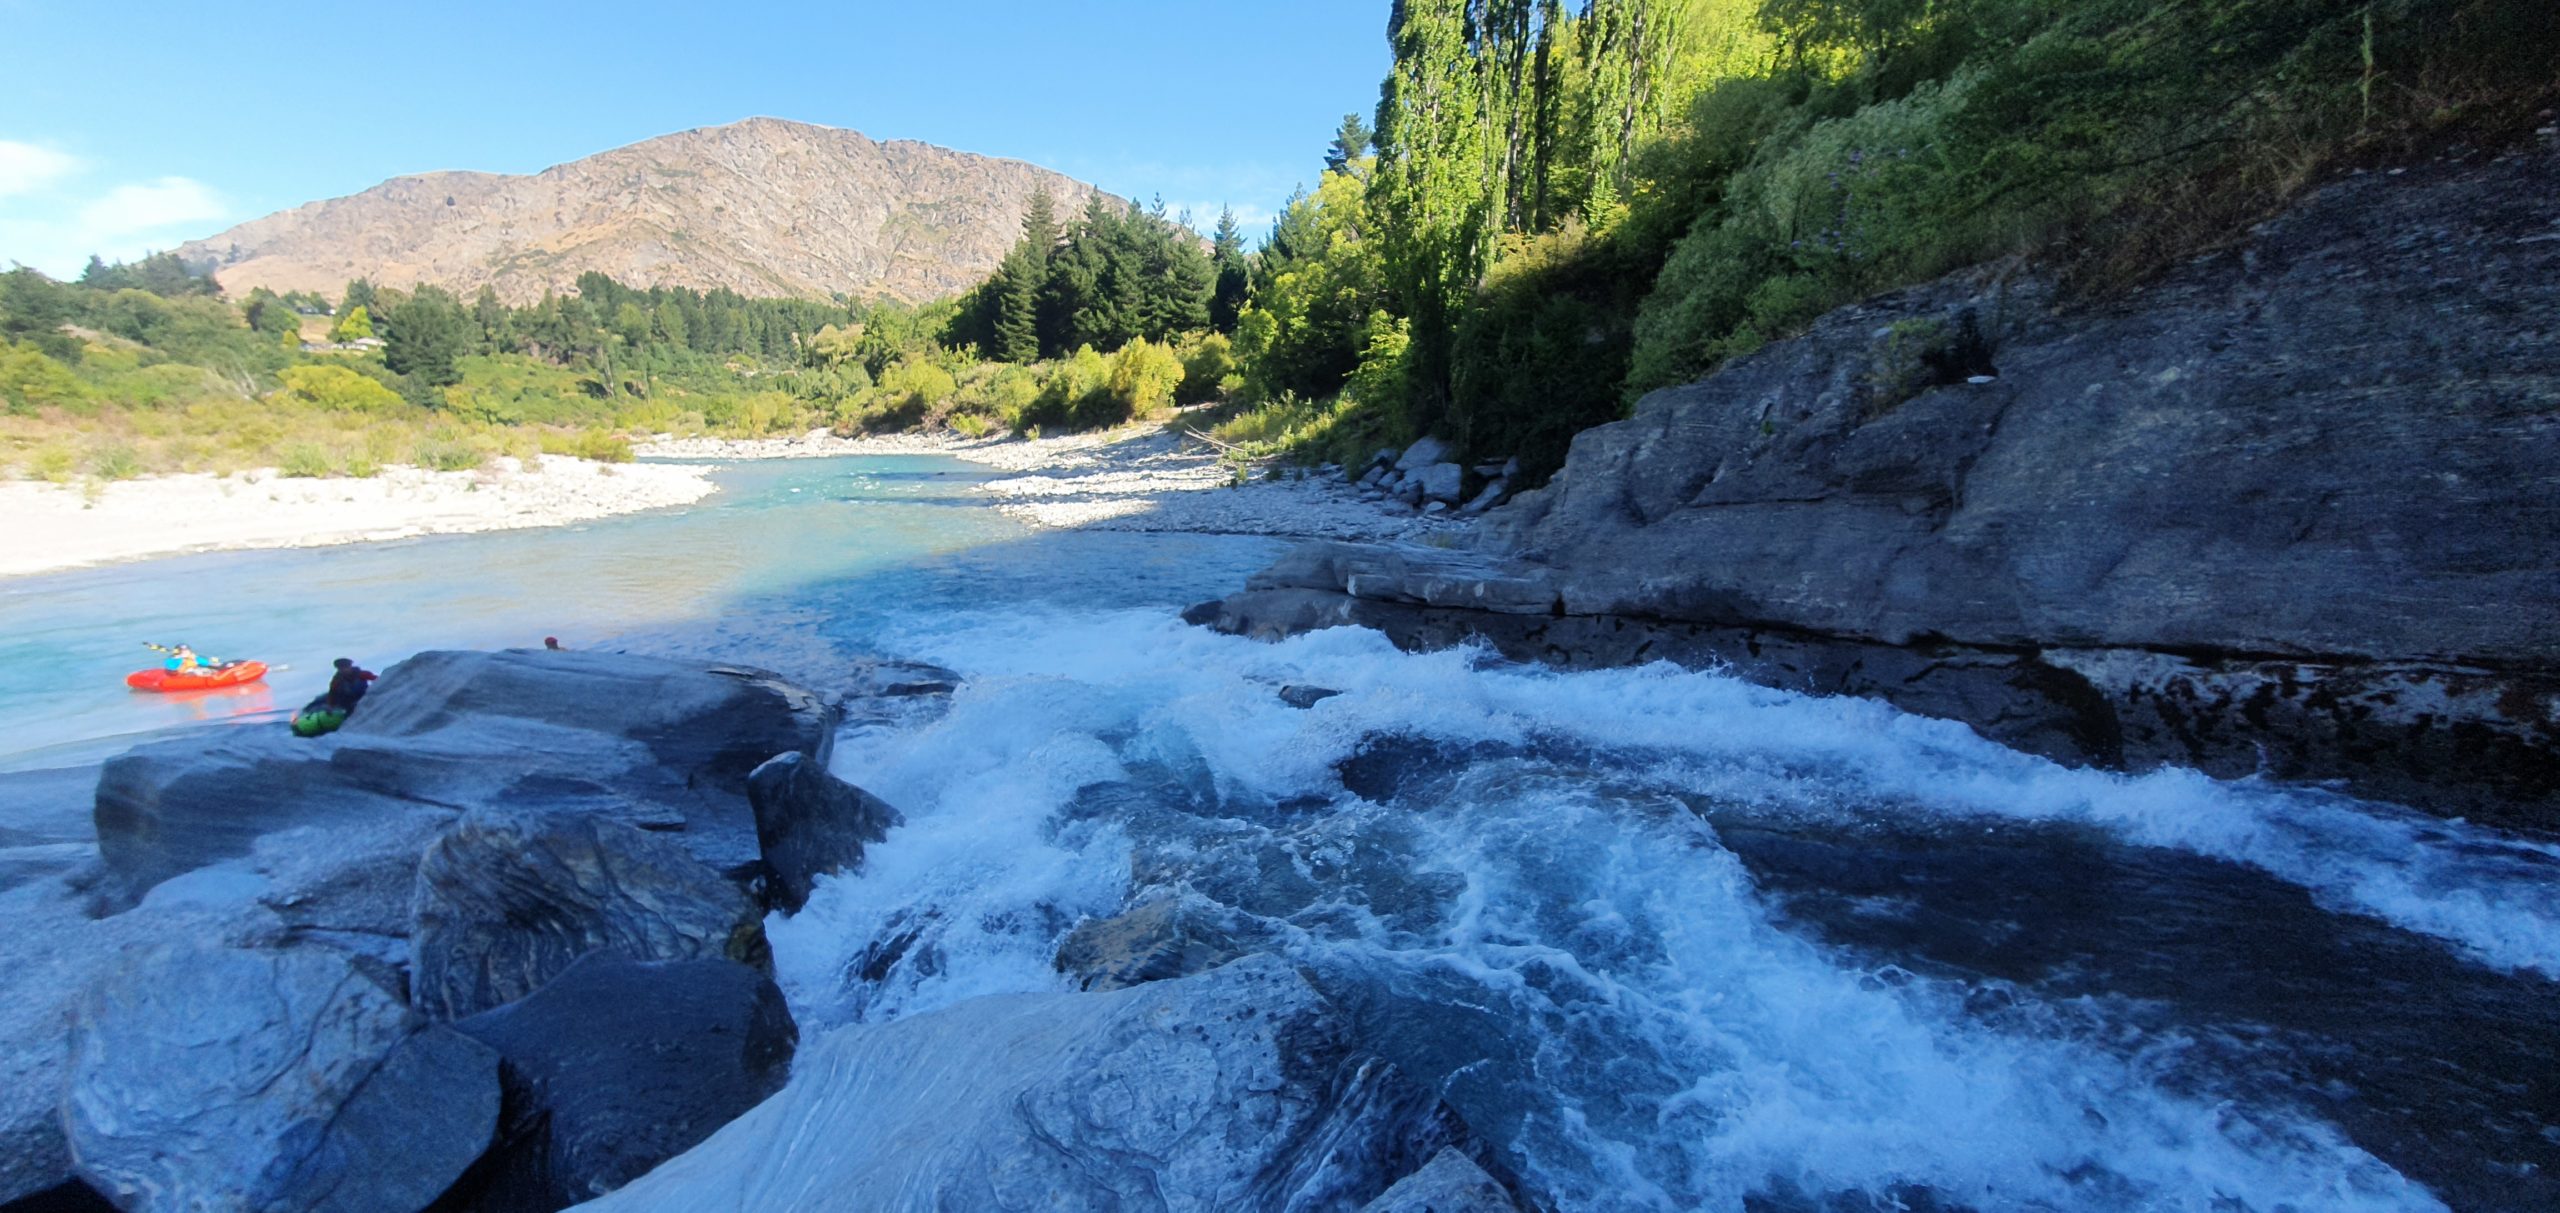
The photos on this trip page are all taken at the lower end of the range (12 cumecs) and the teams felt the paddling was still good at these flows. Much below this, and it’s likely to be bony in upper reaches.
Jenny’s group had around 30 cumecs, and reported that as a great flow: no scraping on the braids, and manageable paddling for the grade in the gorges.
The consensus (at present) is 10-40 cumecs is a reasonable range for packrafting flows on the Peats Hut guage.
Kayaker flows
Its worth noting that the Kayaking guides reference the Shotover at Bowens Peak, which is much further downstream, and gives higher values than the Peats gauge at the same time.
If you’re thinking of shuttling the lower gorge only, you might find yourself chatting with kayakers, so its worth using kayaker flow lingo.
Lower gorge guidebook flows for “Shotover at Bowens Peak” gauge are considered 30-60 for (IV) and 60-90 (IV+), but experienced kayakers say it is still a fun paddle at flows less than 30, and even more suitable for ‘softshells’ (packrafts). Kayakers have paddled the lower gorge as low as 9 cumecs on Bowens peak gauge.
Awesome trip. We got claged in on the saddle and had to take the low route. The sidled around was hard work; stay higher than we did (>1200m) to avoid the Spaniards!
One thing we weren’t clear on from the write ups was the ease of eddying out before the grade 4’s (which we did not run!), but it turned out there was plenty of opportunity to exit before the the rapids if you were keeping a good eye out. We packed down completely to portage the first grade 4, it took us over an hour to portage but well worth the effort. The other grade 4’s we rock hopped with boats.
Fantastic trip, many thanks to everyone involved writing this up in so much detail