


Adventure through lagoons, braids and wild coastlines
The trip from the Whataroa highway bridge to Ōkārito village is an excellent one-day landscape traverse, with a bit of adventure navigation through deep blue glacial waters, wild coastline and lagoons home to one of New Zealand’s rarest birds.
With road access to the lower Whataroa Gorge, there are options for a shorter traverse or a straightforward car-to-car run.
Thank you to Timothy Burrell for the information and photos for this trip page. Write-up, maps and edits by Dan Clearwater
View Larger Topographic Map
Overview & planning
The whole trip is a reasonably long day when including the shuttle. There’s cozy accommodation at Ōkārito village itself, plus camping nearby at Lake Mapourika (DOC site, requires booking).
- SH6 Bridge to Whataroa Gorge Rd (II) 1-2hrs / 19km
- Whataroa Gorge Rd to the sea (I) 1-1.5hrs / 12km
- Coastal walk 3-4hrs / 11km
- Lagoon paddle 1hr / 2.5km
- Total 7-8.5hrs
Shuttle & Coffee
If you time it right, pop into Ōkārito Kayaks as soon as they open for a coffee. If you ask nicely, you might get some hot tips on tides and lagoon conditions from the locals! They offer guided lagoon kayak trips, and there’s also kayak rental and self-guided options if the rivers are too high… (see this DOC brochure with information on local wildlife, history and info on the peaks/views you get. )
Drop a car at the Ōkārito Wharf Building, then drive 28km / 25 mins to a gravel pit on the true left, downstream side of the Whataroa River bridge. Park so you don’t block access to the vehicle tracks or gravel piles.
Tides & the lagoon
The forest just north of the lagoon is the only breeding location in NZ for the Kōtuku / White Heron. Birders come from all over to try to catch a glimpse of this rare wading bird.
The lagoon is shallow and tidal. Of particular note, you’ll need to cross the lagoon as it begins to narrow and flow out to the sea. This means there can be a reasonable tidal current, which can push you out towards the mouth. The peak outflow is about 2/3 the time between high tide and low tide. (Check the Ōkārito tide charts) Avoiding that time is wise, plus having good ferrying technique and awareness of the flows. If you can’t paddle up current to reach the Wharf, there’s options to get out on the sand bars and walk the river bank back. Just avoid getting anywhere near the waves/surf at the river mouth!
Wind
In the warmer months, a sea breeze develops during the day, which can make for a troublesome headwind. A good tactic is to start early – which you’ll probably be doing anyway since its a reasonably long day. Also watch the overal wind forecast – the whole route is exposed to the prevailing winds from the west.
Ever-changing braids of the Whataroa
Be aware that the path of the Whataroa varies between floods – anticipate the need for routefinding, decision making and a bit of an adventure, especially upstream of the Gorge..
Whataroa bridge to Gorge (I/II) 1-2hrs / 19km
From the car park, follow a vehicle track towards the bridge and put in there.
The Whataroa is a pretty big river, so although there’s no major rapids, the water usually has plenty of force. Expect some wave trains and powerful eddy lines in places. Enjoy the wide open views back to the Southern Alps.
Not far below the highway, the river becomes heavily braided – and here’s the first decision point. Unless you enjoy getting lost, a GPS with some Topo50 map and satellite imagery will be helpful. Even with those, you’ll need to make some route-finding decisions because the main channel varies from flood to flood.
At the time of writing, the main channel heads to the East of “The Exile” (forrested hill on the plain) into White Heron Lagoon and Lake Rotokino. A detour via the lakes adds about 7-8km of distance on flat water..
In general, aim to keep left, and try to follow the braids that bypass those lakes to the west. At times of high flow, this might be floating all the way.. Or you might be carrying your boats across gravel bars for a while.
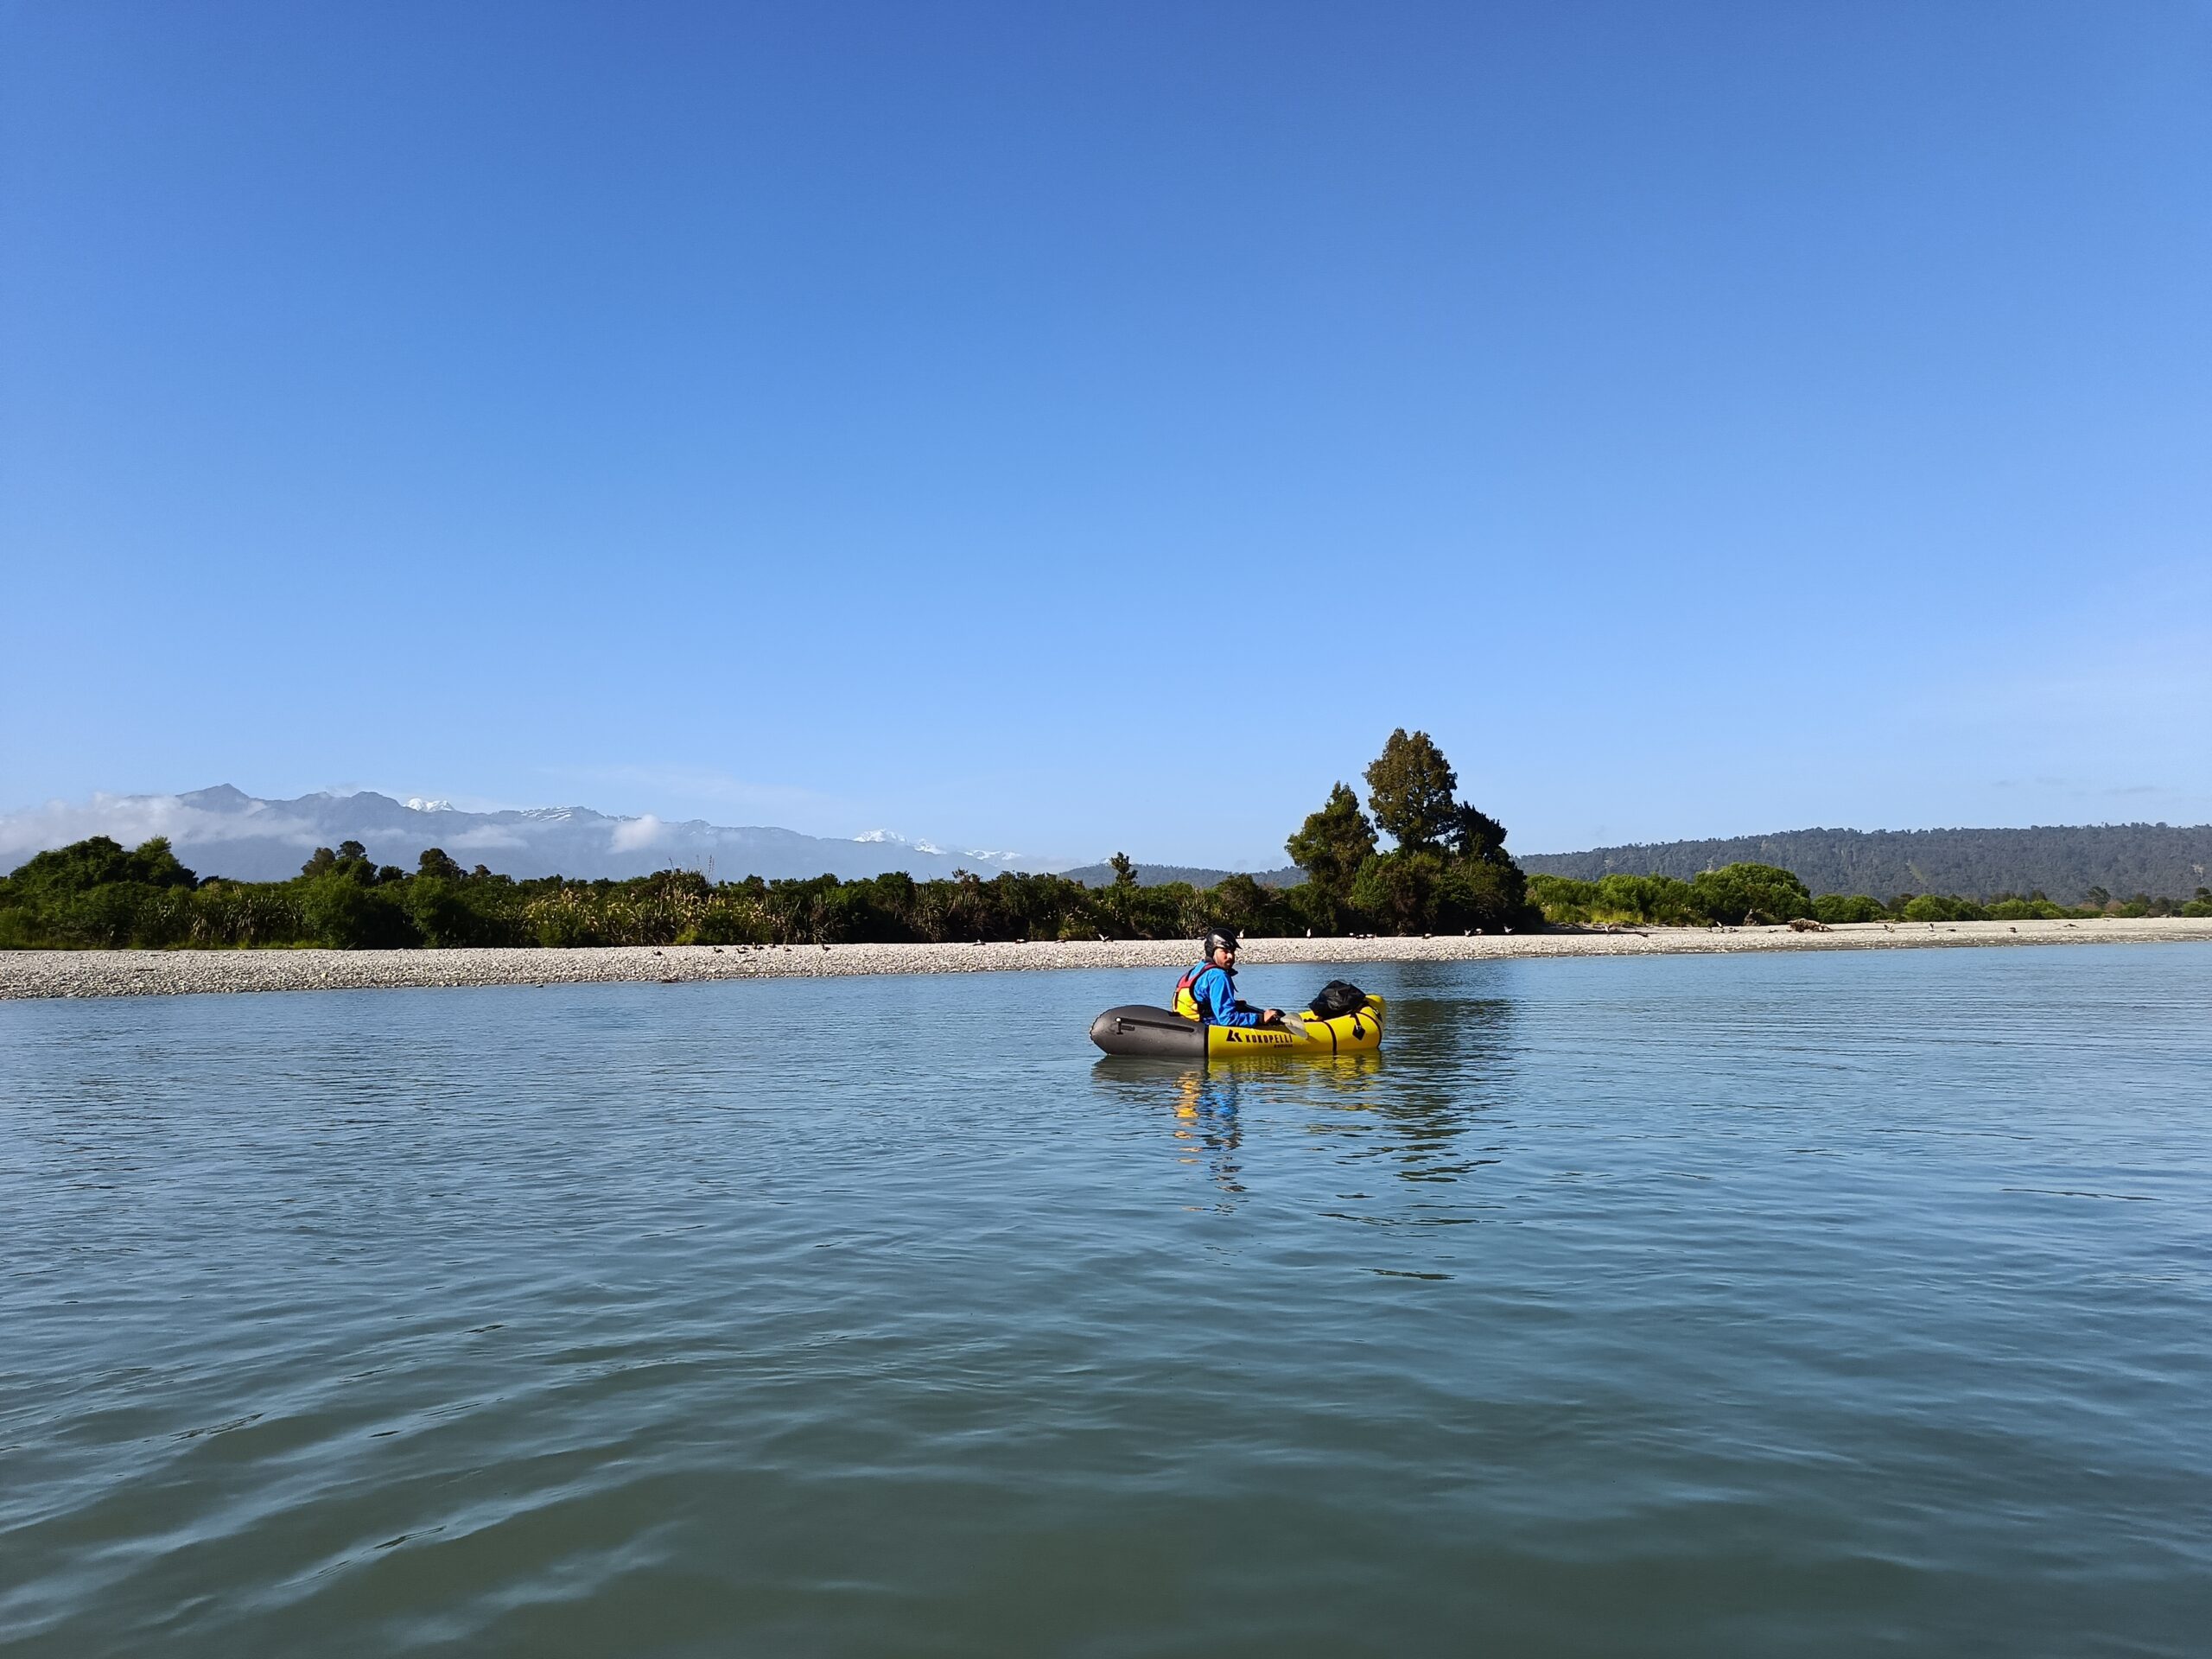
Below the Rotokino River confluence, the forested hillside closes in on the true right, you’ll pass through the ‘Whataroa Gorge’, which isn’t really a true gorge – just where the river bed narrows into a single channel.
The Whataroa Gorge Rd comes in on the left as the true right hillside eases back to flats.
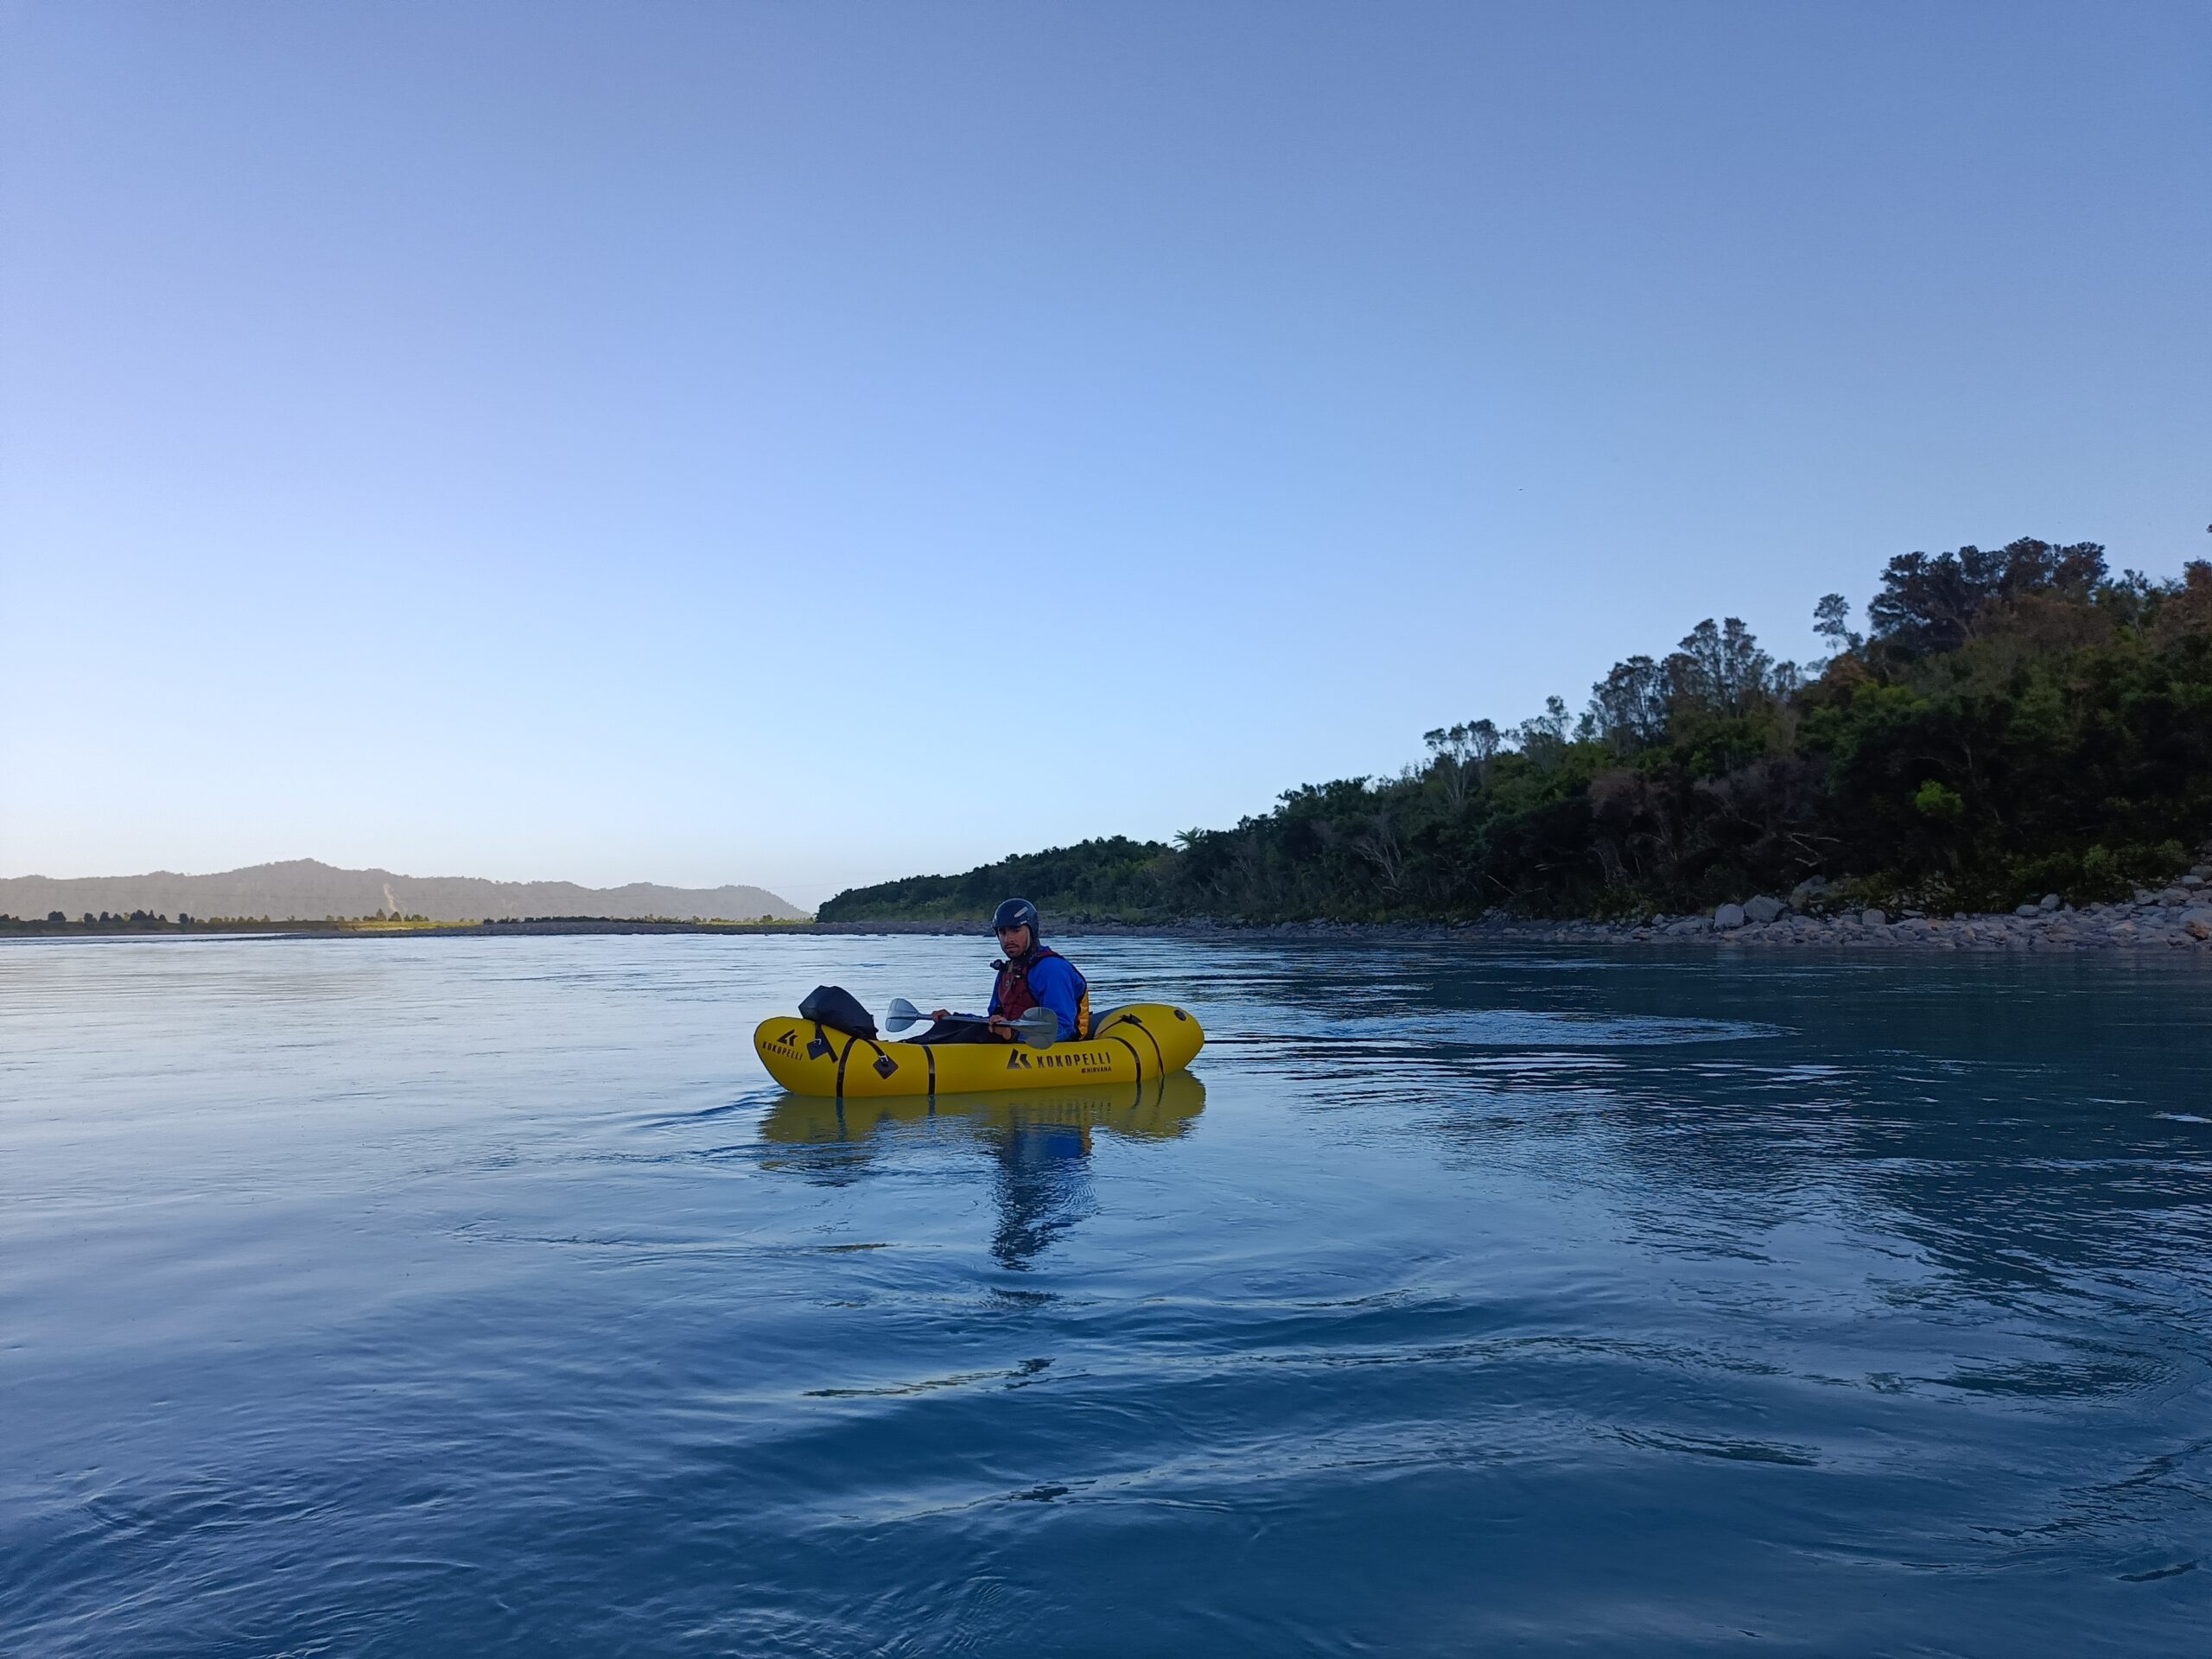
Whataroa Gorge to the sea (I) 1-1.5hrs / 12km
Below the gorge, it is just moving flatwater, with no rapids of note. There’s some more braids to navigate in the lower section.
At the coast, take out on the left before you get too close to the waves/breakers of the mouth.
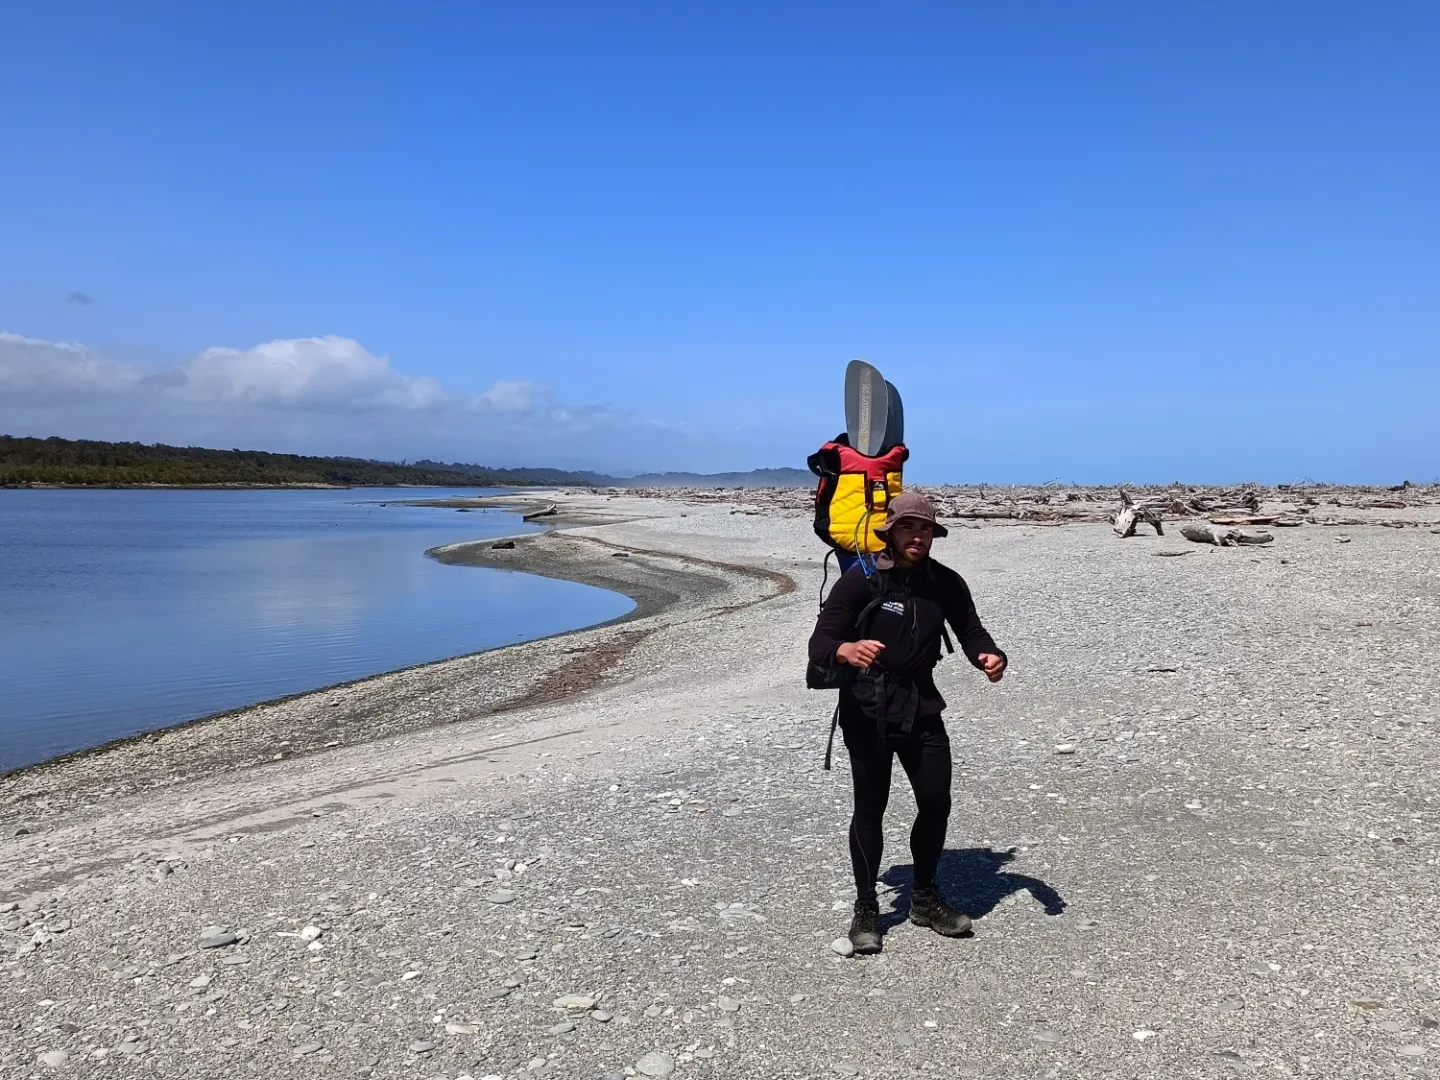
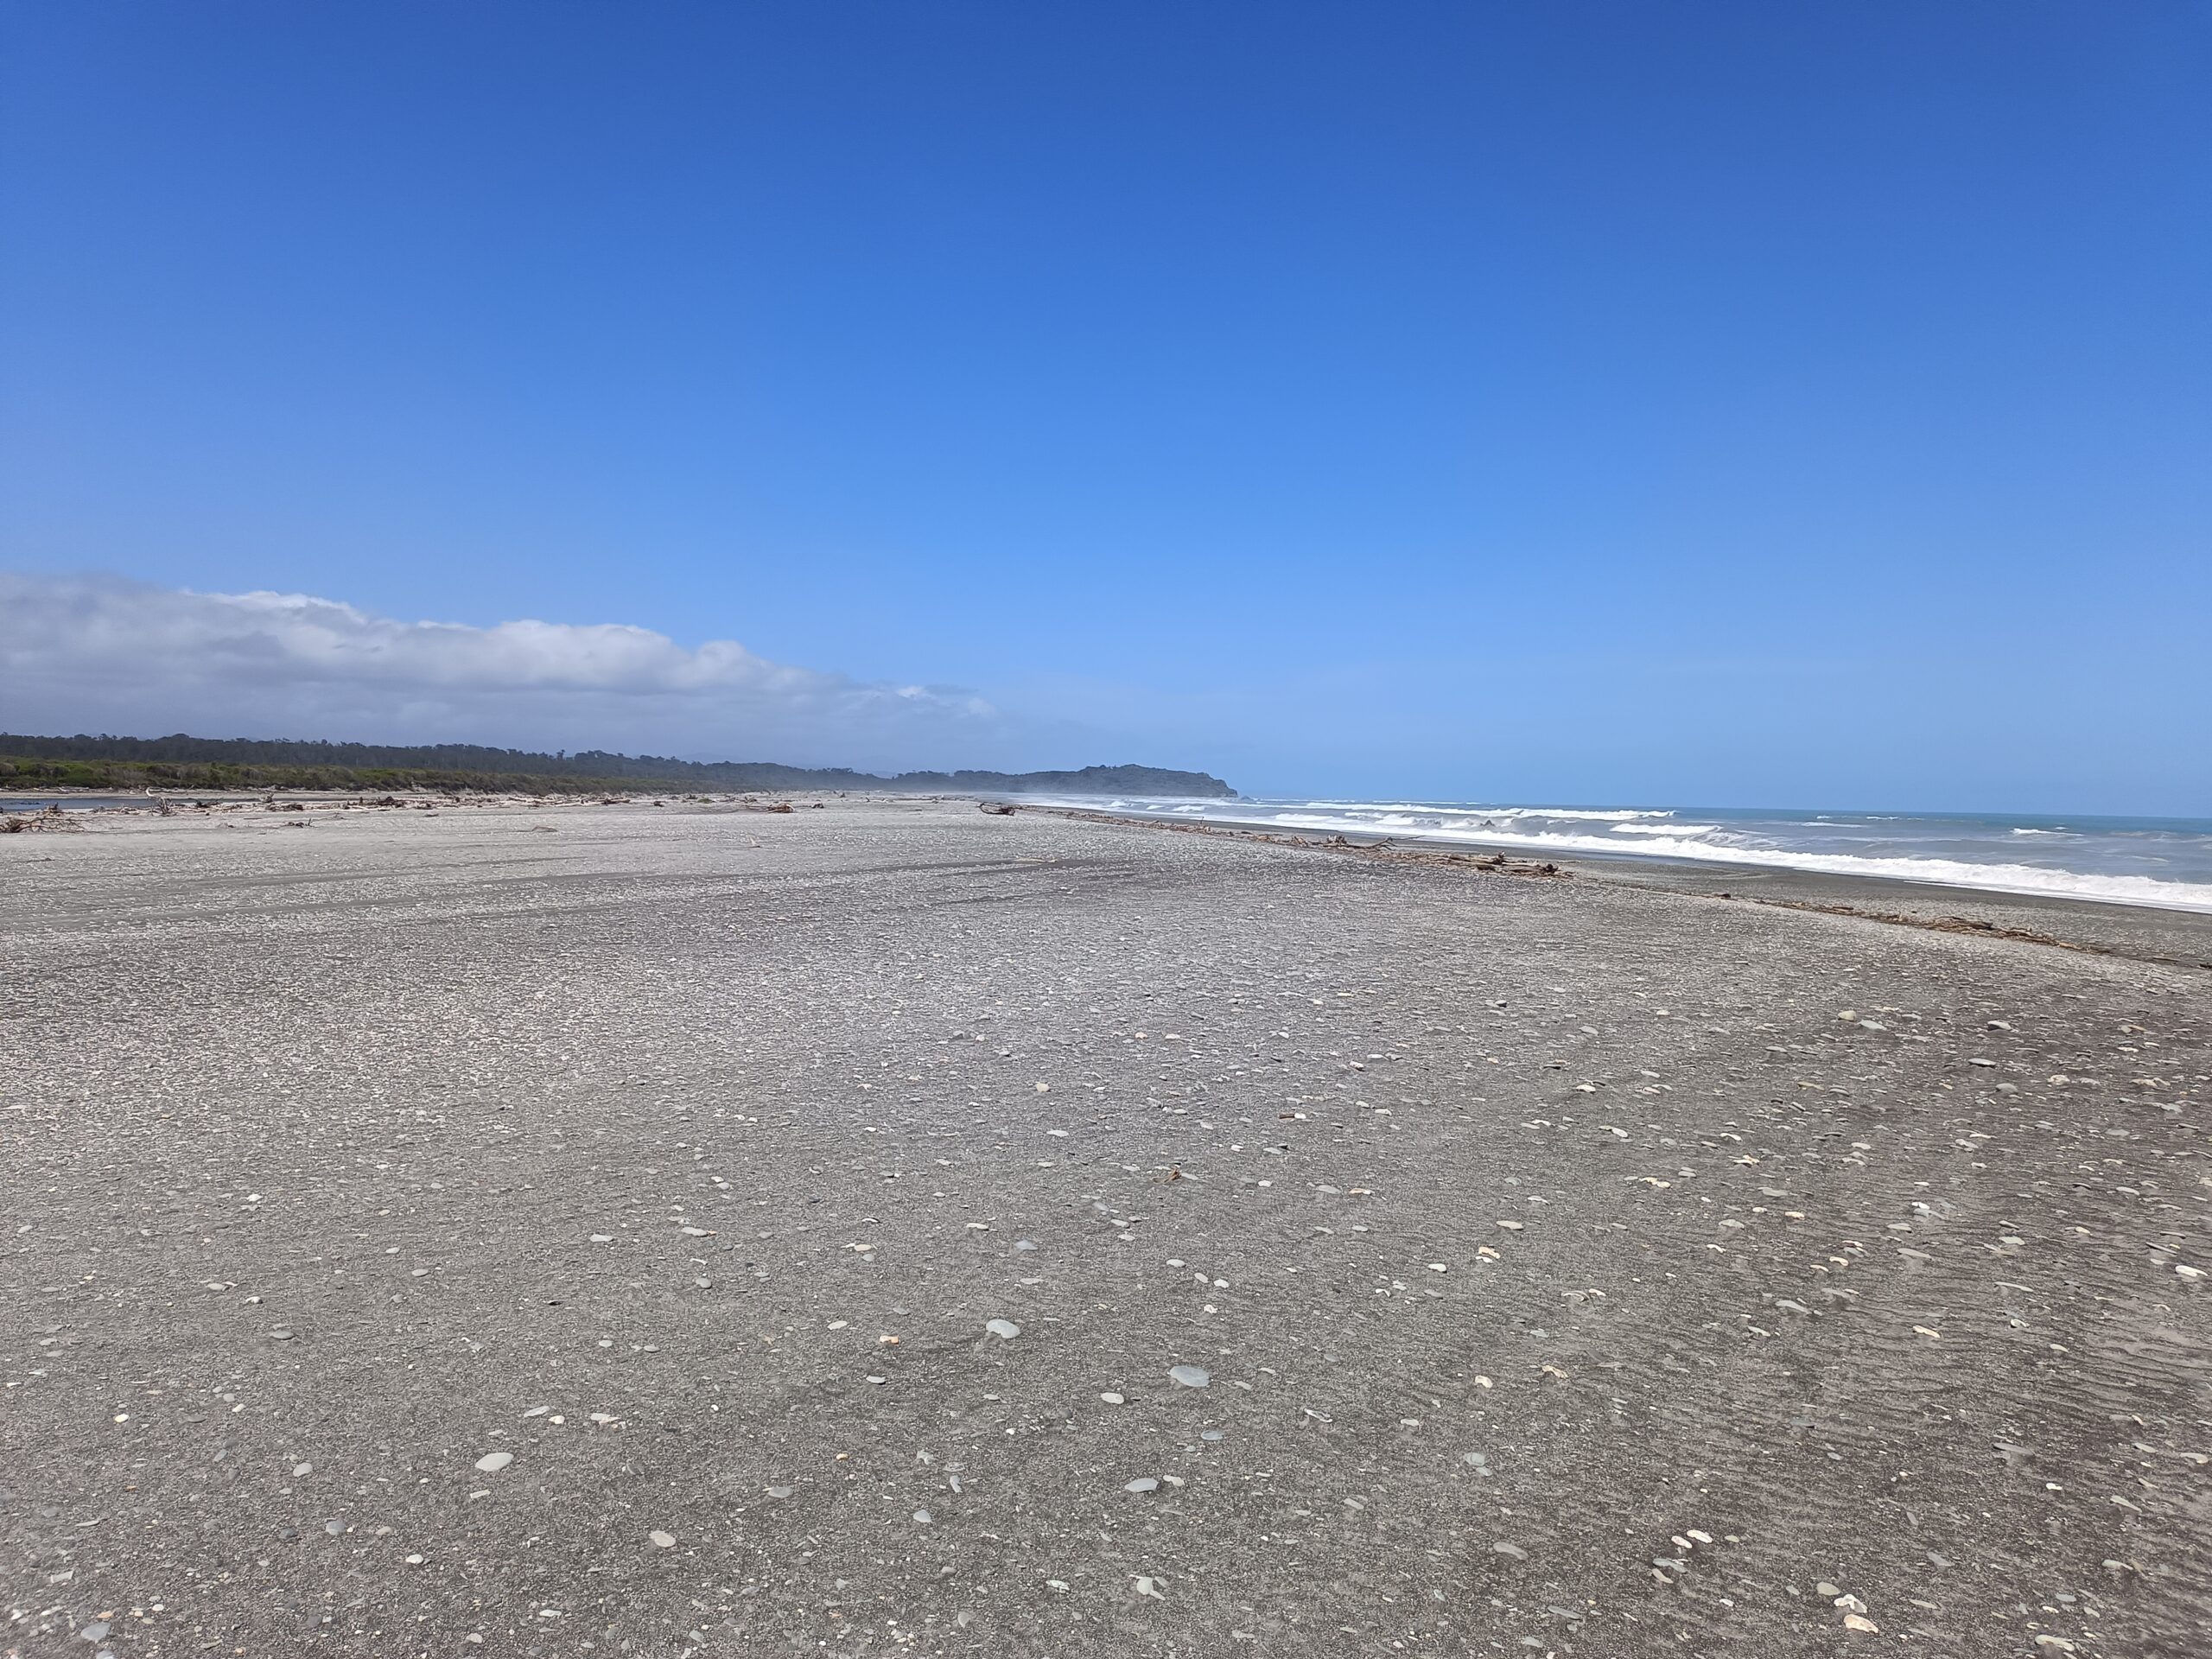
Coastal walk 3-4hr / 11km
Travel down the coast is possible at all tides, thanks to a track around Waitahi Bluff, which isn’t marked on the Topomap.
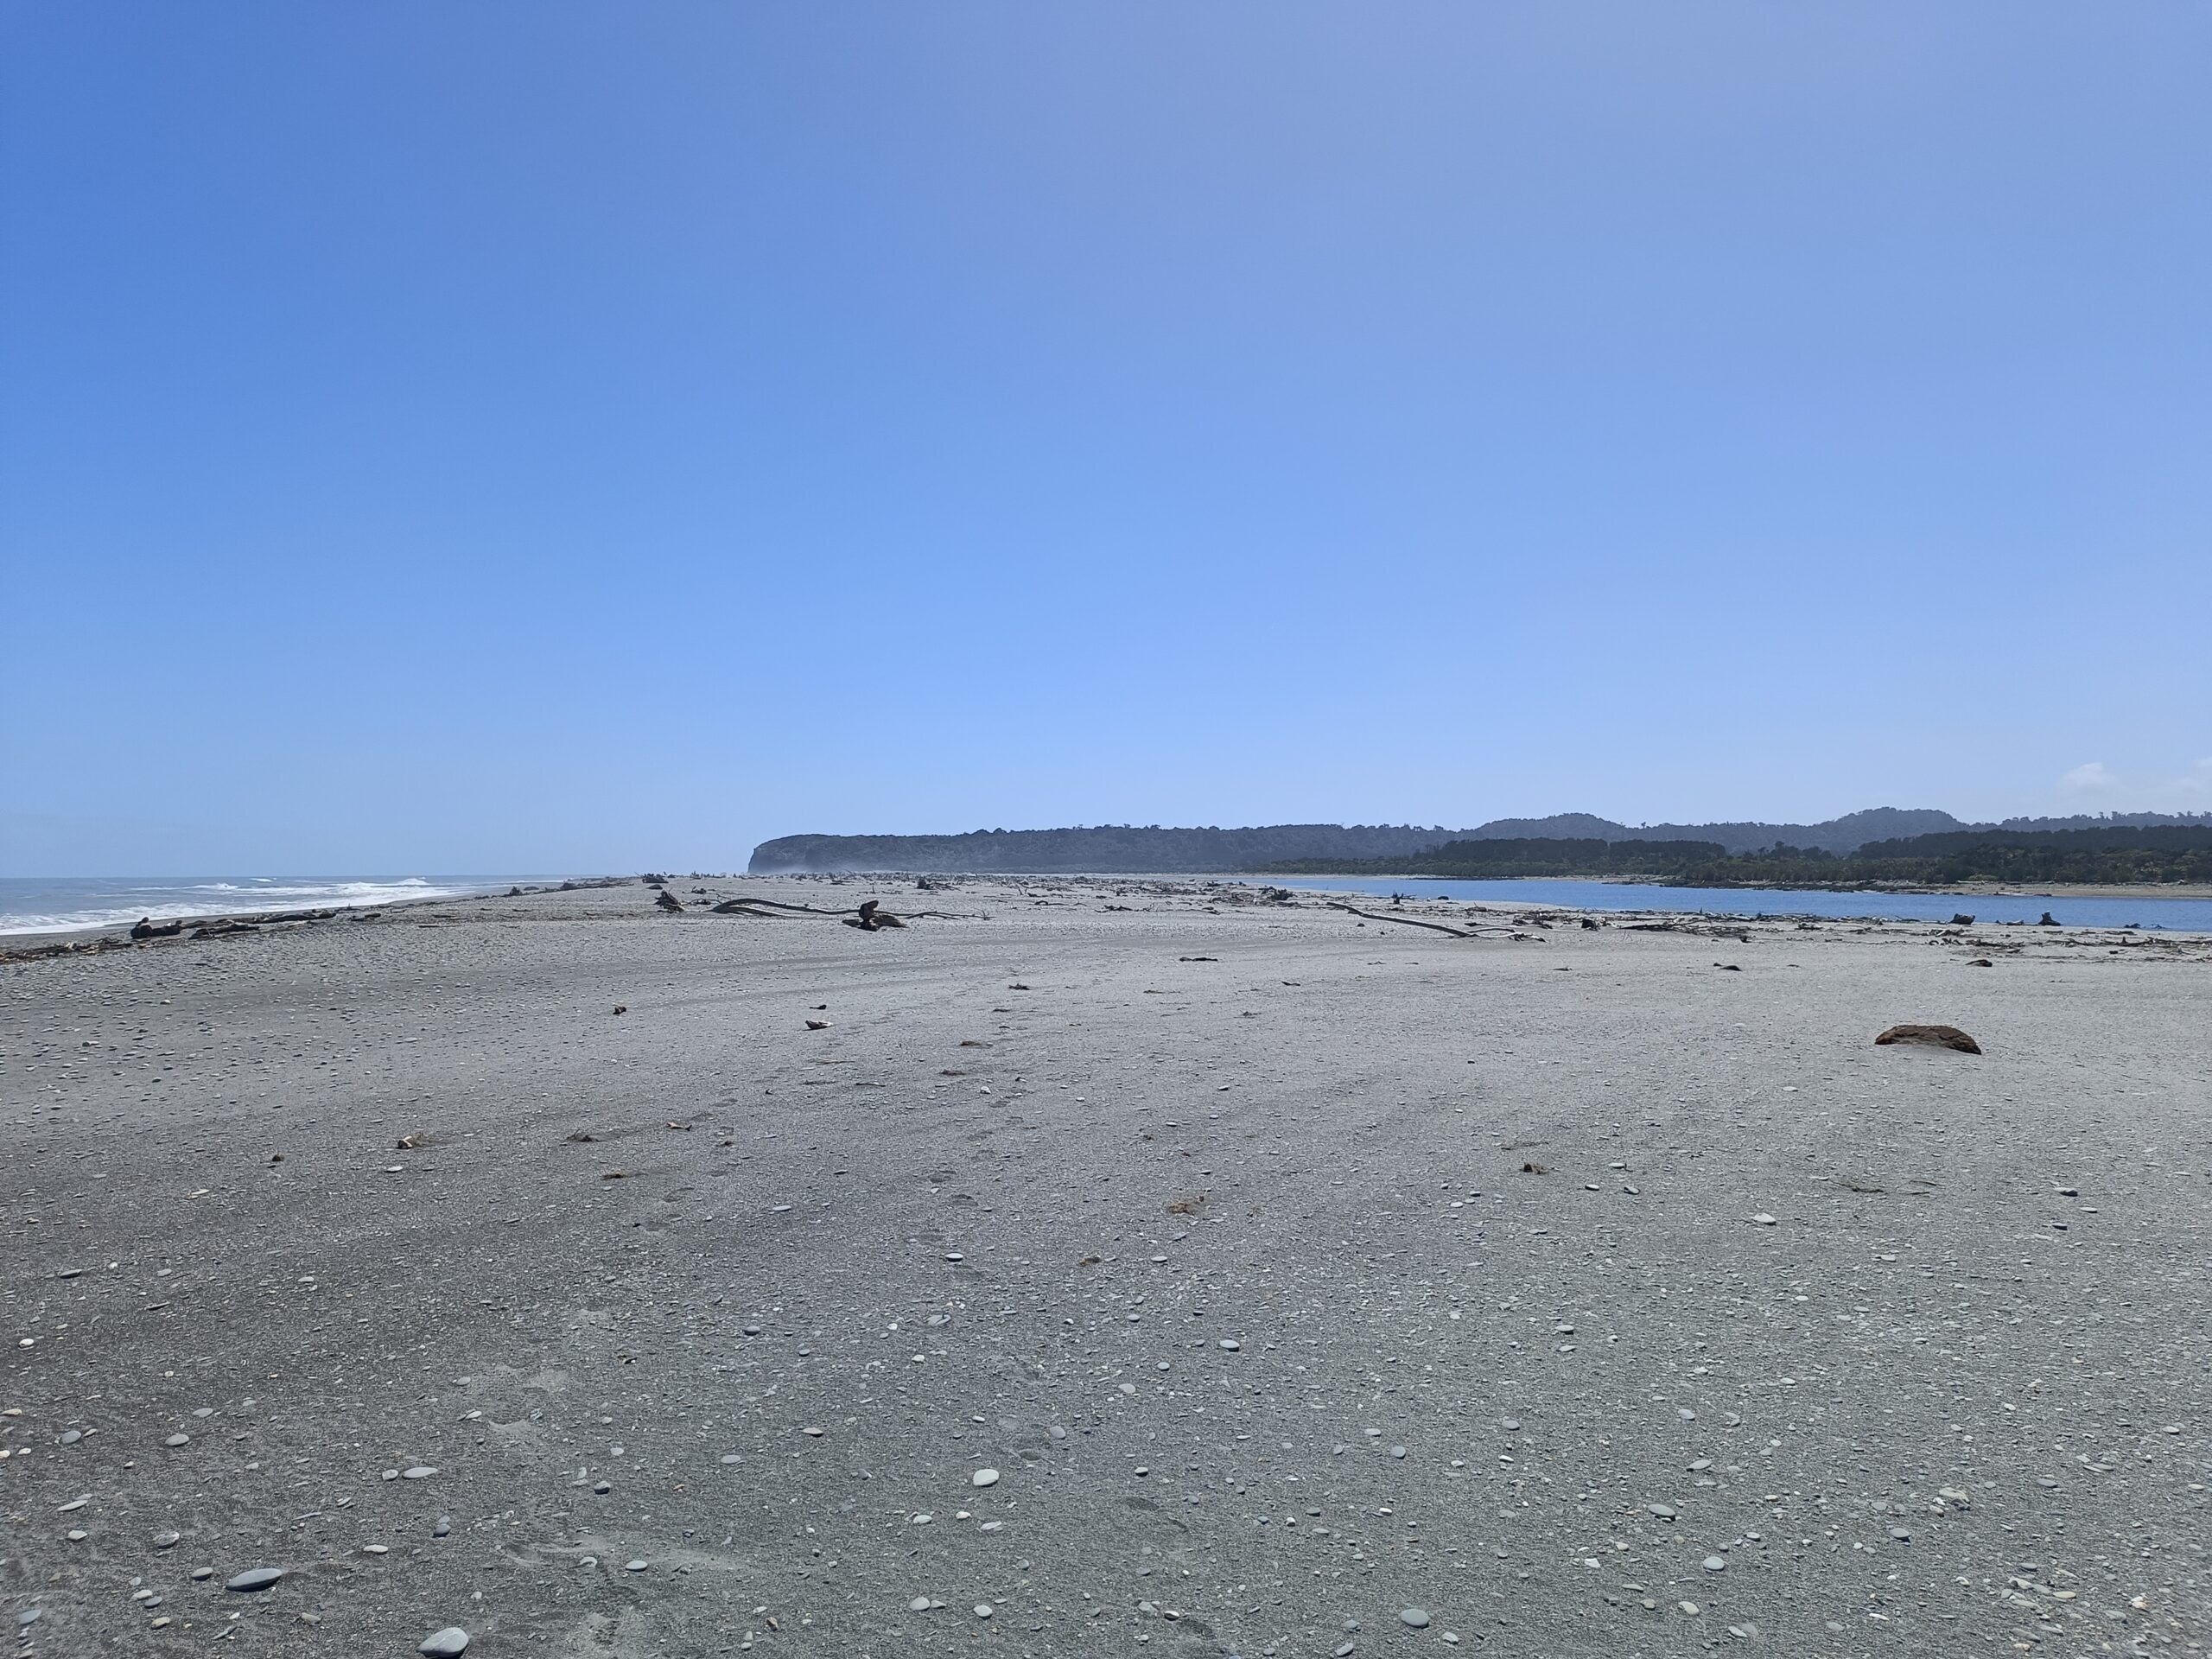
Crossing Waitangitāhuna River is usually possible without using your boat, and without much exposure to the surf. The mouth configuration can change between storms; at the time of writing, its a long narrow channel between the scrub and the ocean, rather than the short wide channel as shown on the Topomap.
Near the top of the island on the Ōkārito Lagoon, keep your eyes peeled for a track that enters the coastal scrub, which is less than 100m thick. Beyond the thick scrub belt, follow a vehicle track south accross grassy fields then more scrub to reach the shore of the lagoon. This route is on an unformed legal road (which means public walking access) but be aware there is a private hut within 50m of the route.
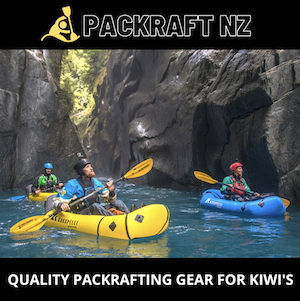
Lagoon paddle 1hr / 2.5km
Blow up and enjoy the final paddle down the main channel of the lagoon, taking note of the tidal considerations when you near the Wharf.
Gauge
Whataroa at SMB. (click the ‘Westland’ tab)
The Whataroa has a huge catchment, and due to the glaciers, holds water even when everything else is low. But for this trip, a bit of water is helpful, especially when you’re negotiating the braided sections. The values below are an educated guess – log your trips and tell us what you find so we can refine our numbers!
- <40 cumecs – probably a bit too low – likely to be too much walking.
- 40-70 cumecs – probably possible, but braids might be scrapey..
- 100-150 cumecs – probably a good level ( ‘post rain event’ flow, where its full, but not ‘in flood’)
- >150 cumecs – probably a bit high.
*A look at the long-term data shows that after rain events have flushed out, in the late summer season, residual glacial melt flows are between 20-30 cumecs on the gauge.