


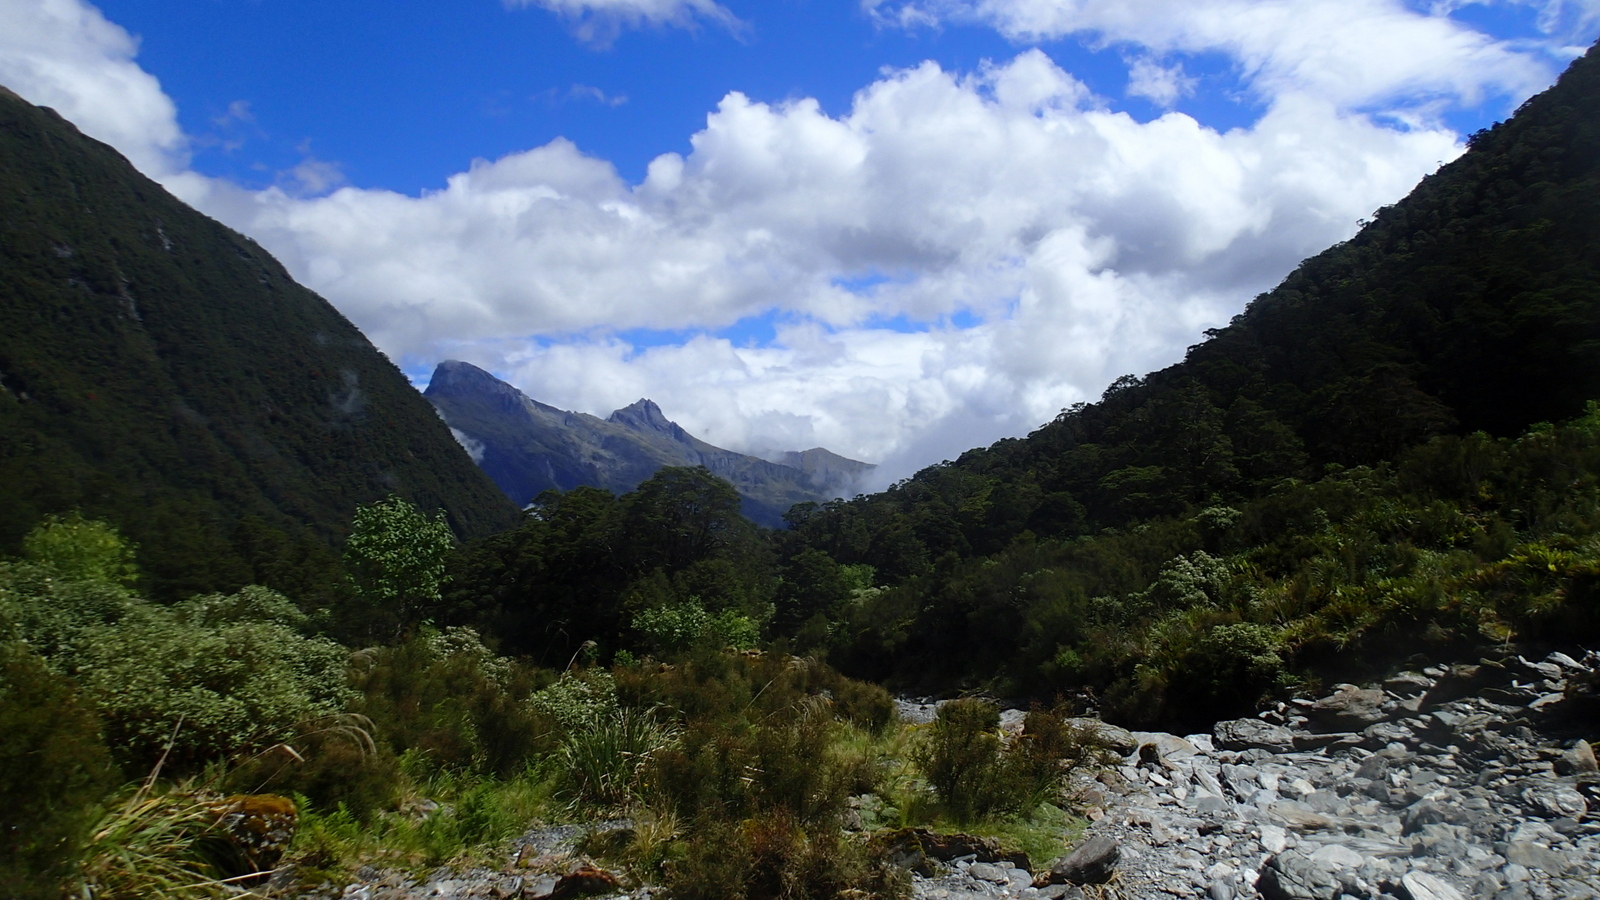
The Okuru is a gorgeous river, mainly class I, with a few class II rapids and about 6 in the class III range. One rapid near the top is closer to class IV- but is very easily portaged.
The options to get in there depend on your tastes: two really tough days of off-track travel through thick (and steep) South Westland scrub or a 10 minute flight with Haast Helicopters. Its your choice, but we’re packrafters aren’t we?
Thanks to Dan Clearwater for the walk in notes. Photos by Dan Clearwater, Jenny Cossey and Alan Swann.
The fly-in option – 2 days
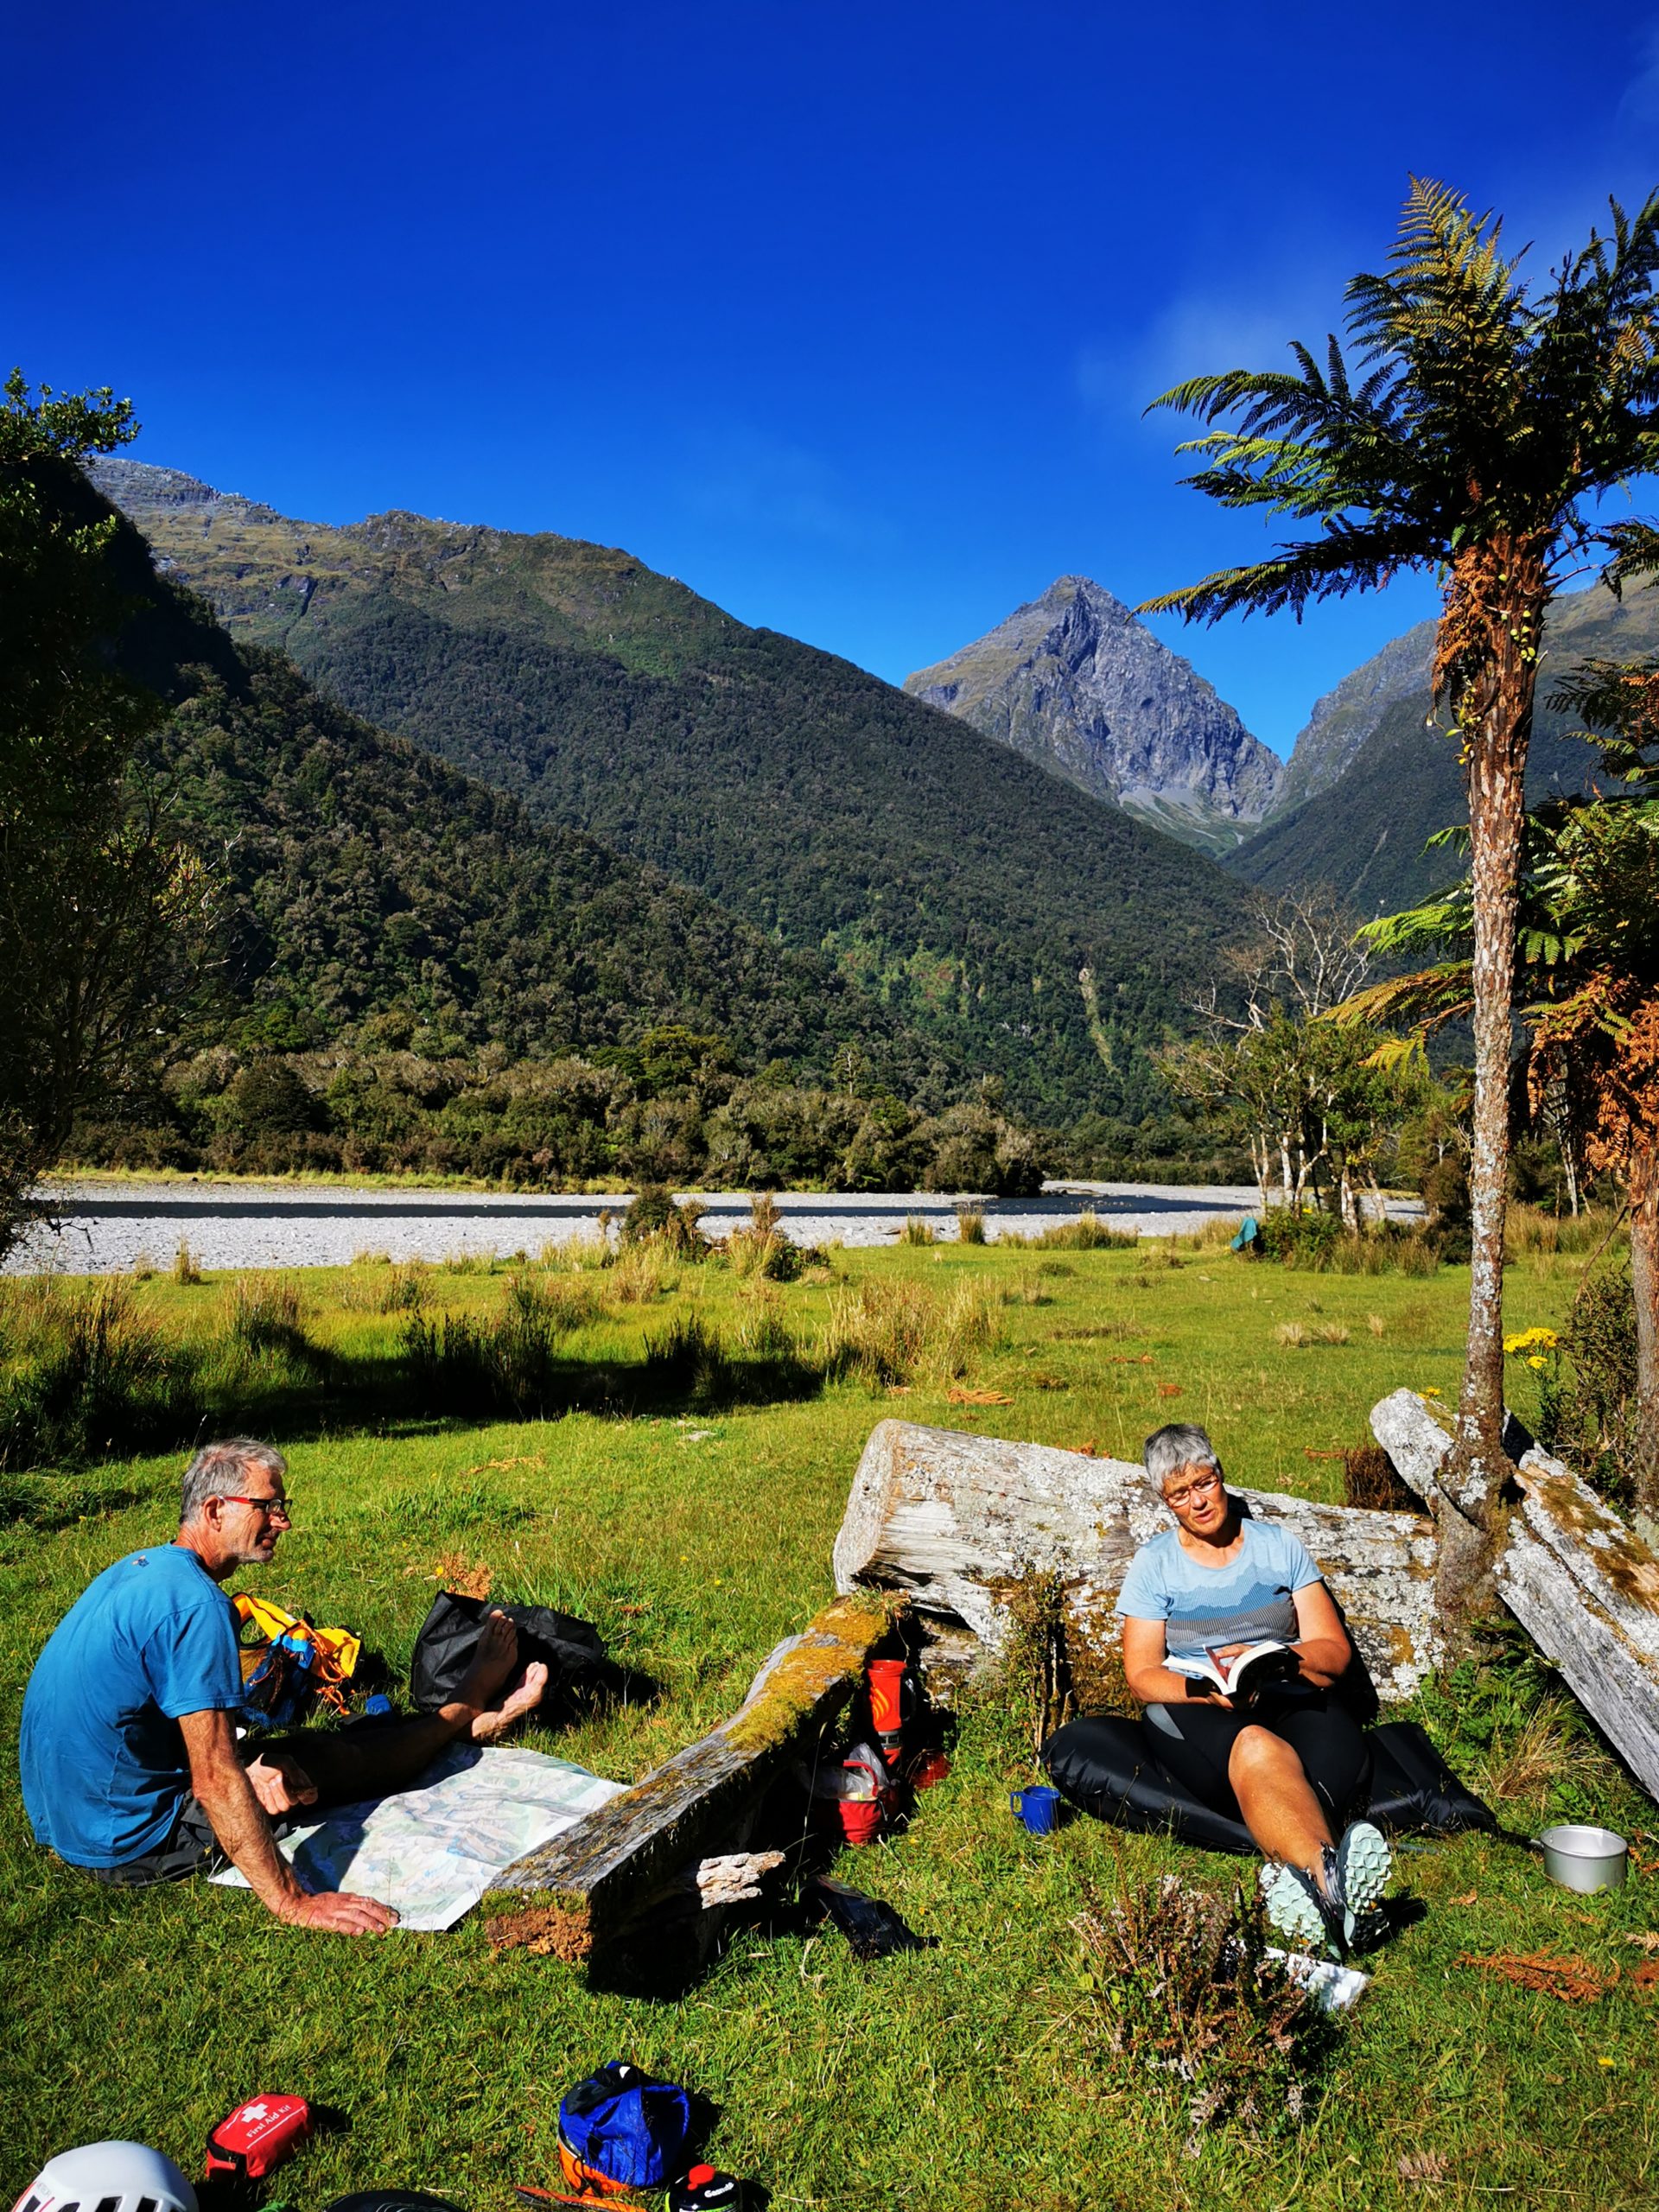
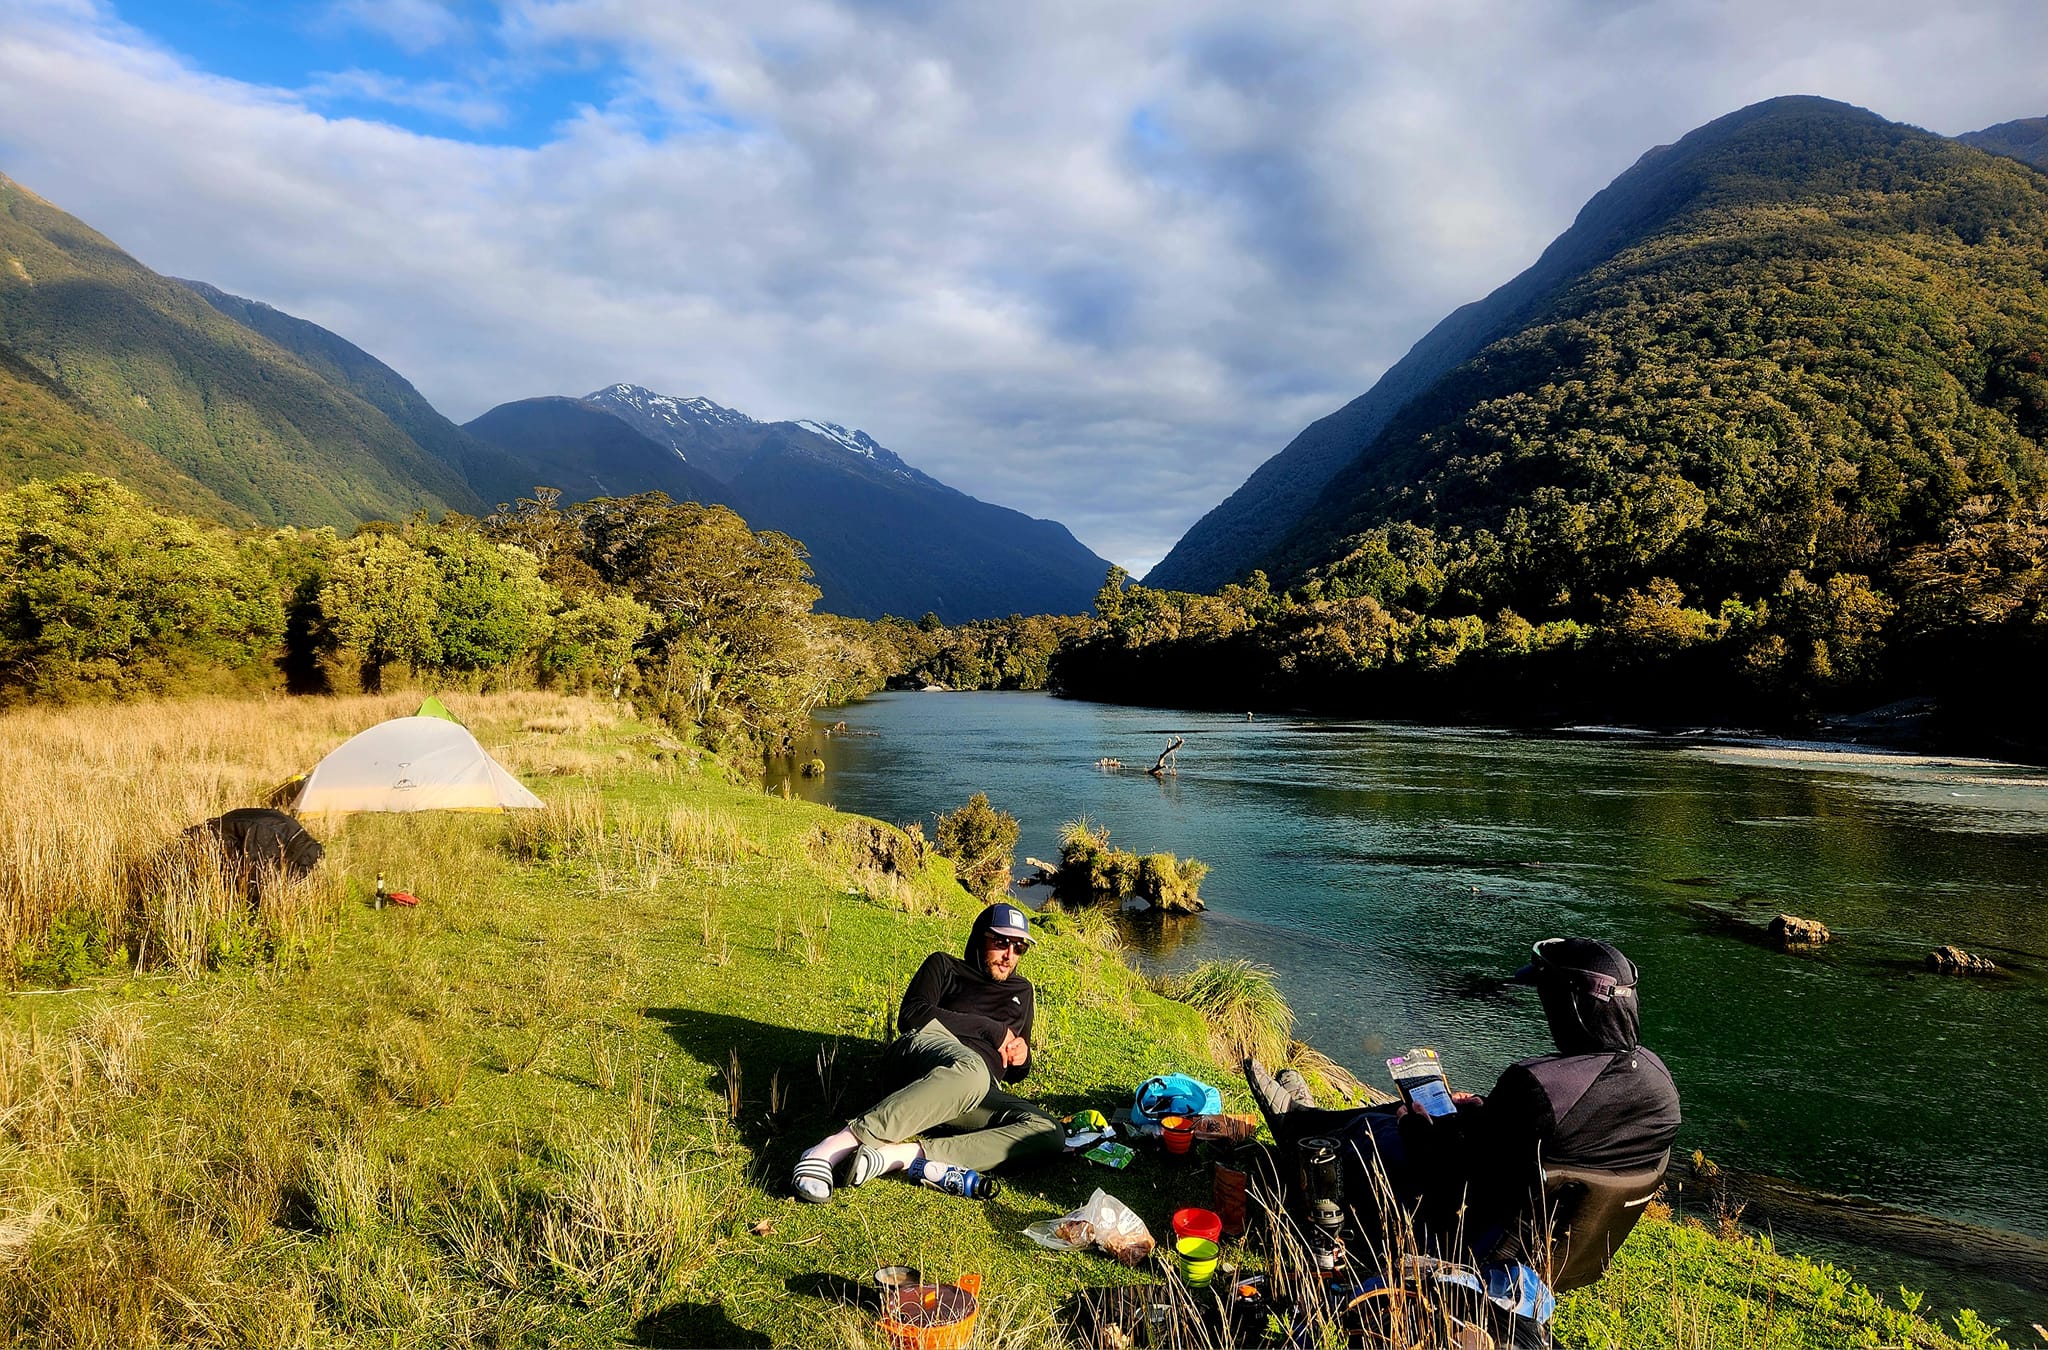
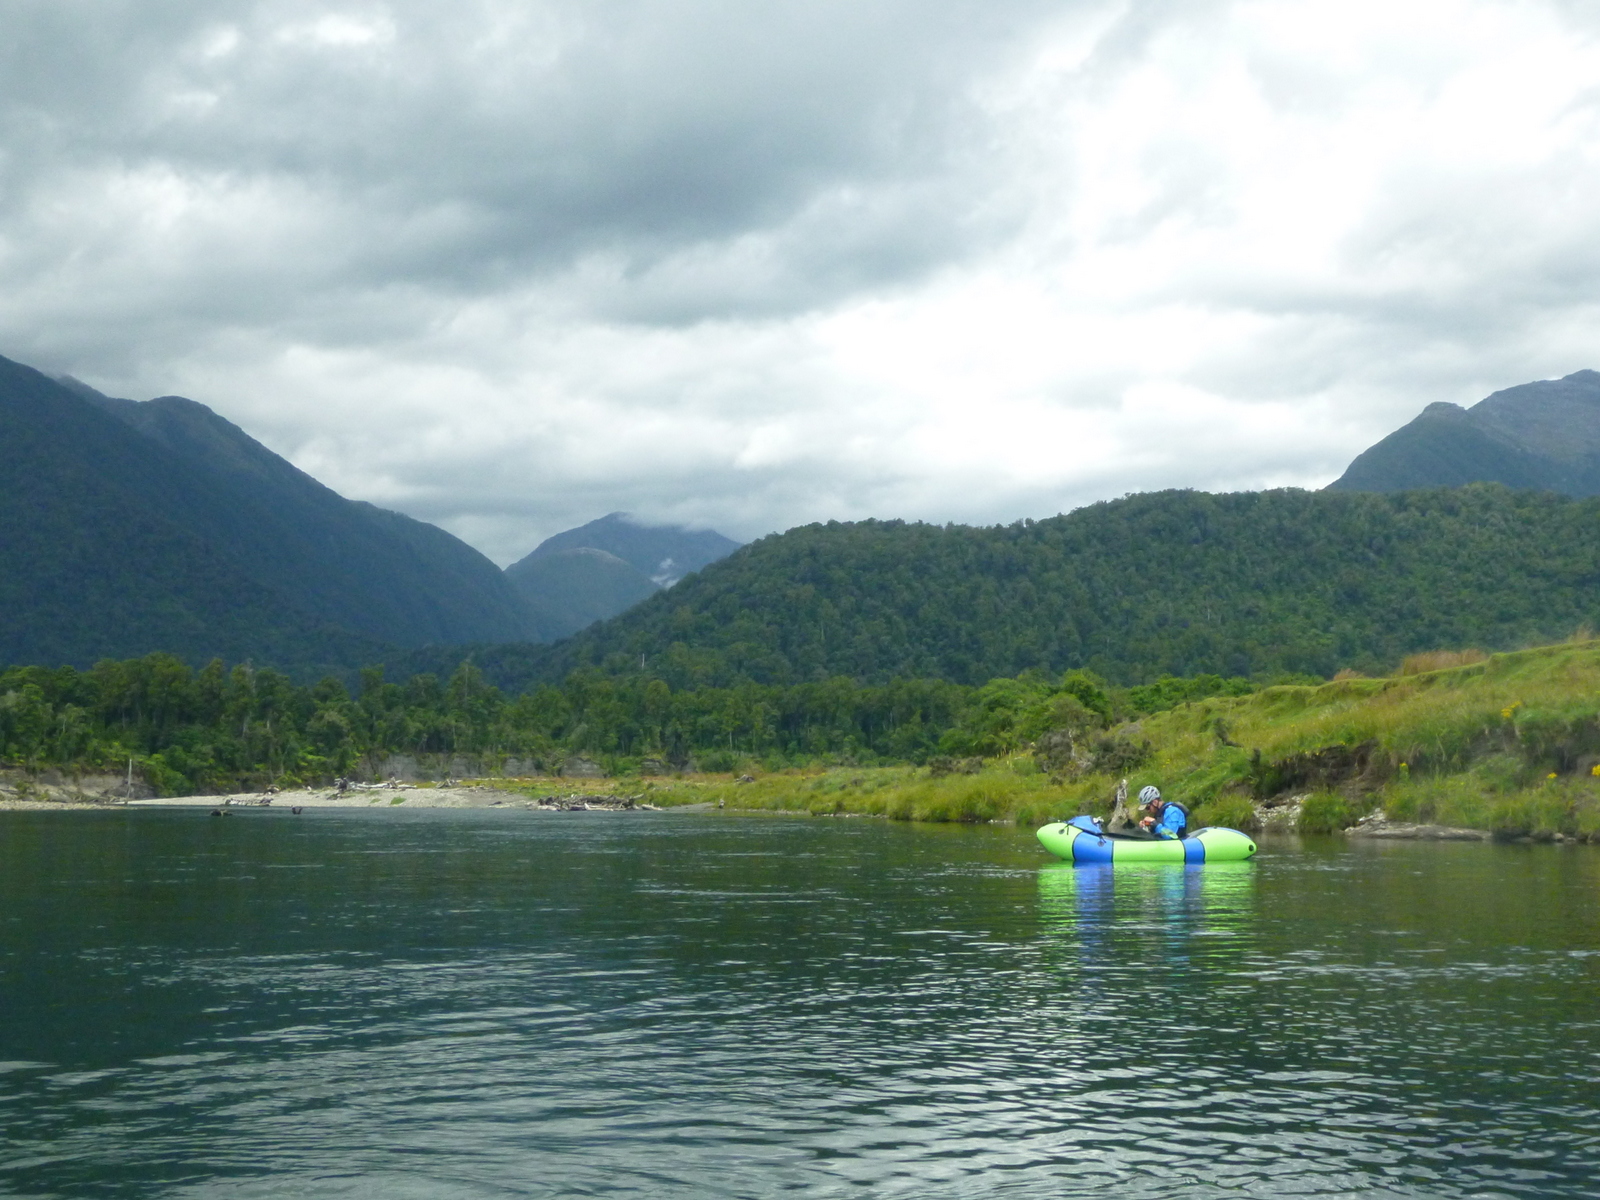
Flying in makes it a chill overnighter, putting on at the Okuru/Ngatau confluence (too boney upstream). A great camping spot is on the river flats 1km directly east of Franklin Hut (private/locked).
The walk-in option – 3 days
One walk-in option is from State Highway 6, up Roaring Swine Creek, over Emily Pass, and down Iron Stone spur. This route is a tough and satisfying 3 day mission for determined and experienced bush-bashers who are intermediate paddlers. See detailed notes about this option lower later in the post.
Another option could be via the Blue River, Maori Saddle and the Okuru headwaters. This is another tough but more-common tramping route. You’ll need to do your own homework on this one!
View Larger Topographic Map
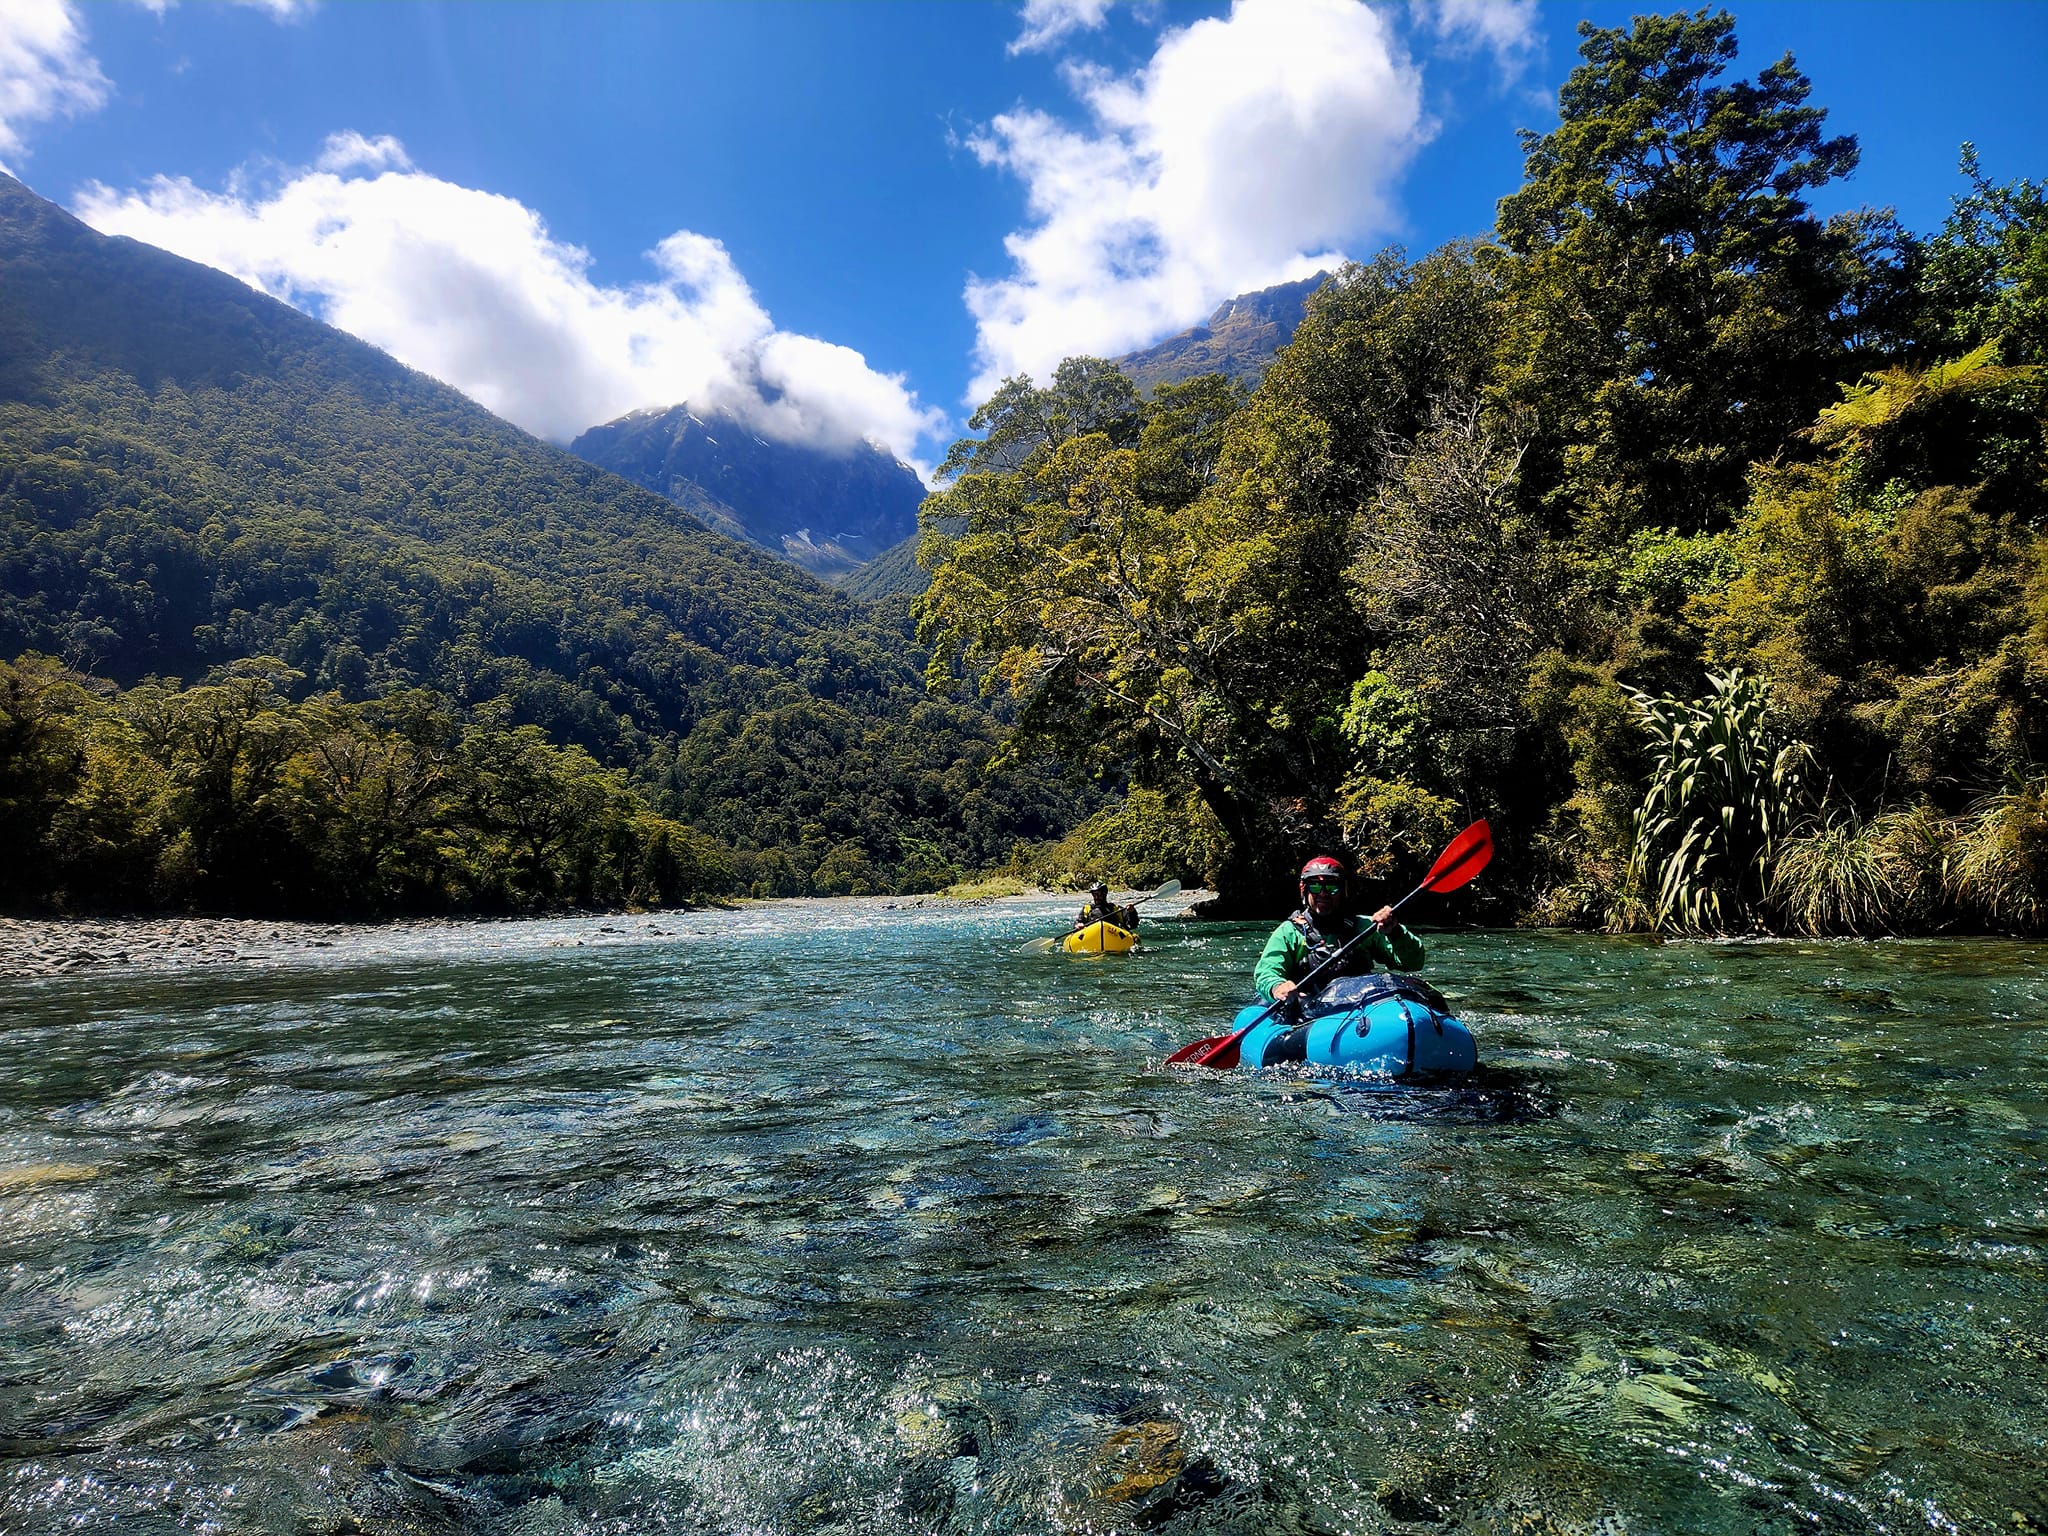
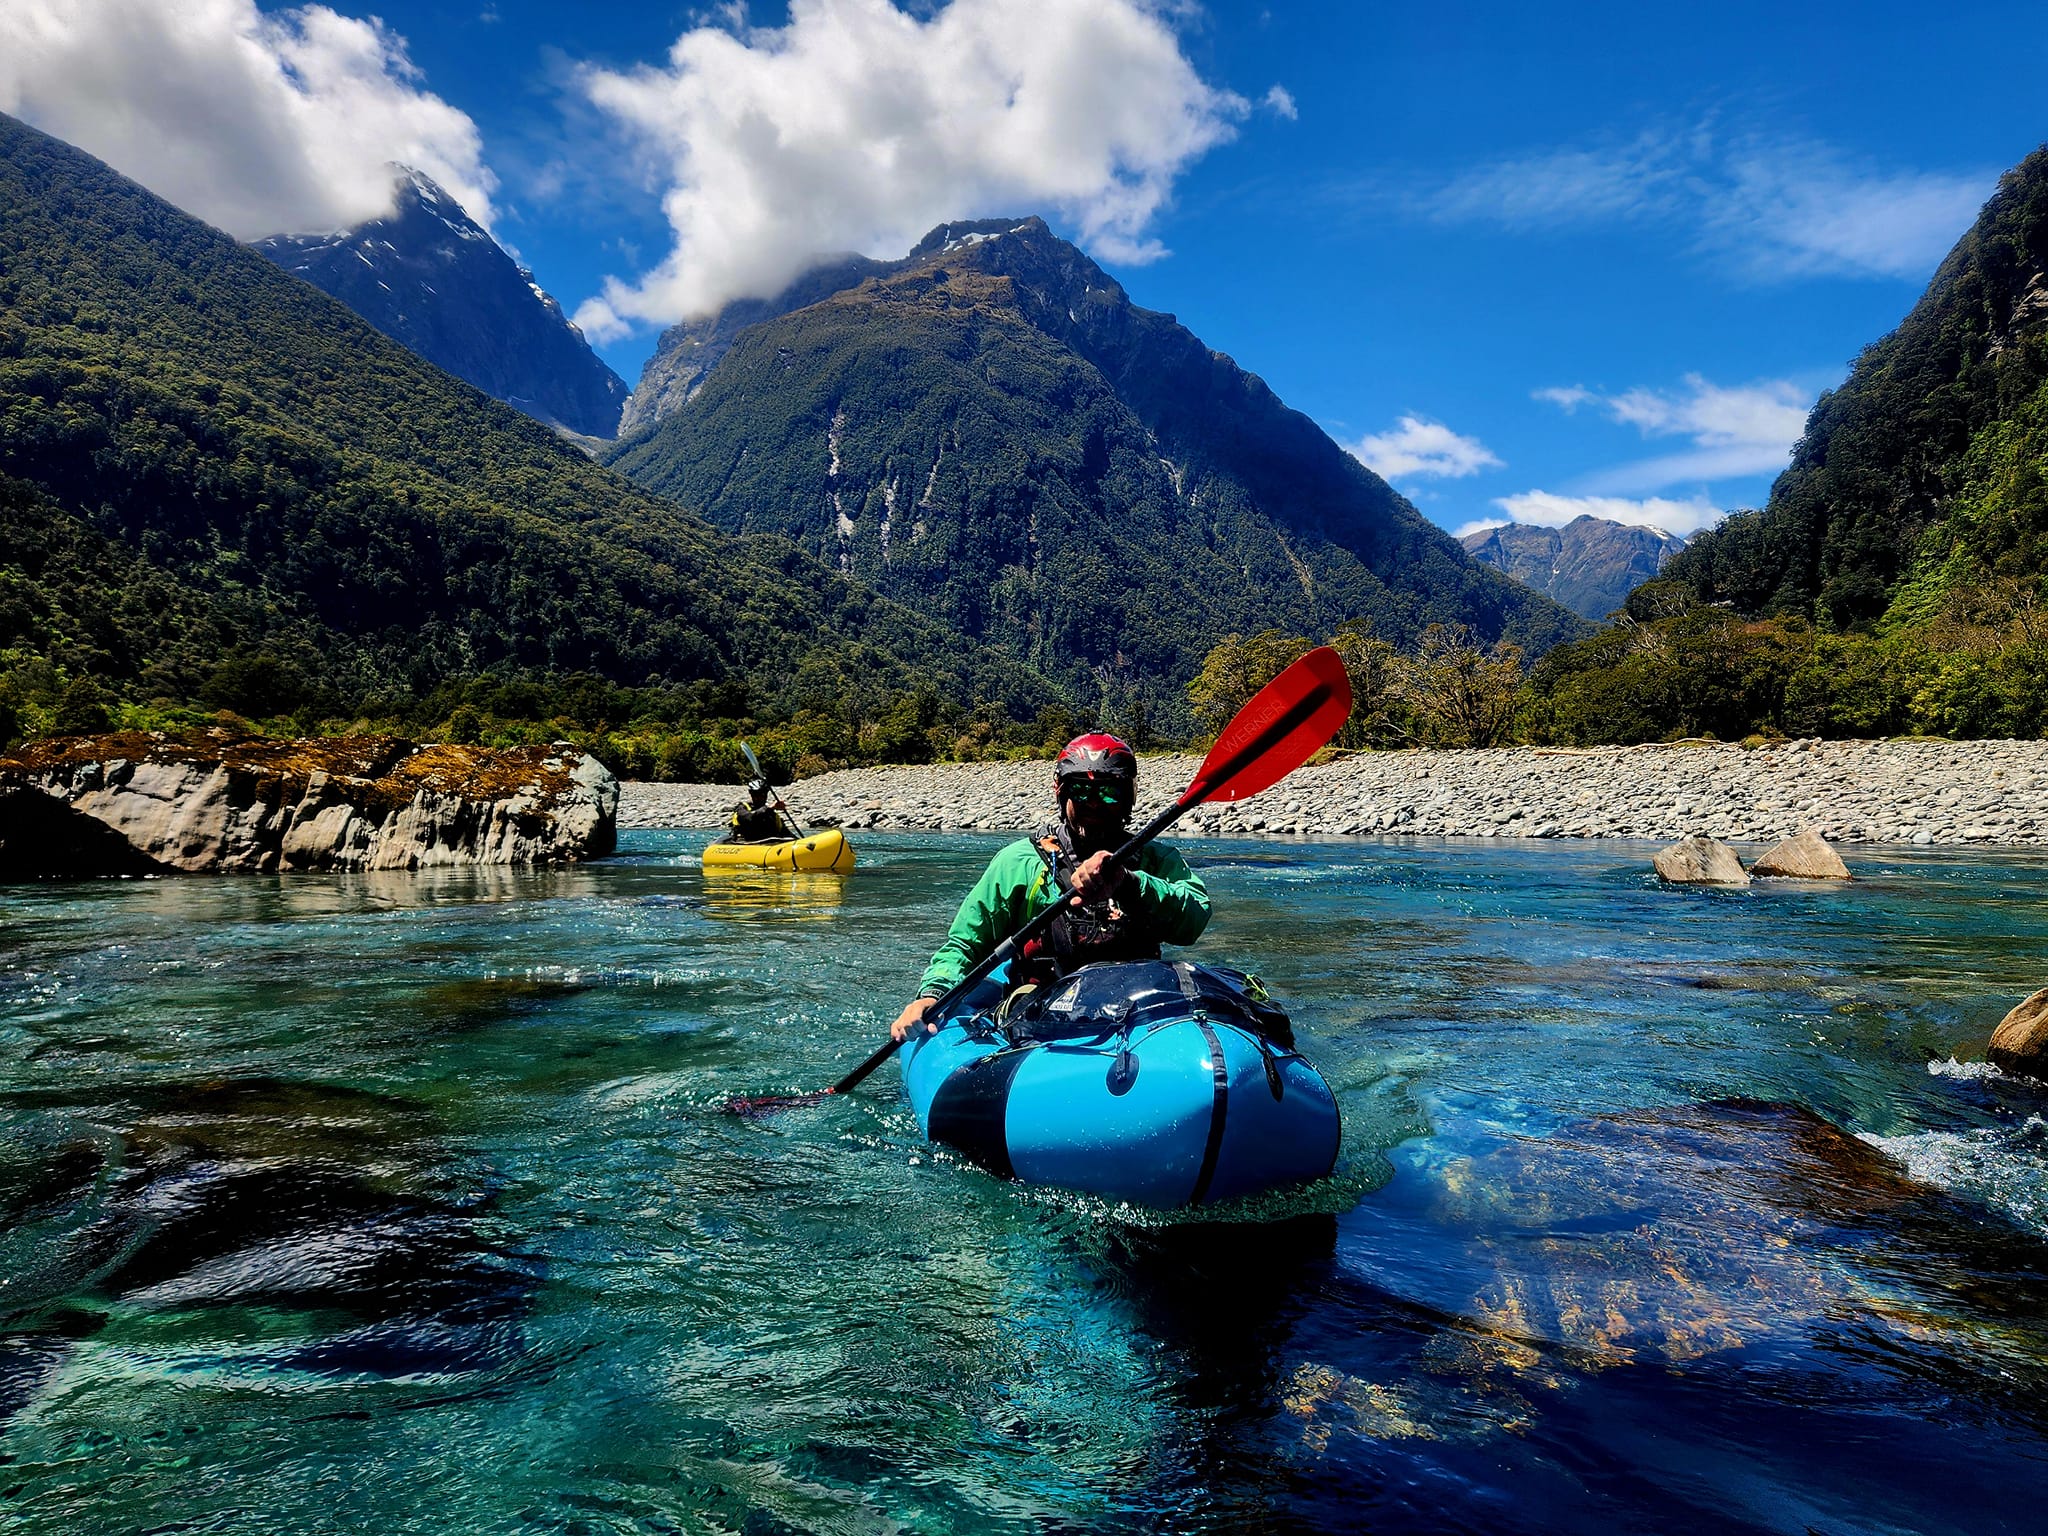
On the river: The Okuru (I/III/IV-) from Emily Creek to the bridge
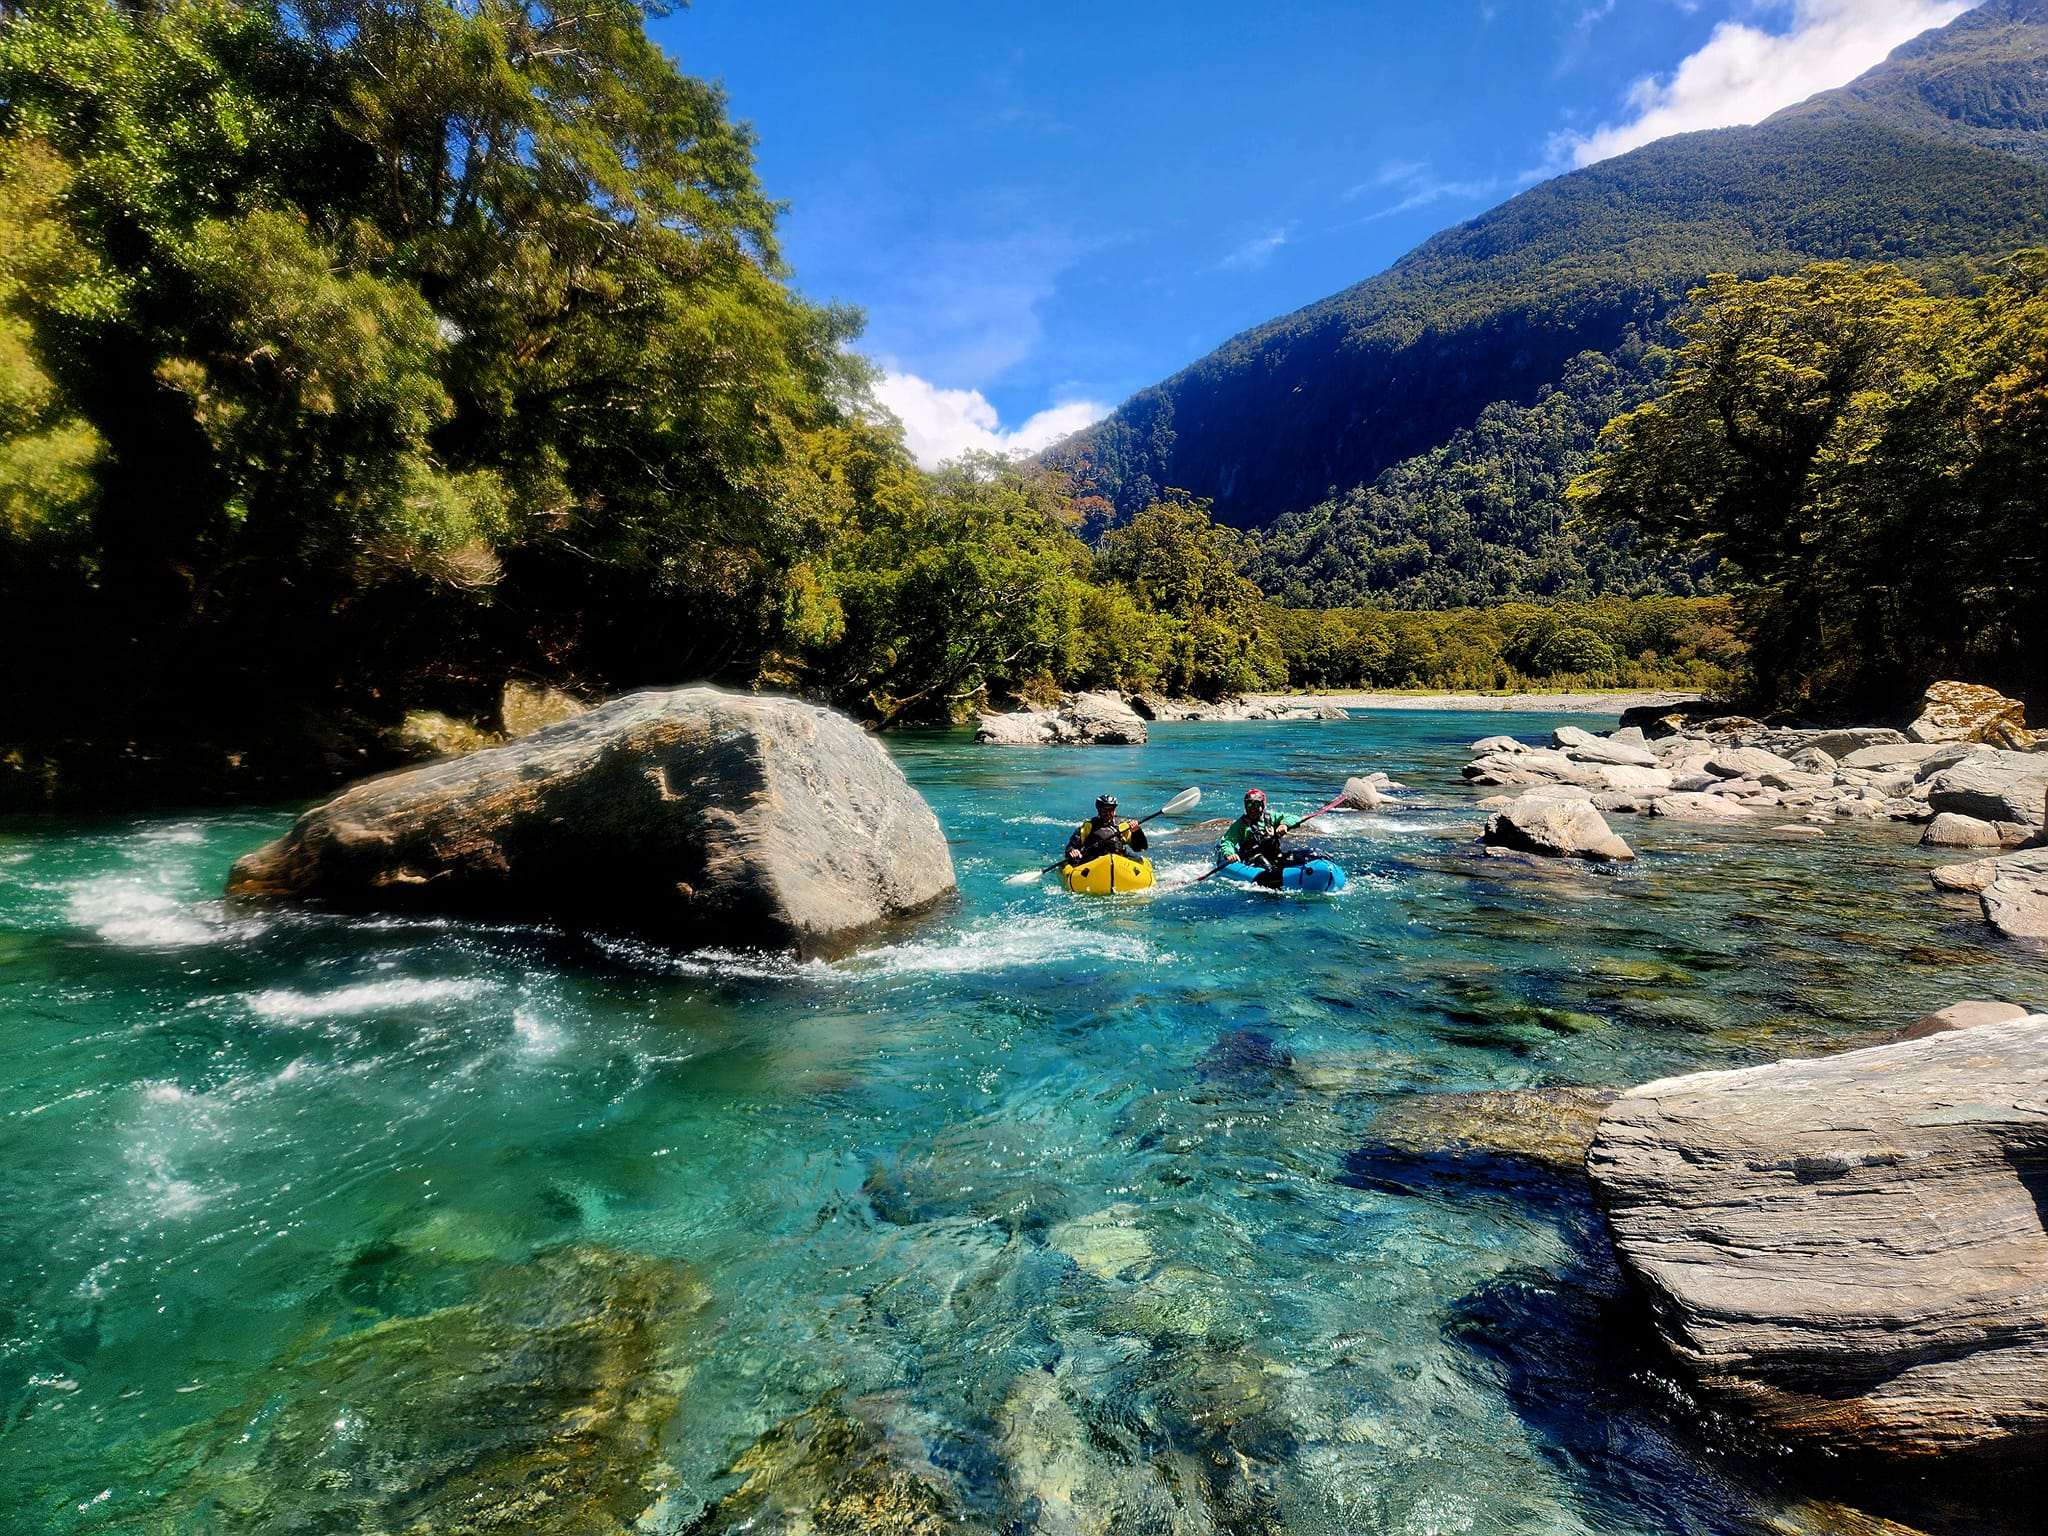
The vast majority of the river is class I, with the occasional class II wave train where the braids drop over boulders. There are about 5 class III boulder garden rapids as marked on the map.
The class IV- rapid is halfway between Katie Creek and Retreate Rivulet, as marked on the map. A long section of flat water comes into a class III rapid, then a few hundred metres downstream the class IV- appears.
All of the rapids are easy to portage in non-flood conditions if needed.
The paddle takes 8-10hrs total in normal packrafting flows. The time obviously depending on scouting, flows and breaks.
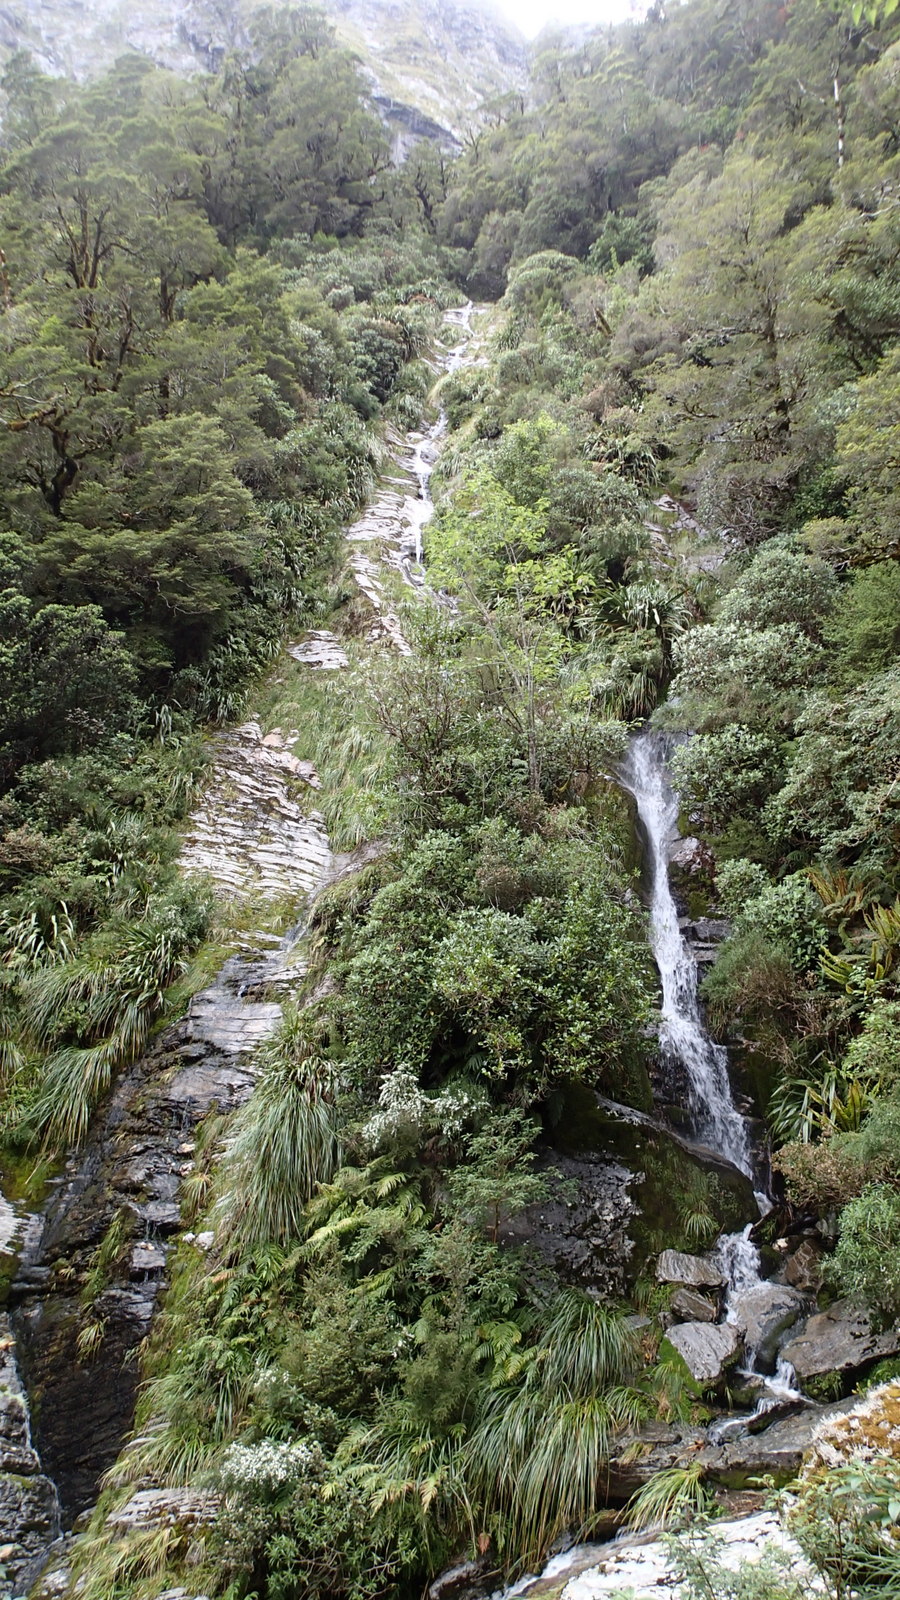
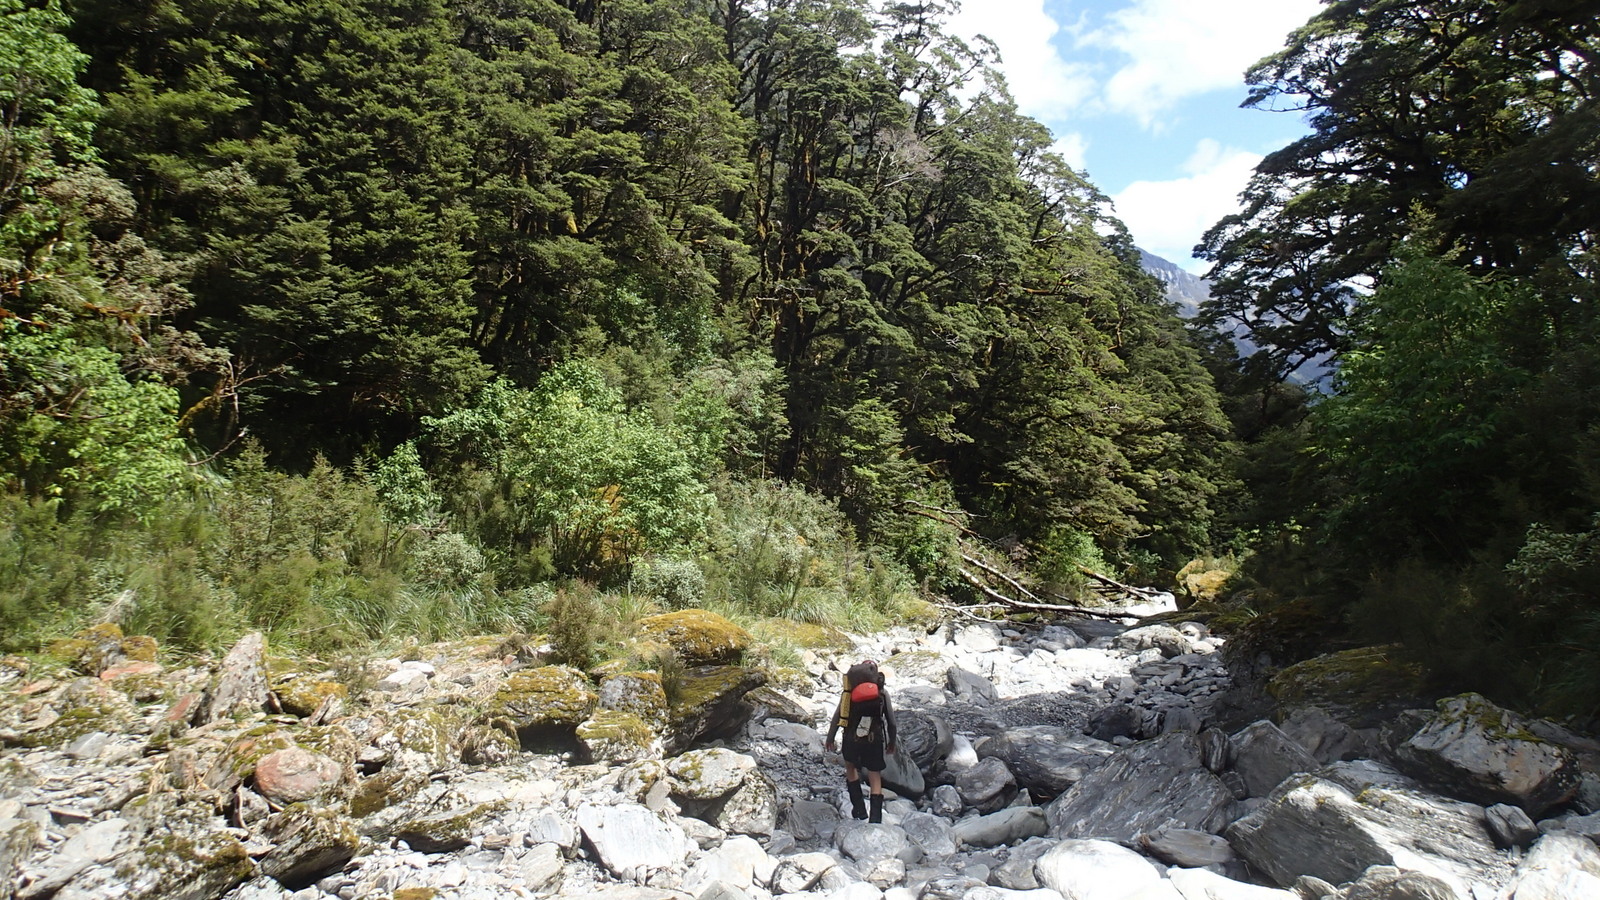
In the river beside the sections of track, are gorgeous deep pools, with boulder lined banks and overhanging beech forest. Quite beautiful in there! Check out some inspiration below, from Jenny Cossey and Alan Swann…
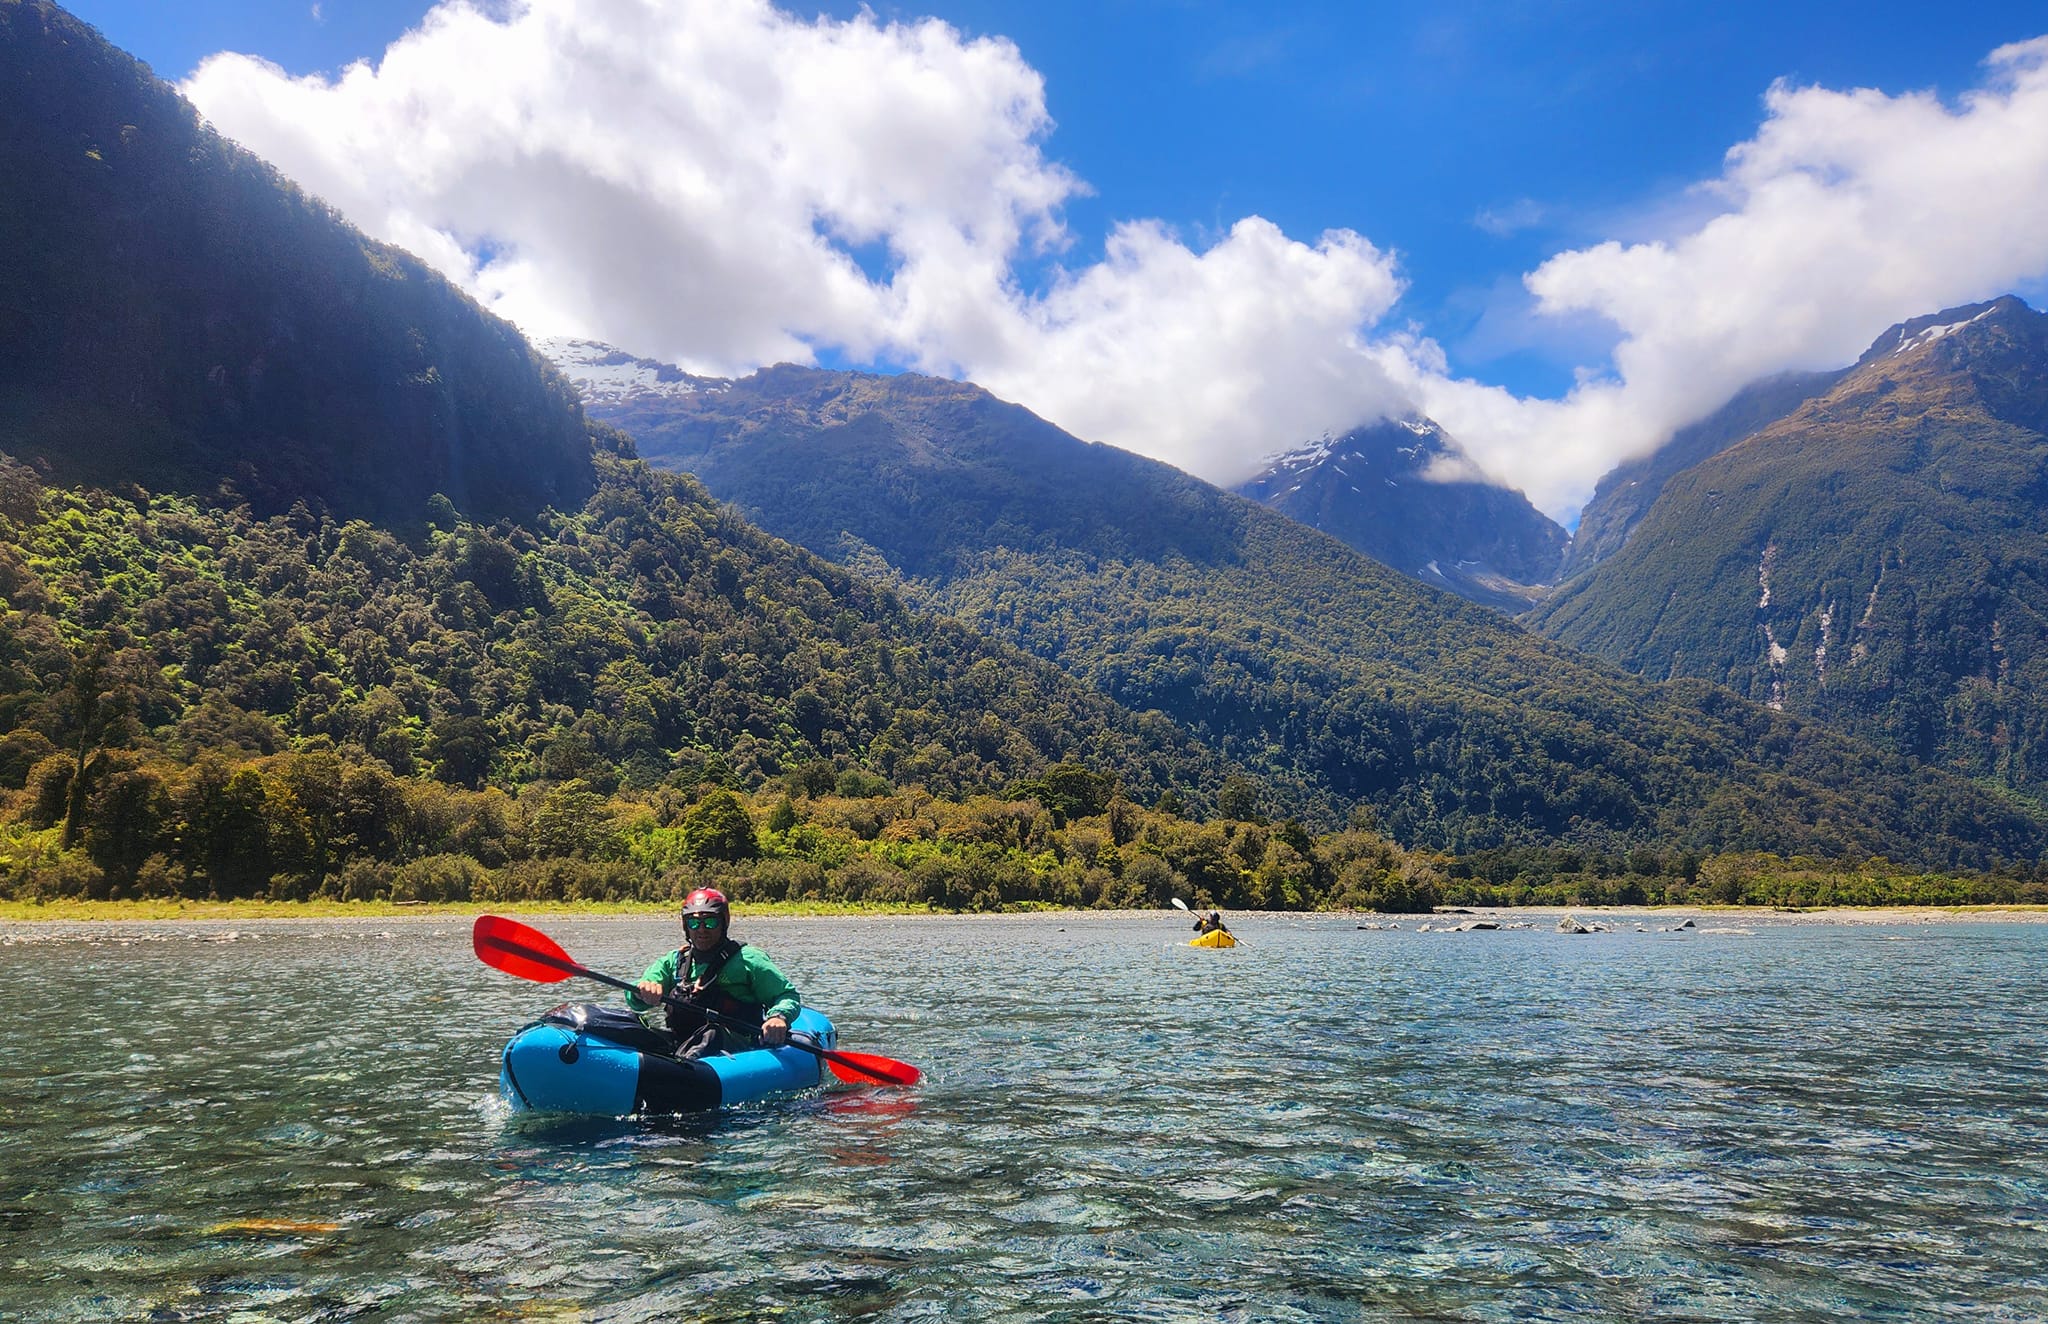
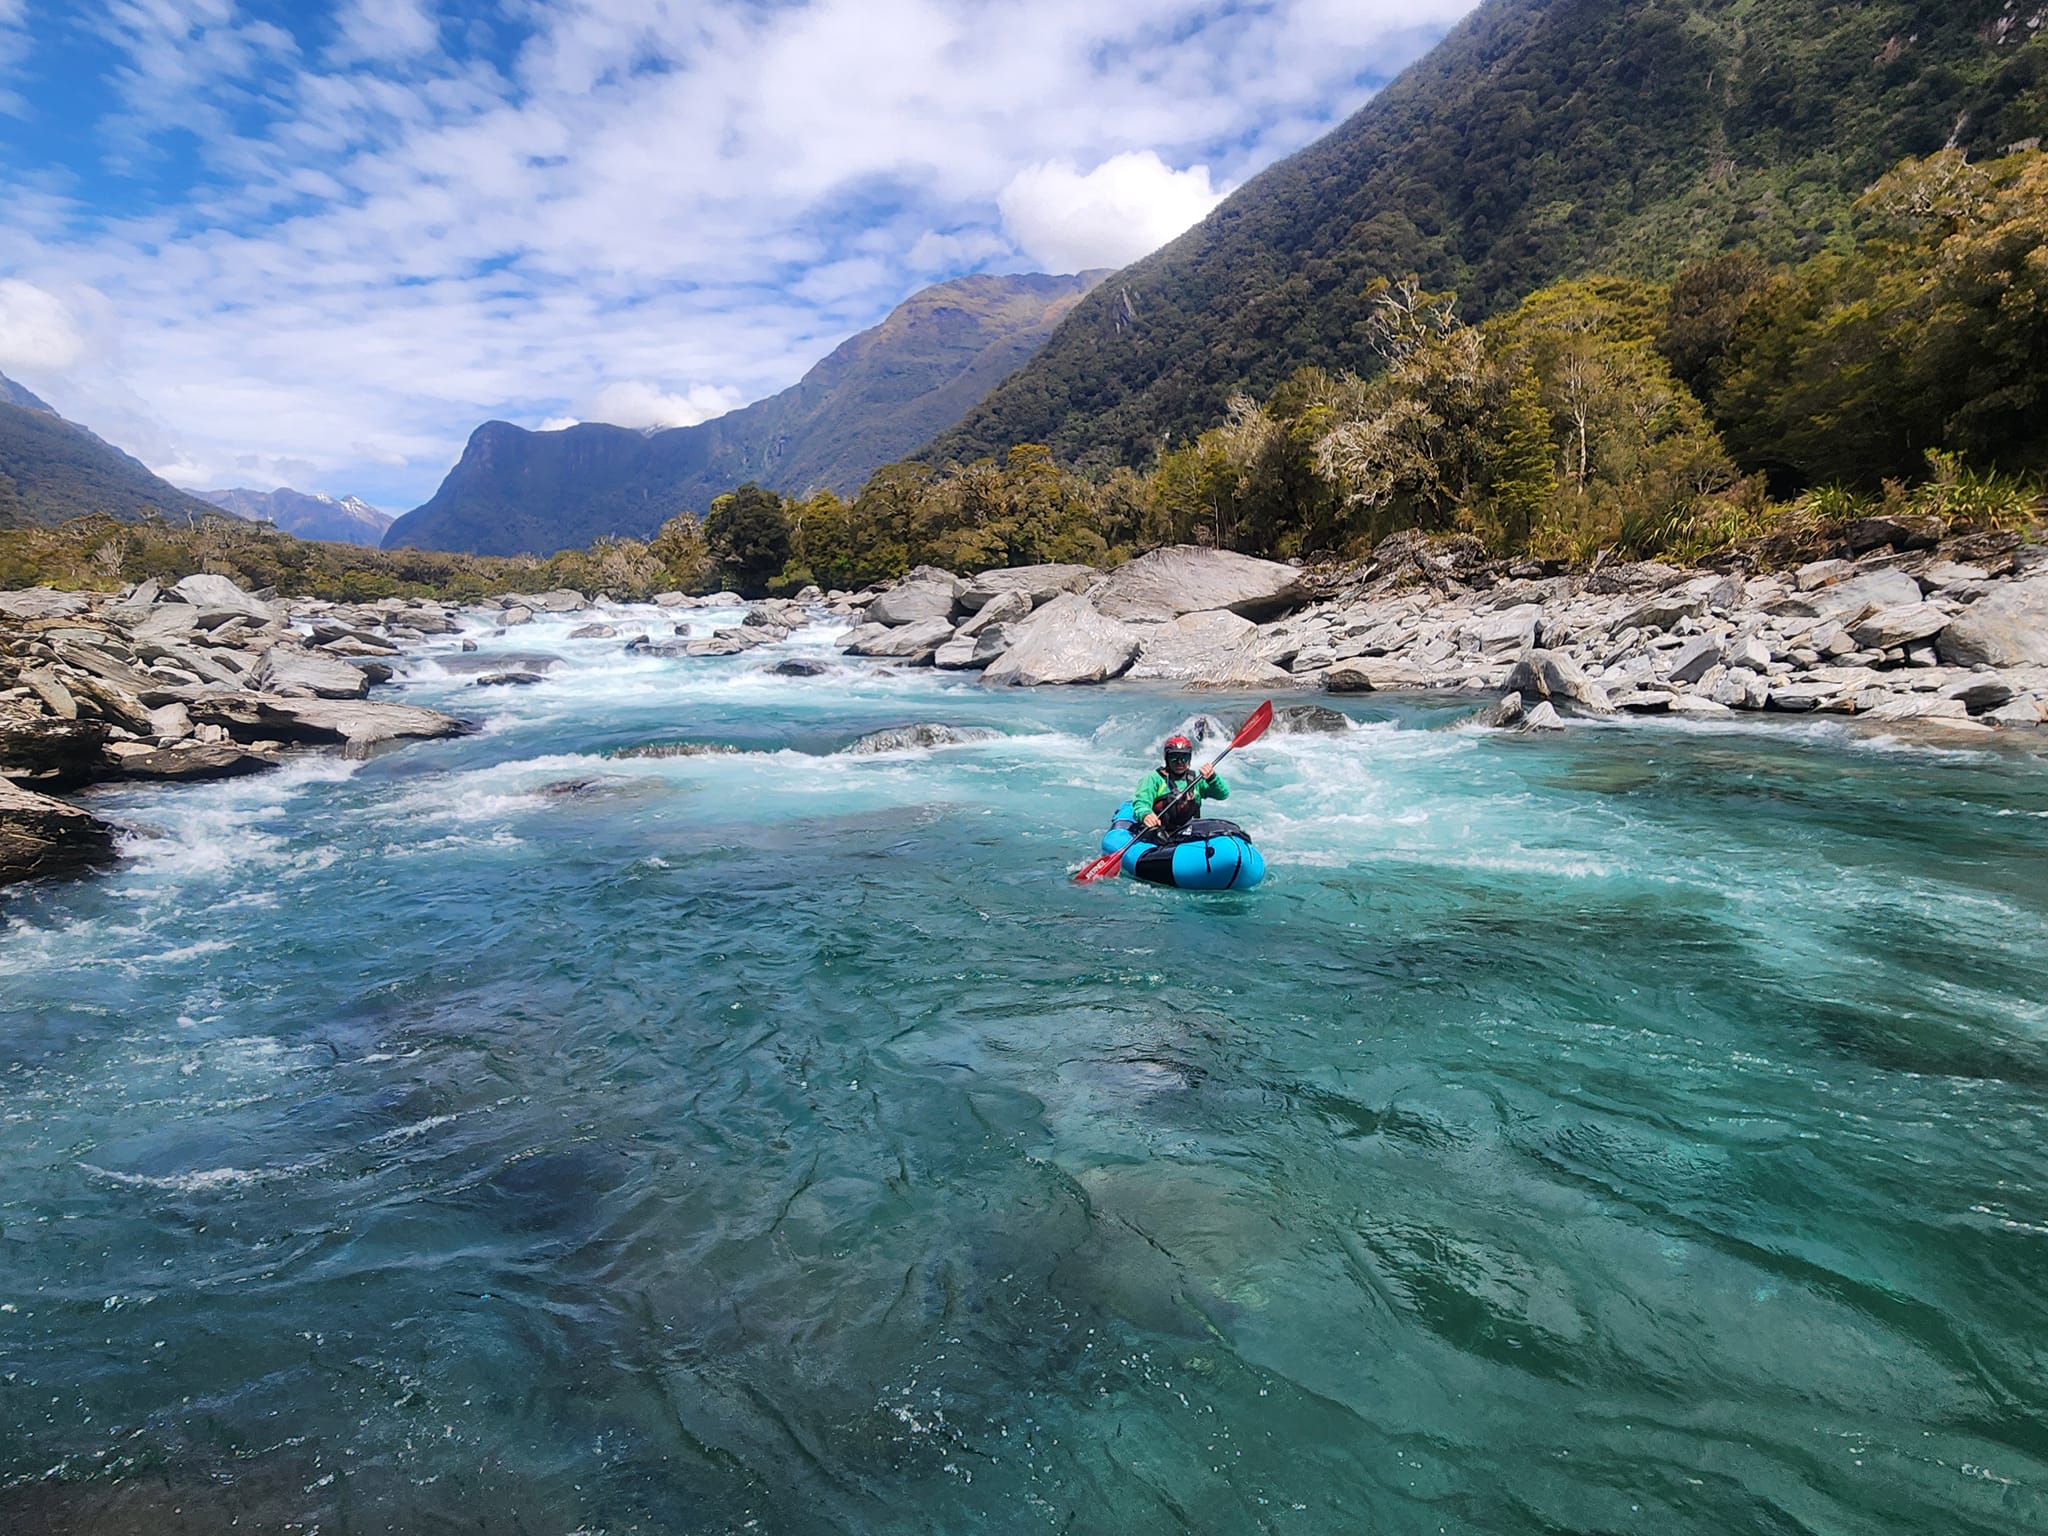
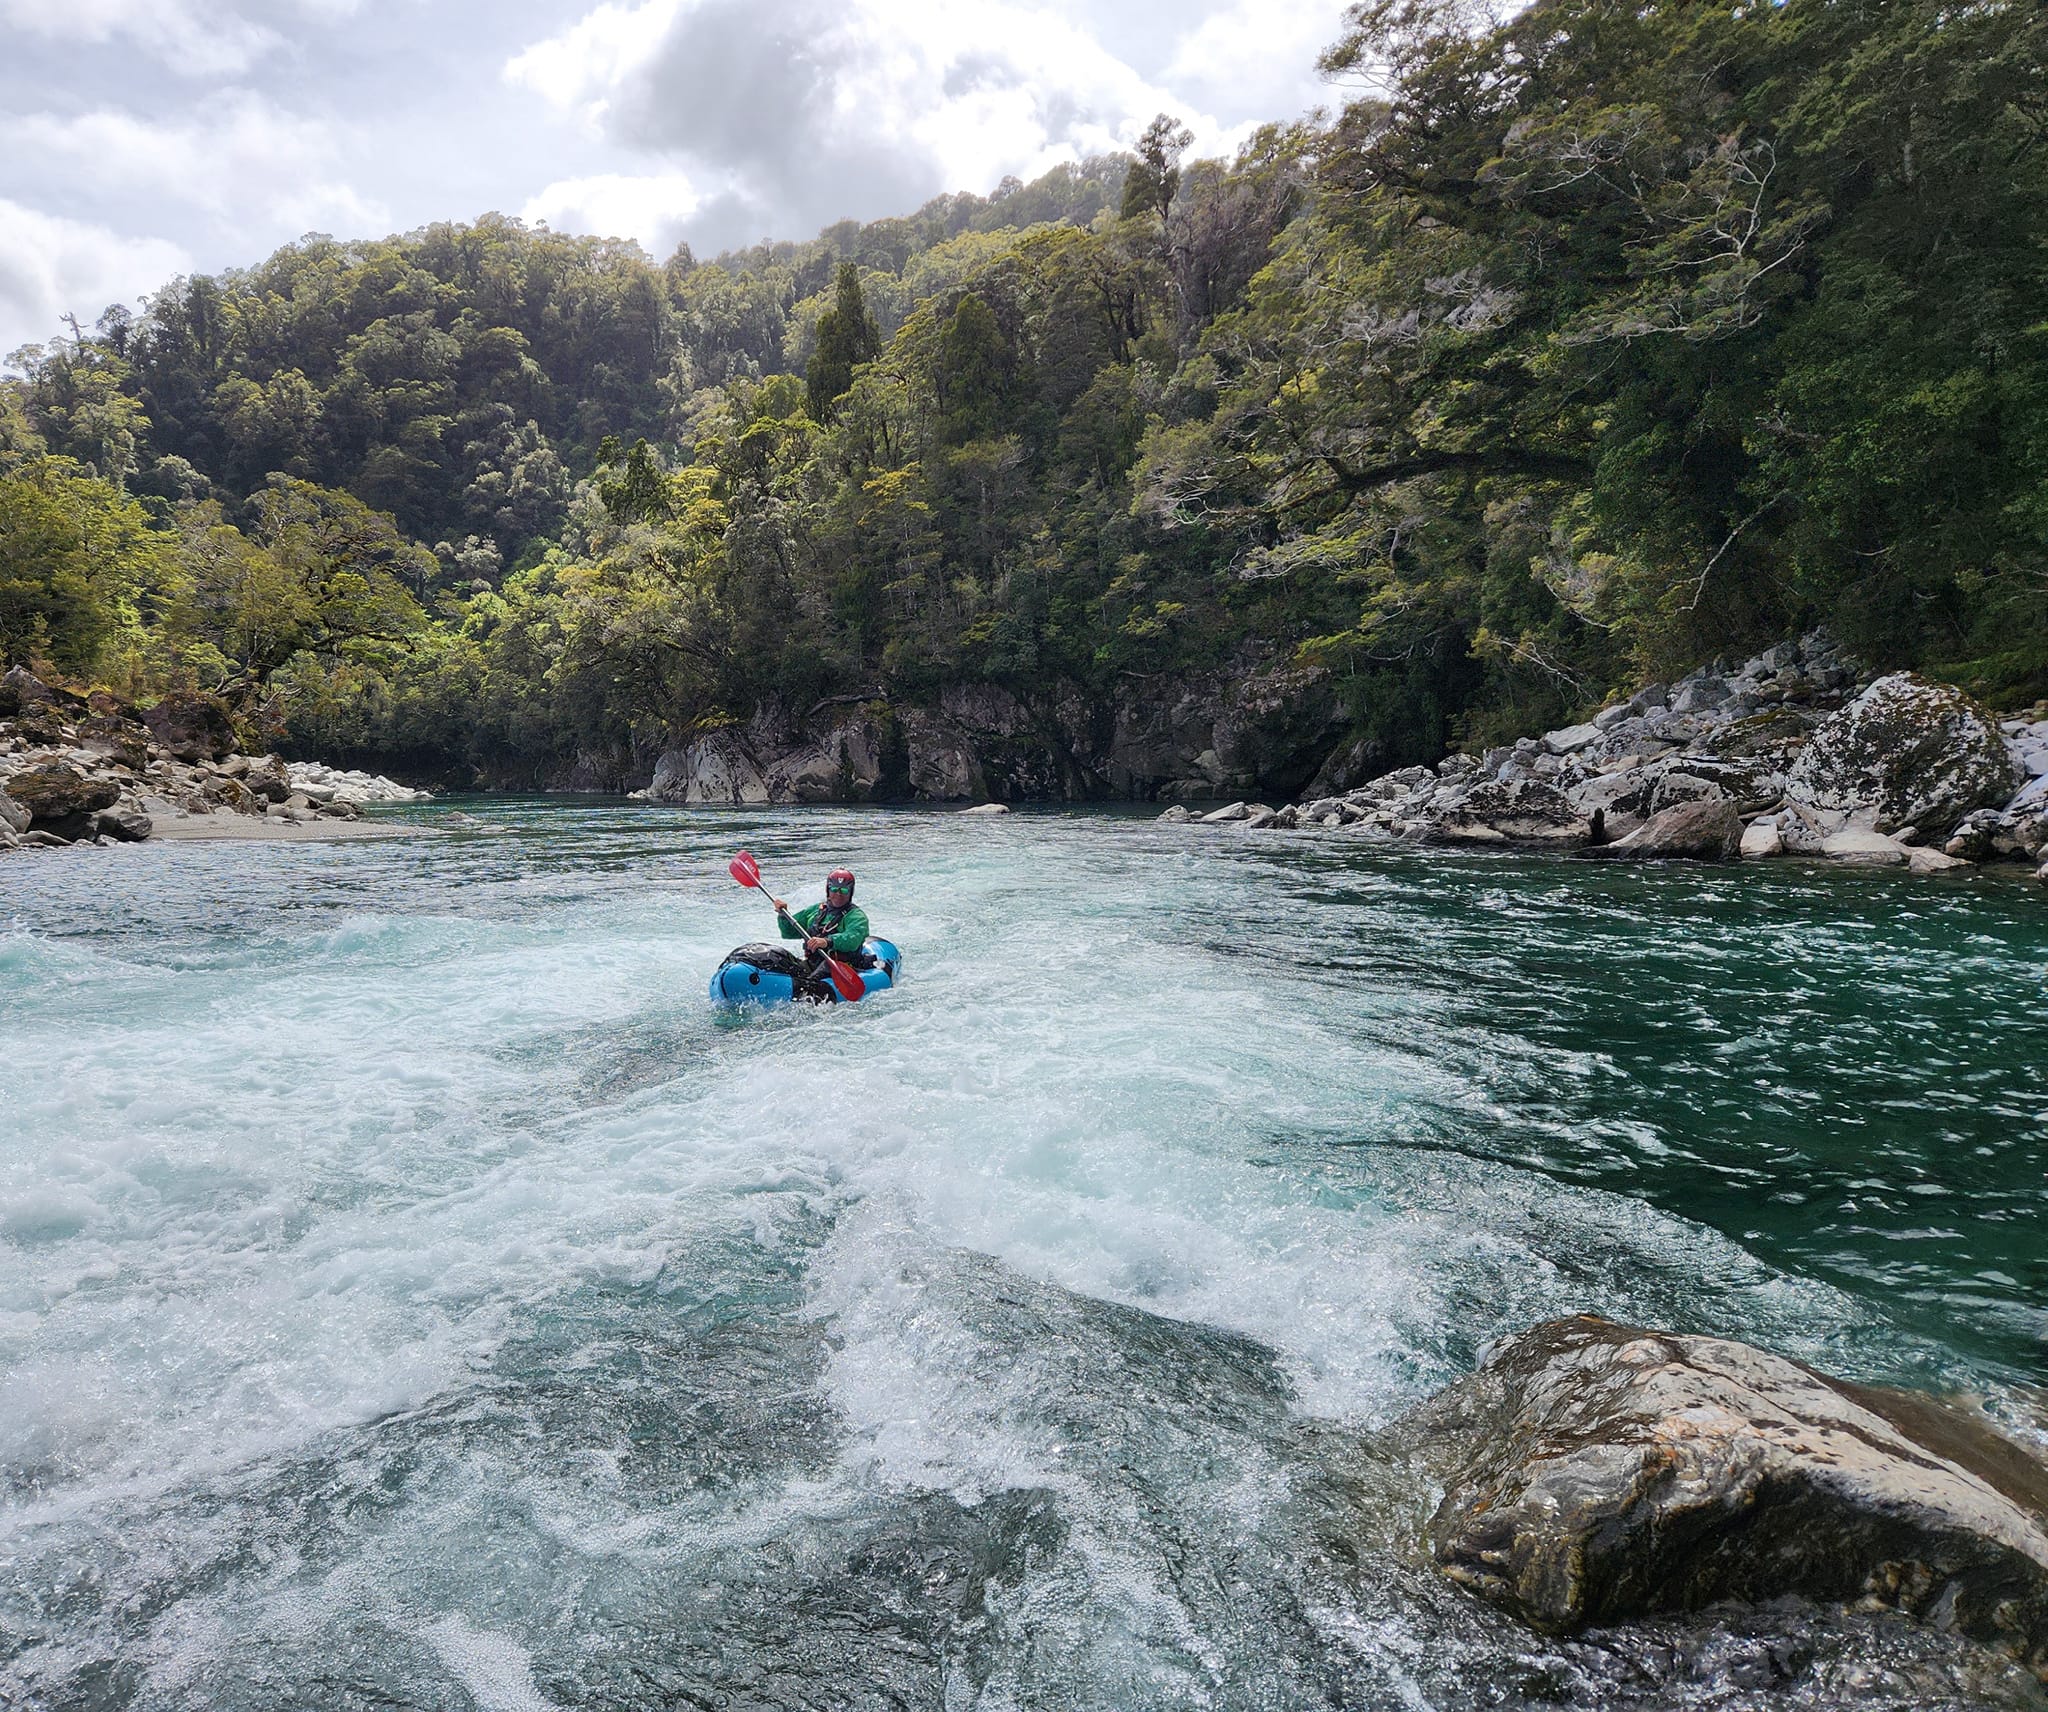
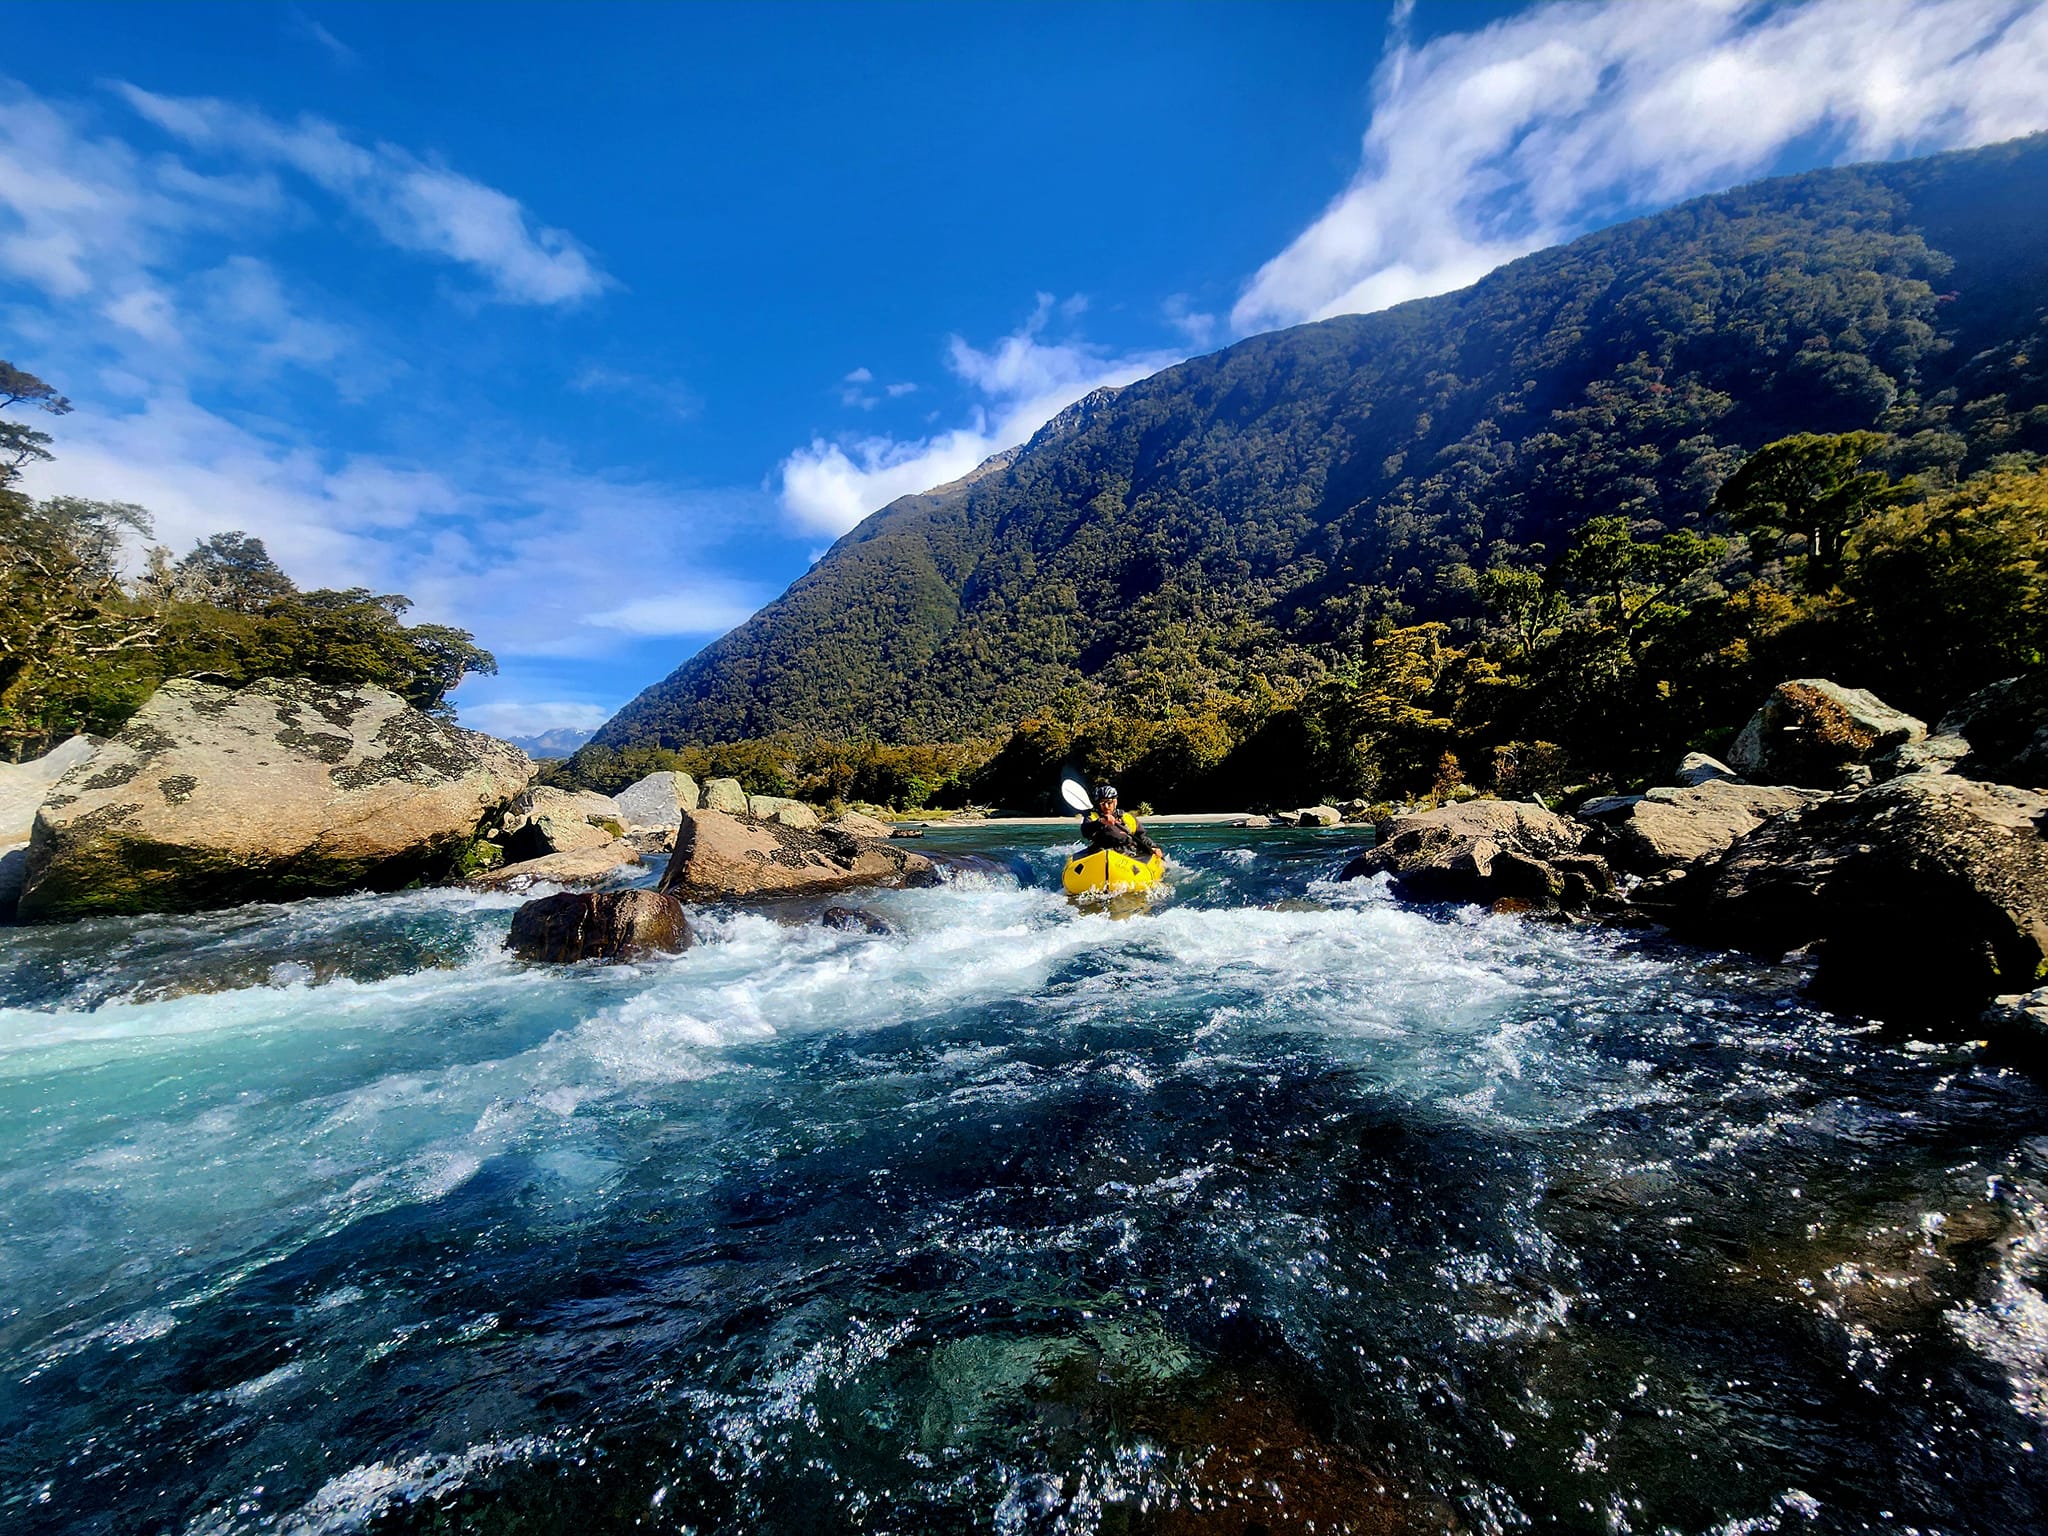
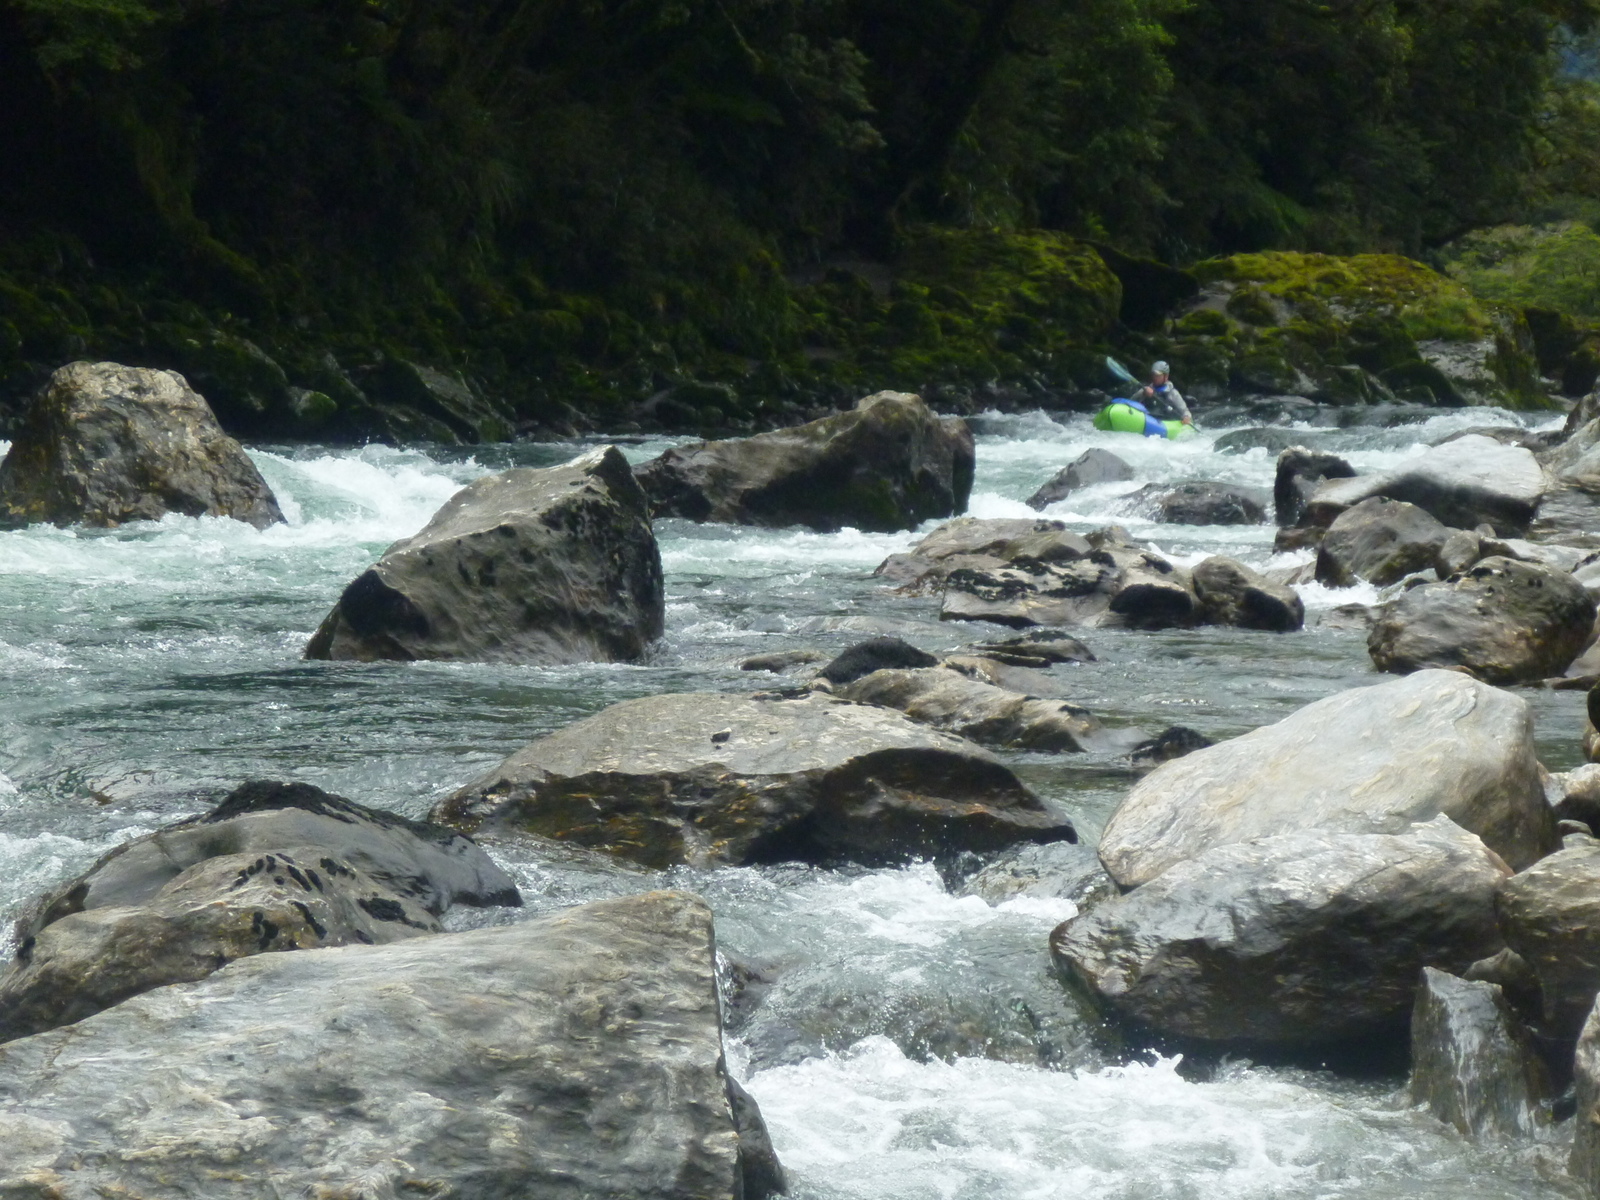
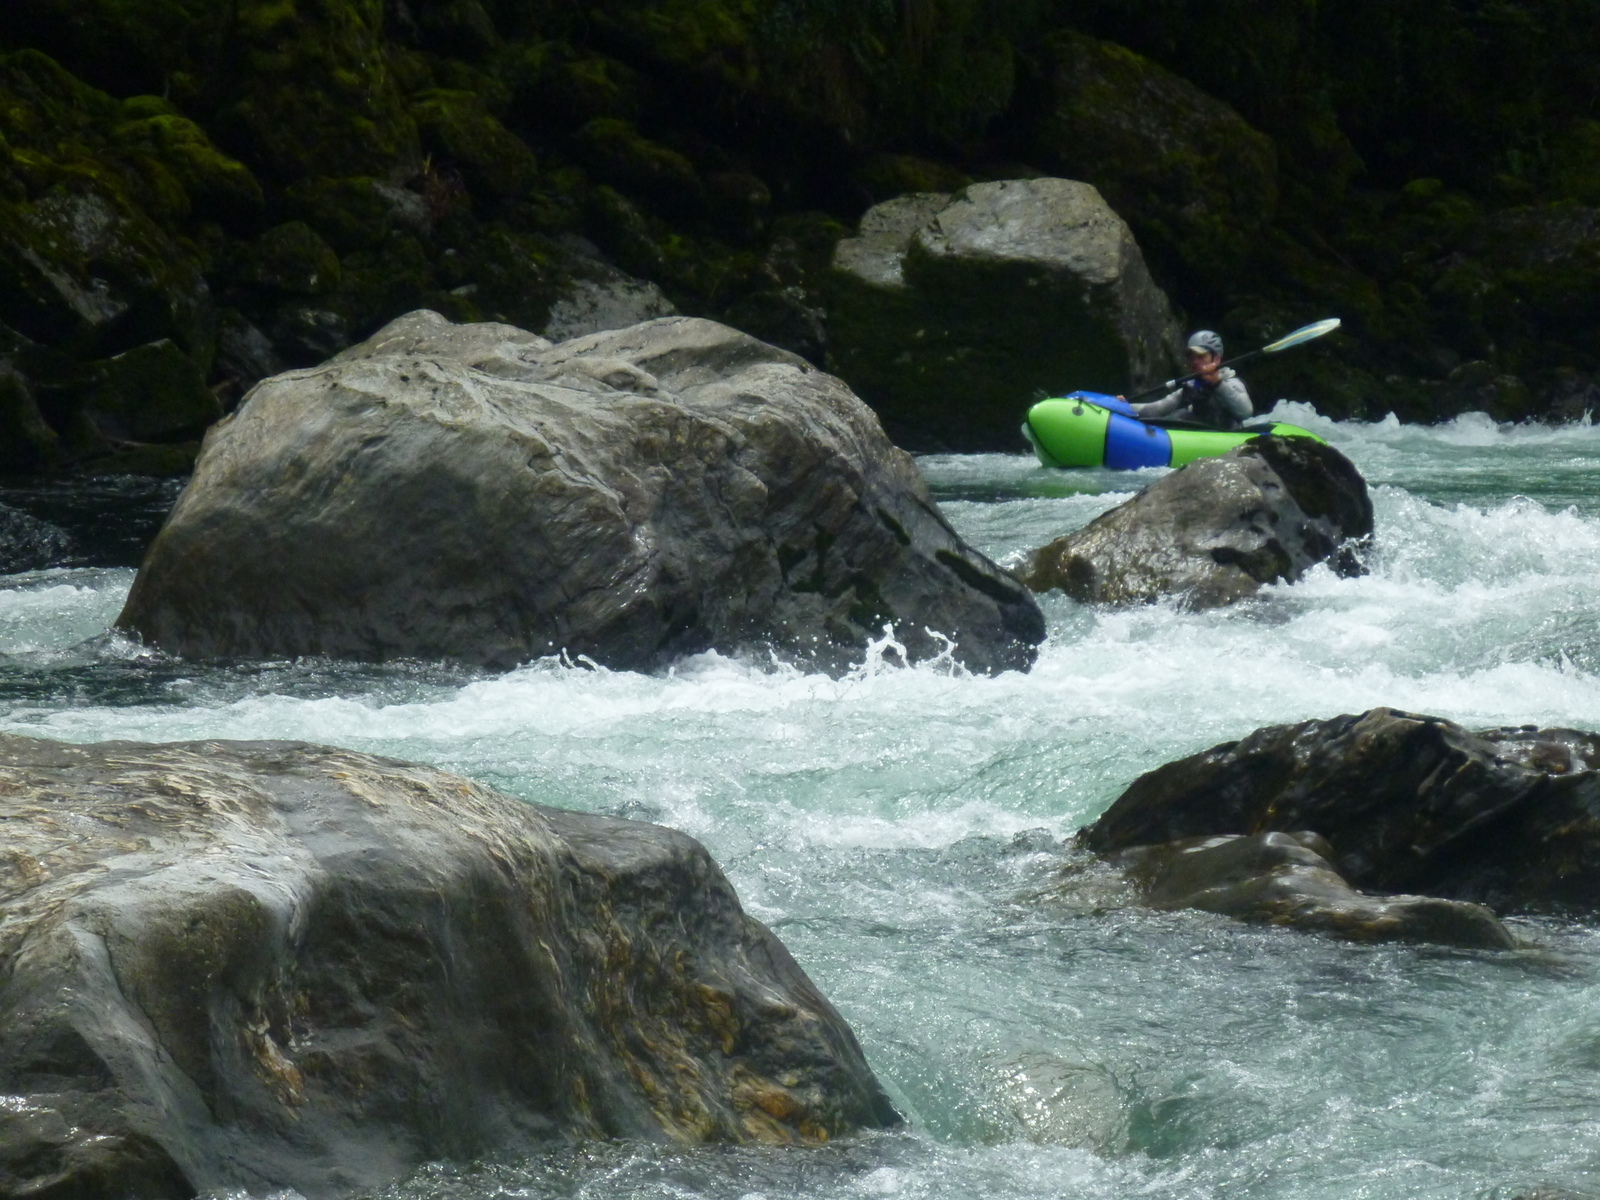
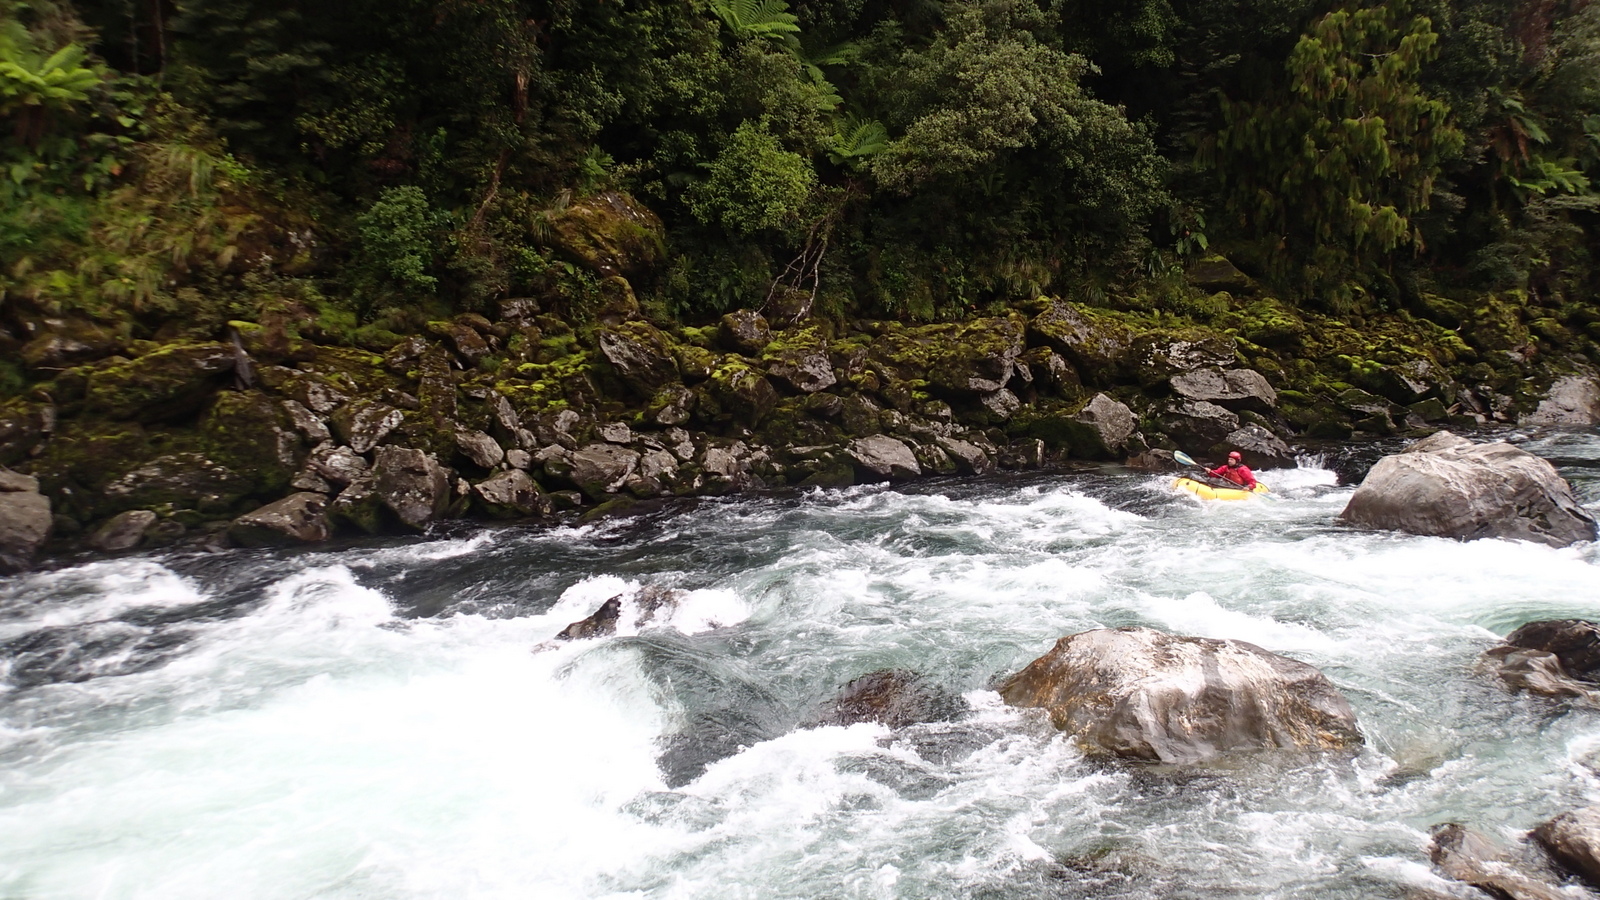
A few photos typical of the harder rapids below, courtesy of Dan Clearwater.

The low, flat spur which leads to the Boil Hole is easy to see from up river. The boil hole itself is just a huge wide pool at low flow; I bet it lives up to its name when the river is in flood! The longest rapid is immeadiately above the boil hole.
Once onto the flats, it is a long slow paddle to the coast; watch out for afternoon seabreezes which will make for an unpleasant headwind. If you’re doing the river in more than 1 day, get up early on your last day to beat the wind!
The lower reaches are still quite pretty though, with great views back to where you’ve come from, and some nice forest lining the river bank in places.
There’s a reasonable spot to scramble up by the bridge on the true left bank.

Gauge
There’s no gauge on the Okuru. The nearest gauge is on the Haast River, at Roaring Billy.
Packrafters have been through with the Roaring Billy reading up around 600 cumecs, through to a moderate flow of 130cumecs.
At 130 cumecs, we had to portage one of the hard rapids due to too little water, and a number of the braided rapids up higher were quite bony.
The trip would likely still work with quite a bit of extra water; the main rapids appear easy to portage in most flows and there are old tracks above any of the steeper sections of paddling.
Approach on foot – 2 days via Emily Pass
If you’ve got this far, good on you for reading about the hard way to paddle this beautiful river!
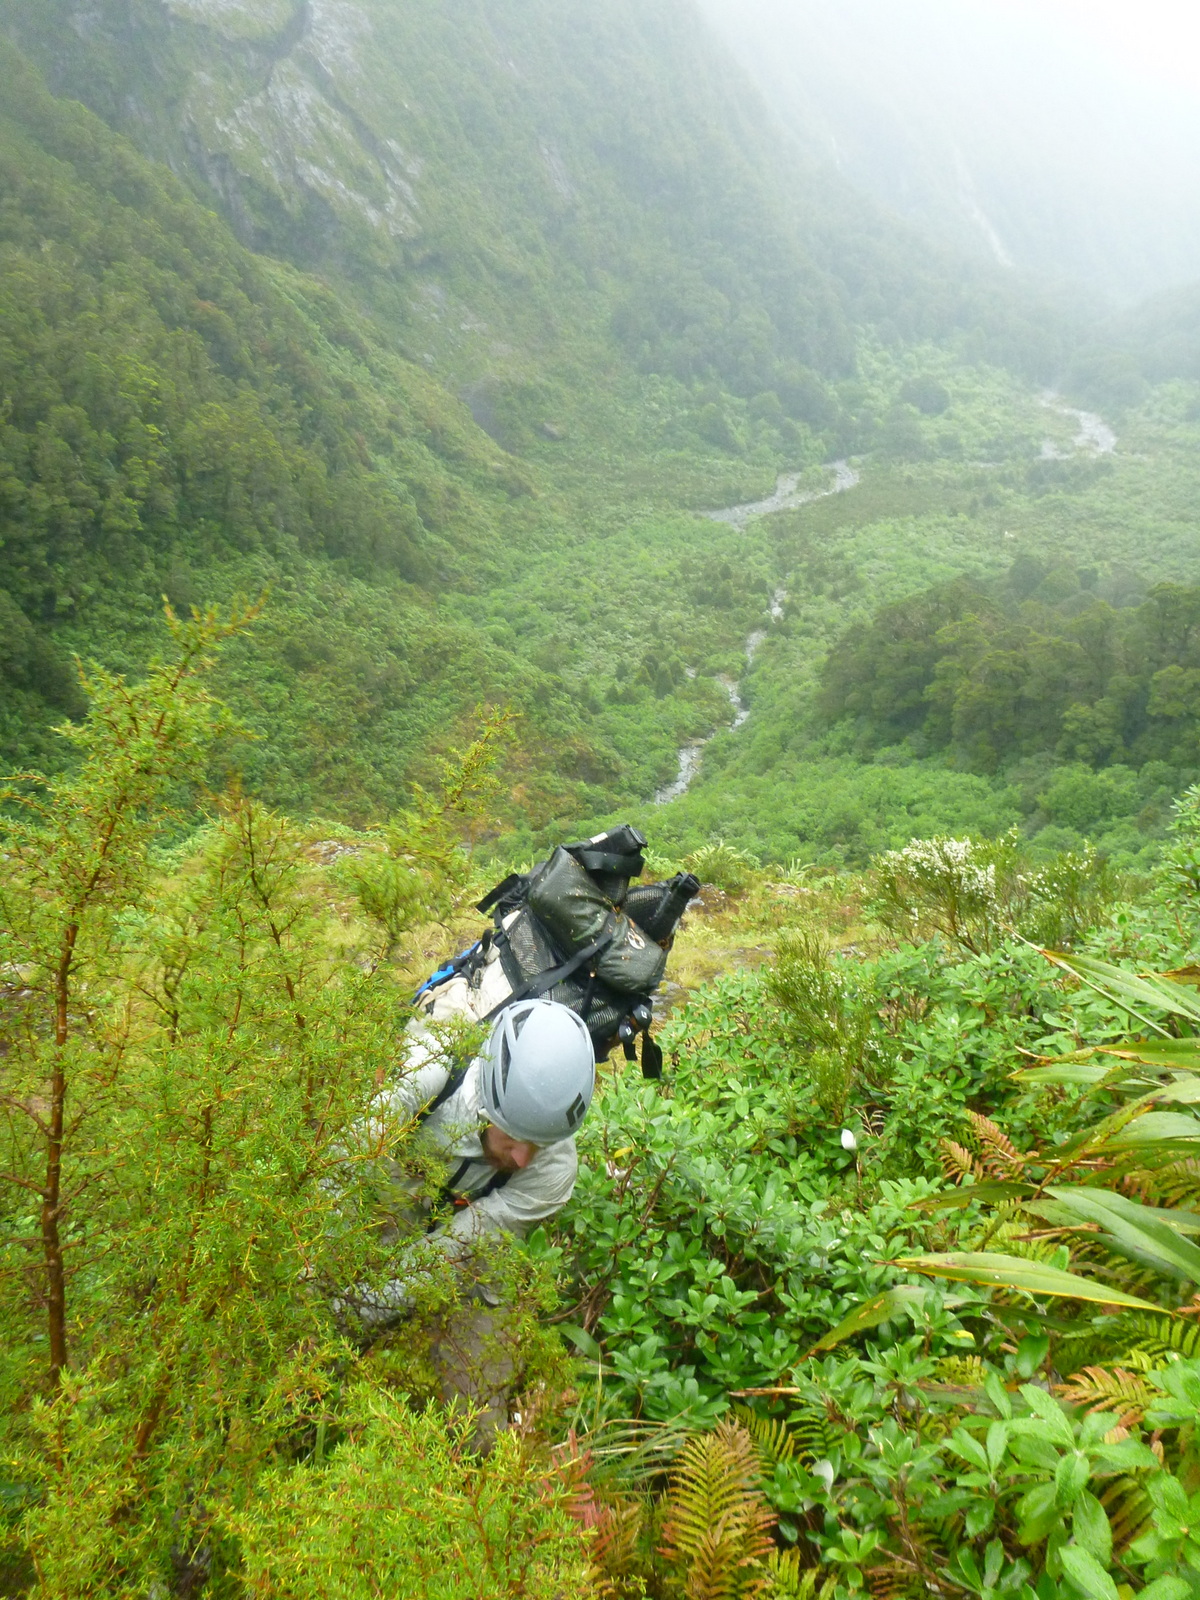
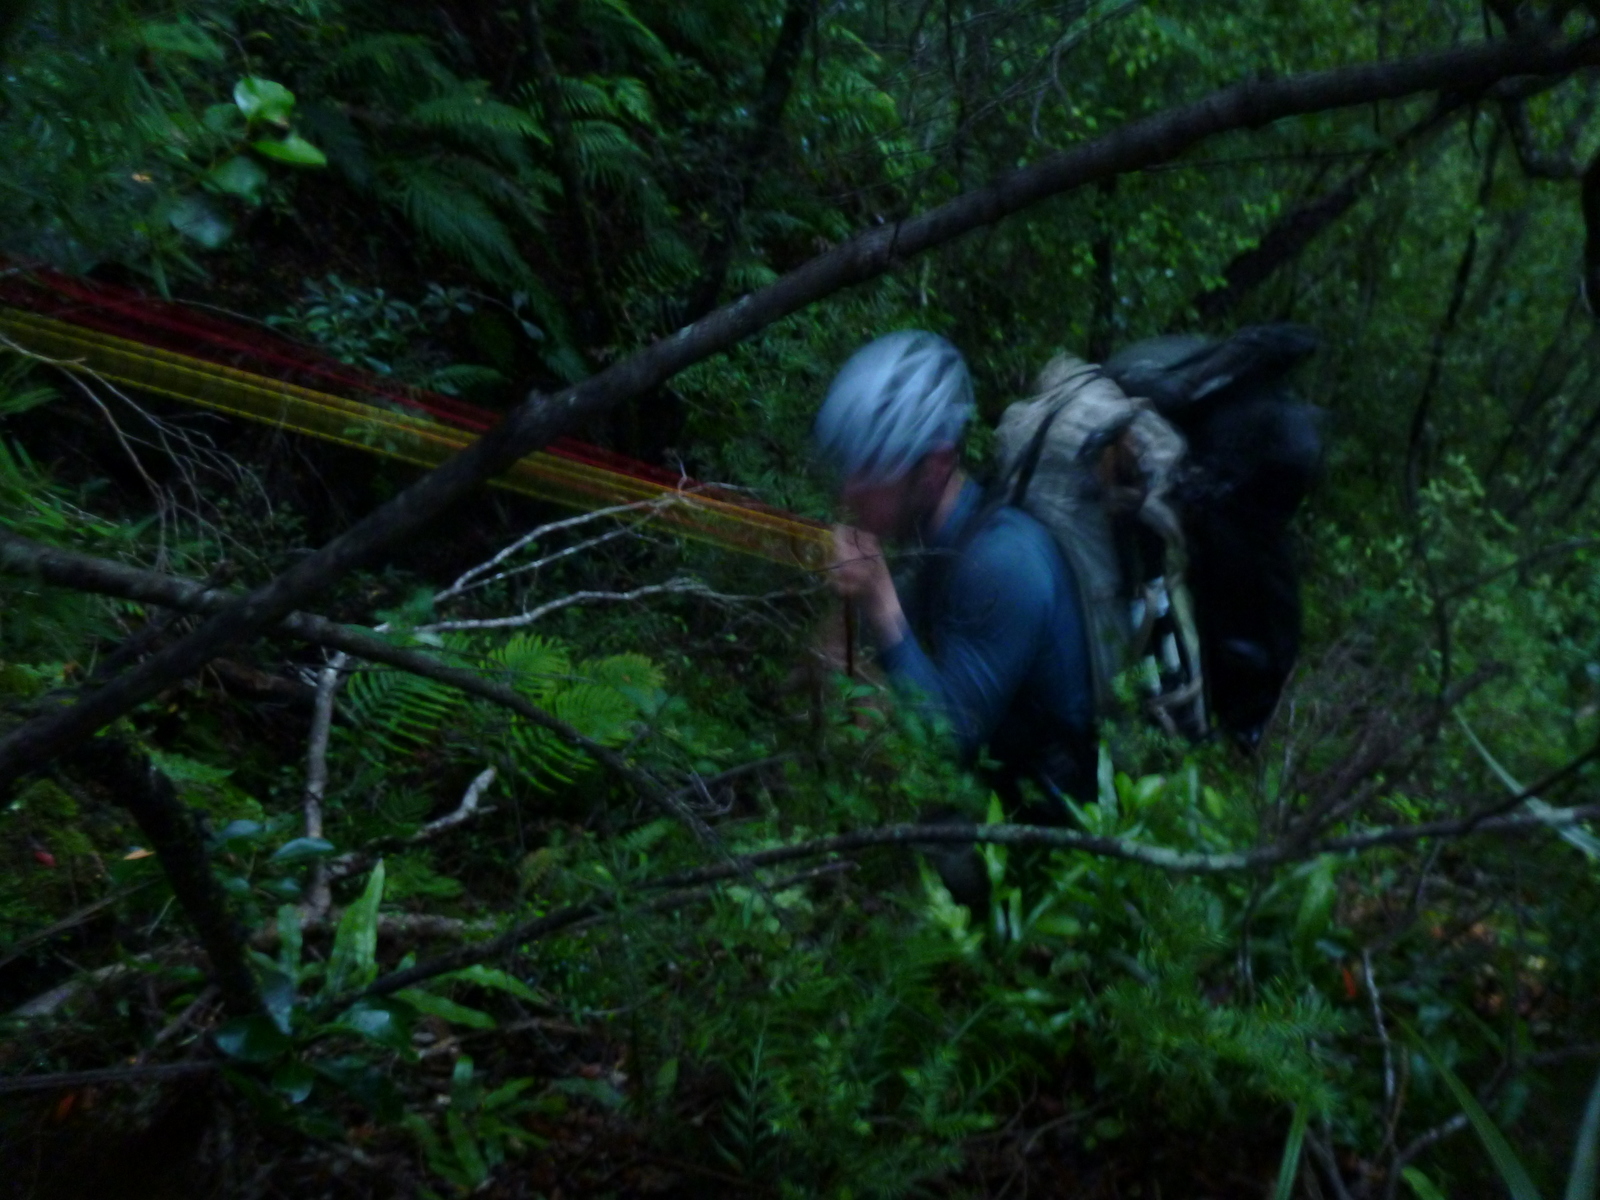
The trip via Emily Pass is three pretty hard and fairly long days, but makes for a very satisfying trip, following the obvious route through the terrain.
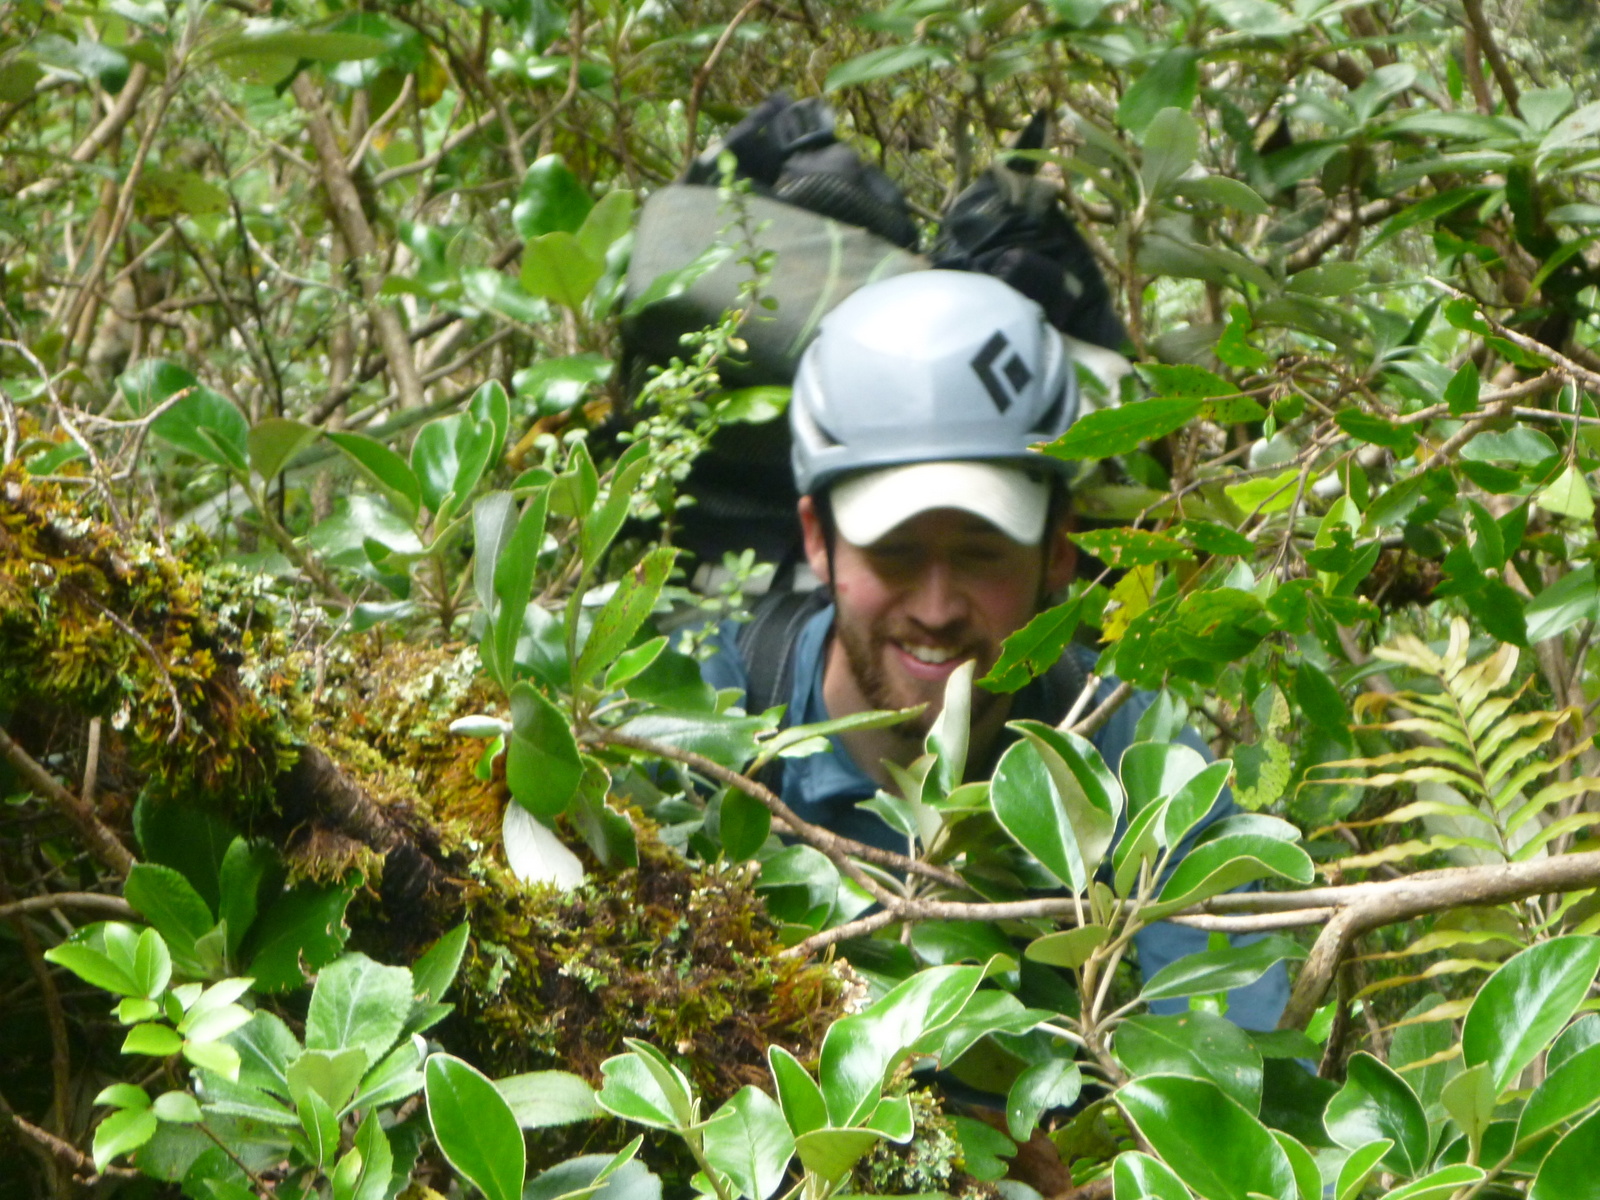
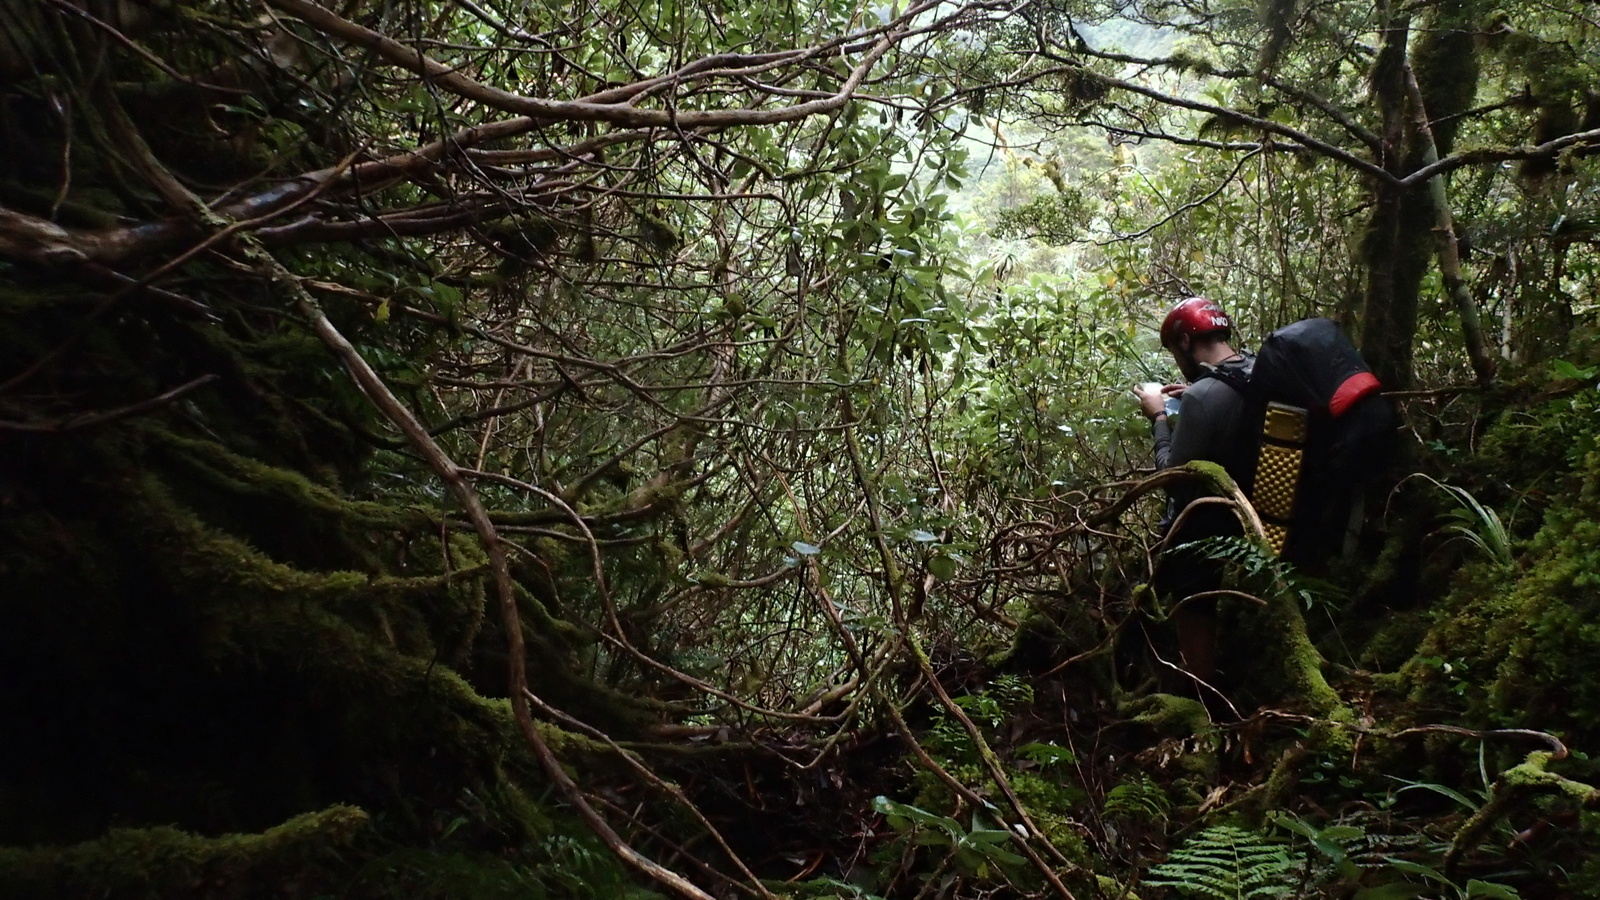
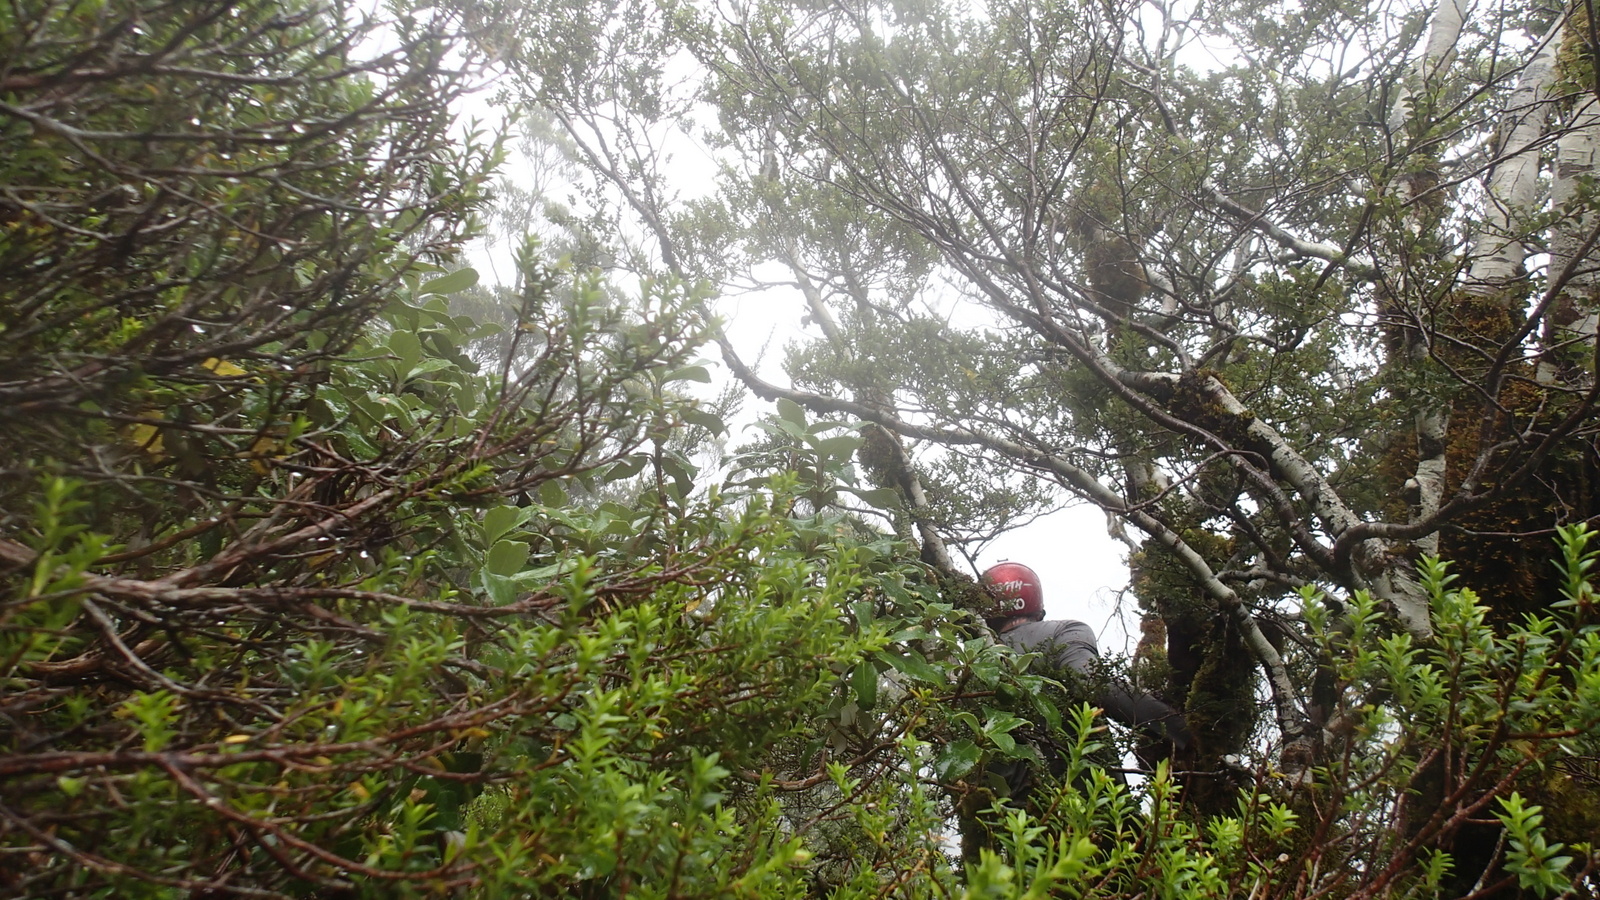
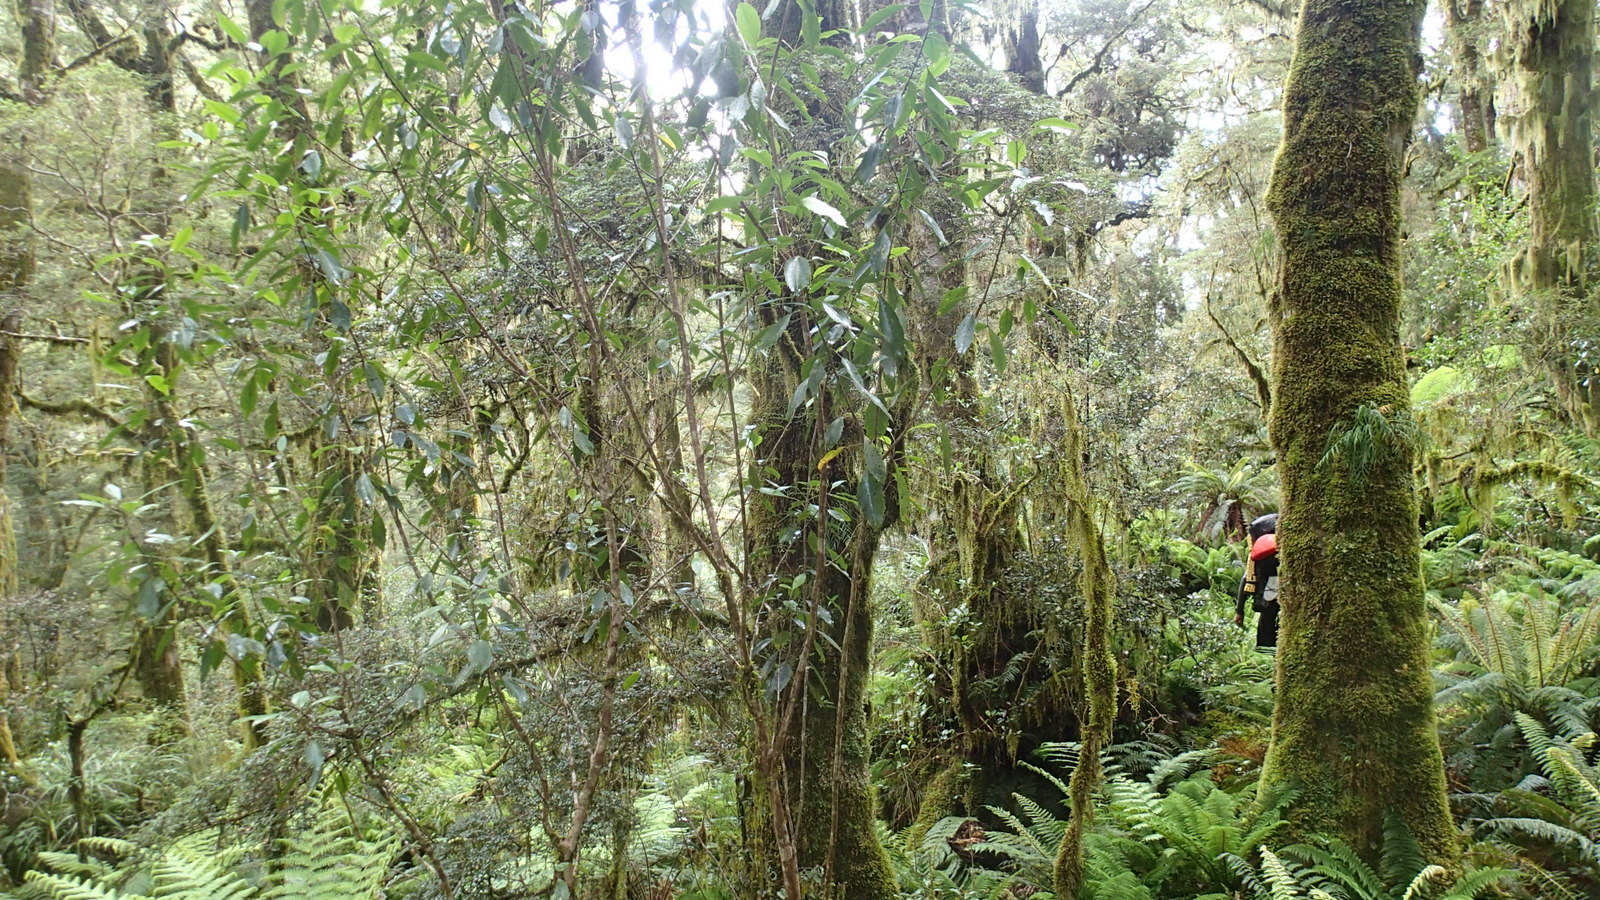
The bush bashing, routefinding and navigation around Emily pass is by far the hardest part of the whole route; don’t attempt this route unless you’re fit, determined and skilled in steep off-track scrub travel!
There’s more detailed information about routes in this area, and alternative approaches via the Blue valley and Maori pass in Moirs Guide North which is available for purchase online, in bookshops and DOC visitor centers throughout the lower South Island. The Moirs Guide description for the difficult section (approach to Emily Pass through to the Okuru) is written as though you’re travelling in the opposite direction, so is tricky to follow when heading north to south.
A GPS and altimeter can come in very handy for this trip. We used our throwbags 3 times to climb down bluffs during the approach, and not at all on the river… Future parties may consider a light 30m rope, with fliplines and carabiners for makeshift harnesses.
Shuttle
Leave a car near the Okuru River bridge on the Jackson’s Bay Road. This road is a long dead-end; hitching isn’t recommended, but you could potentially cycle back to the main highway and hitch more easily from there. If you drive, there is 24 hr petrol available in Haast Beach and in Haast township itself.
Make sure you support local when you’re there: the Hard Antler pub is a great west coast experience, that serves great pub meals and cold beer… Just sayin’…
Day 1: Roaring Swine Creek to Emily Pass 7-9hrs
From the car-park on the true right of the creek, an old trail can be occasionally followed through moderately thick forest through to the flats above.

There are many campsites in the flats, but to achieve the trip in 3 days, you need to continue up to Emily Pass.
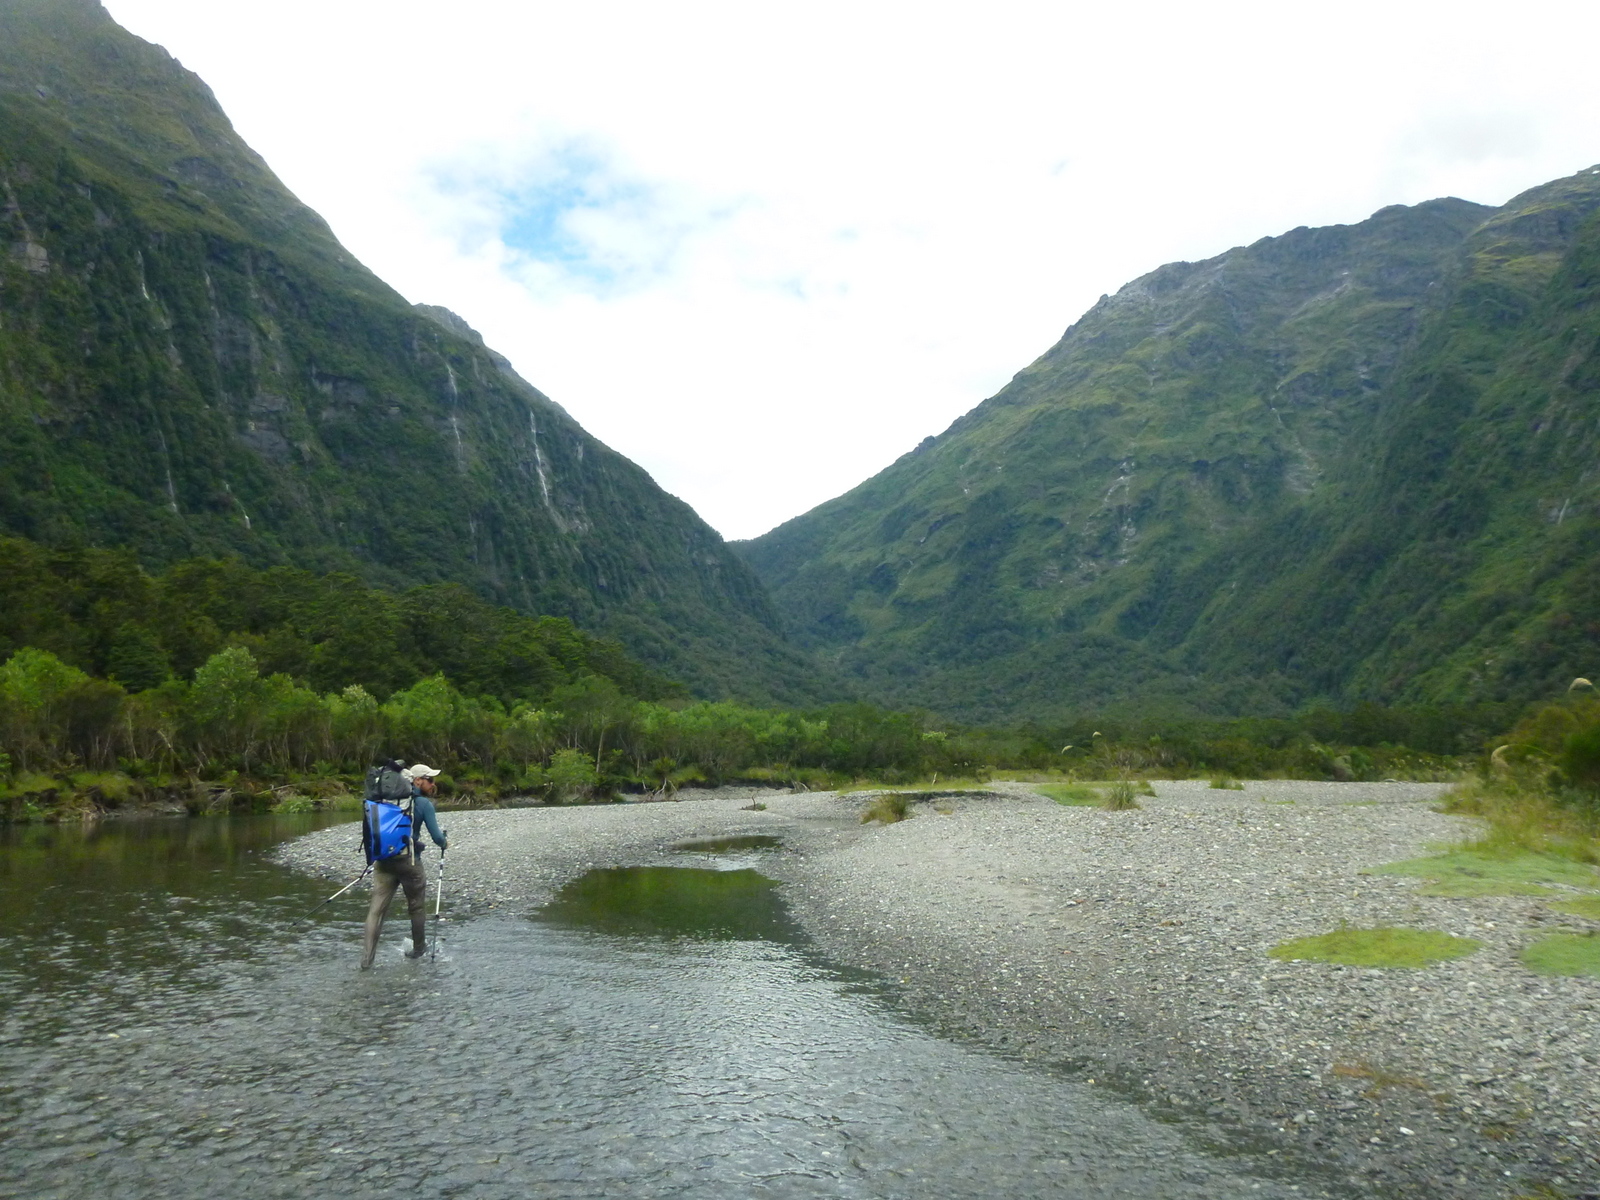
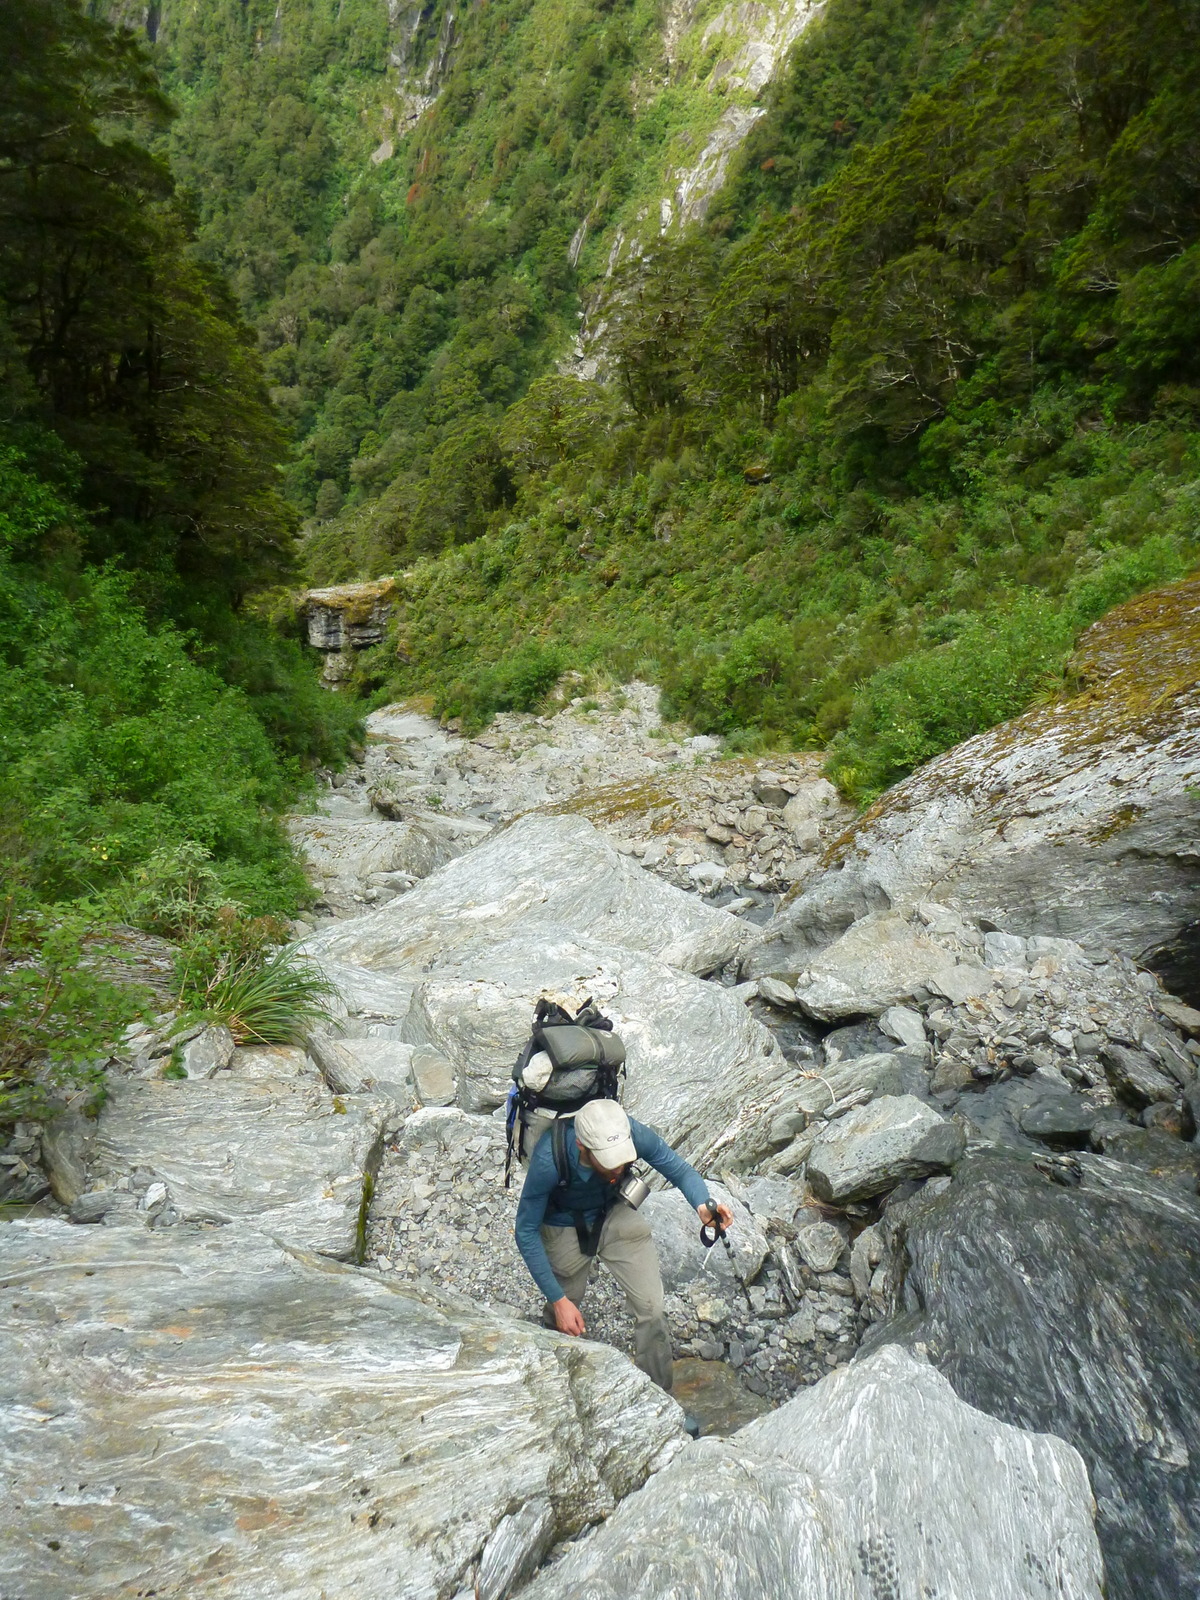
Boulder hop up Roaring swine creek; there are lots of tributaries, not all are marked on the map, so ensure you continue to follow the creek with the most water volume.

About the 560m contour a usually dry tributary can be quickly climbed for about 150 vertical meters, before climbing through thick scrub and leatherwood to sidle back to the main creek, where the final waterfalls begin.
We continued too high, and had to descend slowly through the scrub to the waterfalls; wasting more than an hour.
We climbed the scrub immeadiately beside the waterfall on the true right, until a bluff barred the way. The creek’s was easy to cross at this point, and we continued up the true left, heading directly for the pass, rather than trying to follow the river.
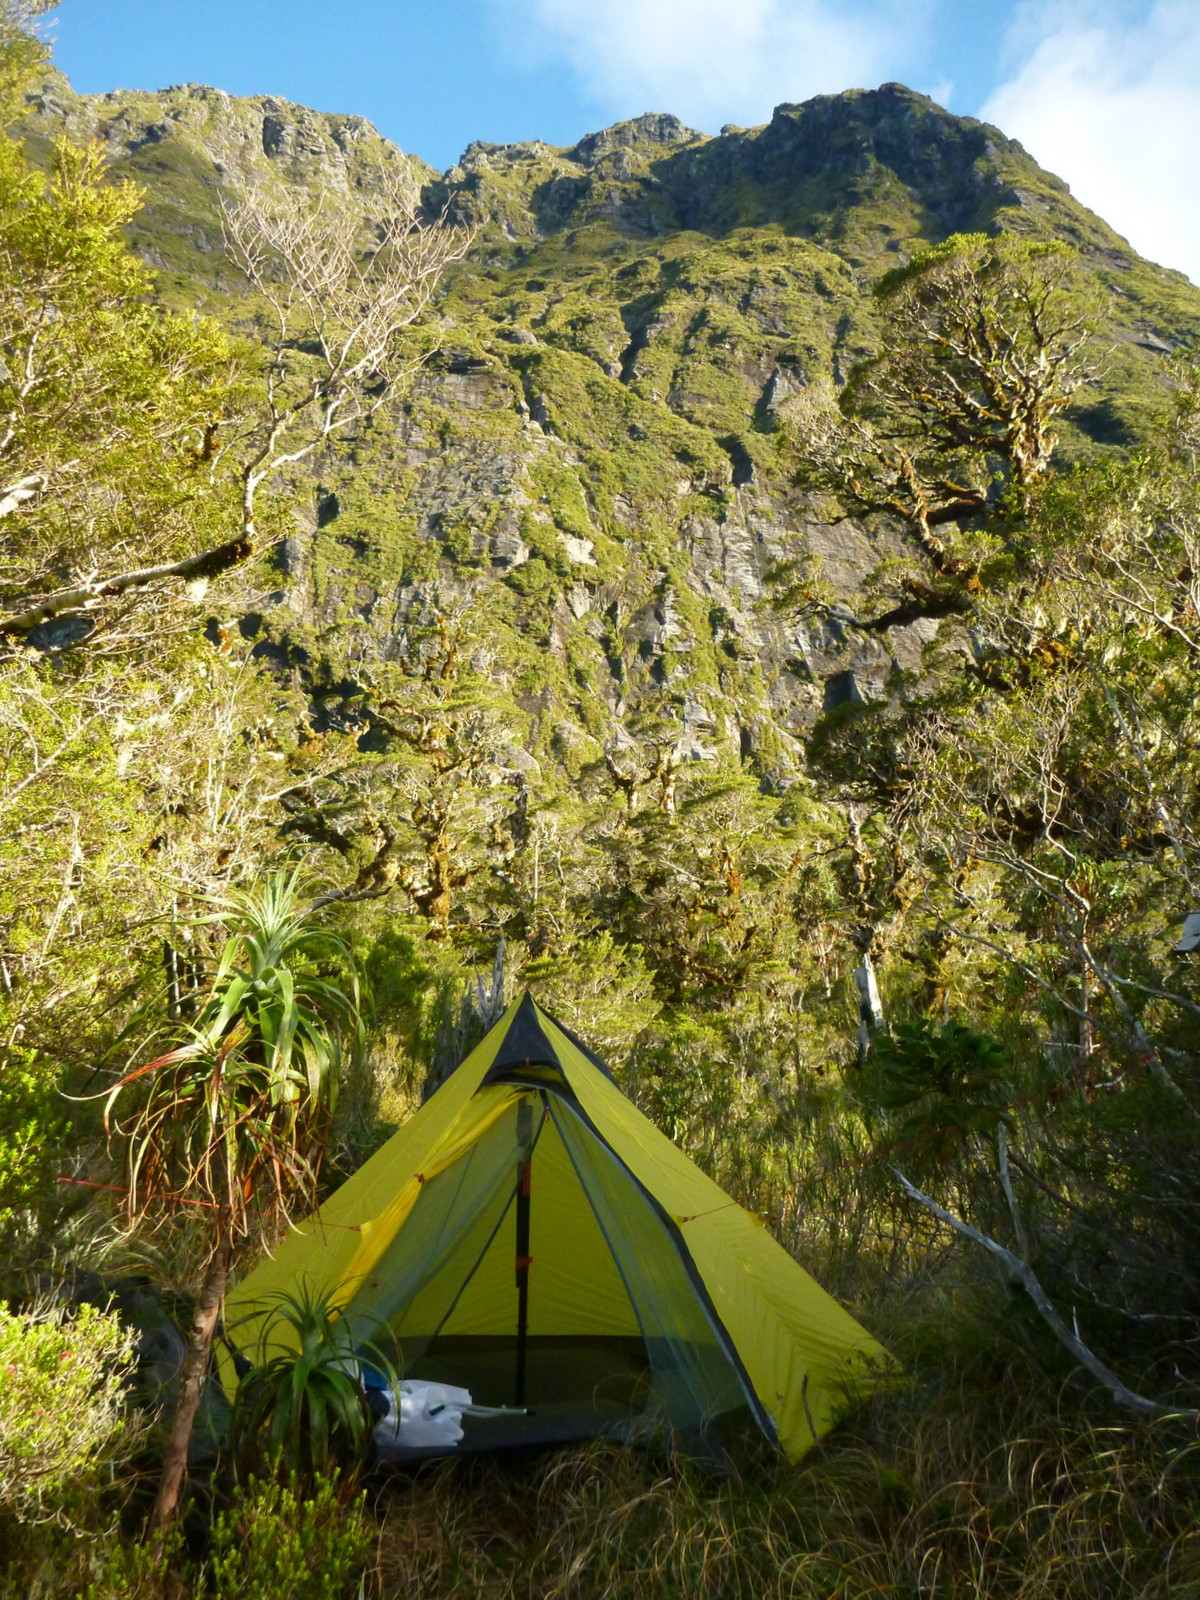
Emily Pass is rather boggy and flat, dry campsites are scarce.
It took us 8hrs of continuous movement from the highway to the pass, including our mistaken detour.
Day 2: Emily Pass to Okuru River 7-8hrs
- Emily Pass to Upper Basin 2-3hrs
- Upper basin to open gully crossing 2hrs
- Open gully crossing to Ironstone spur (440m) 1hr
- Descent of Ironstone Spur to Okuru 2hrs
Emily Pass to Upper Basin 2-3hrs
Its impossible to tell from the pass, but there are 3 distinct streams with waterfalls which drain the main bluffs directly beneath Emily Pass. This makes it quite difficult to interpret the Moirs guide description, which gives its advice relative to ‘the creek’.
It took us 7hrs to reach the upper basins of Emily Creek, with 2 attempted and 1 successful route. I don’t think any of them were the routes that Moirs had in mind..
Our initial attempt was via the eastern route, but we backed off when it became extremely steep.
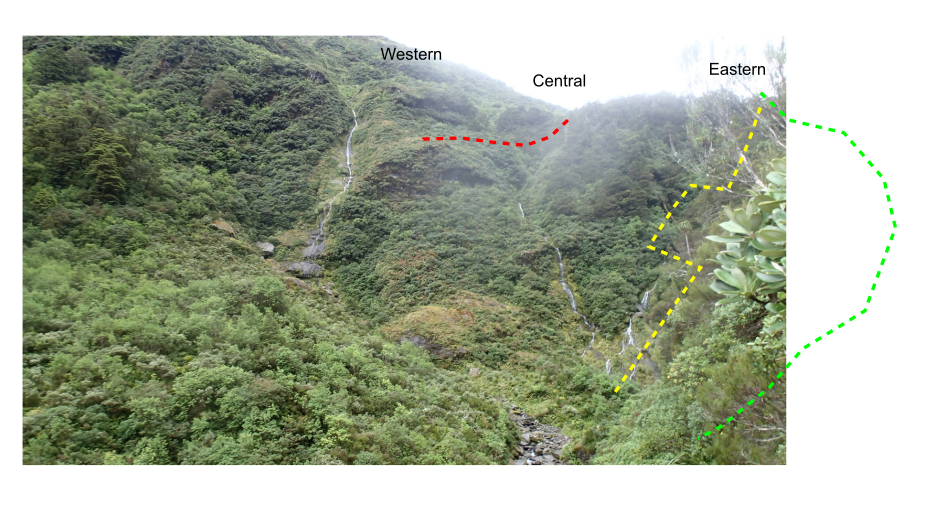
Western attempt
We tried descending a series of spurs on the western edge of the headwall. This ended in a bluff system on an open ledge at the 800m contour. (Red line)
Eastern route
We followed bench on the true left above the creek that drains the eastern end of the pass. We followed this down to about the 800m contour, where it got too steep to descend. We continued south through very steep and very thick bush, crossing a number of gullies before we had gone enough to find terrain which could be descended to the valley without going over bluffs. Before descending, we climbed trees to ensure we’d gone far enough, and that there was a visible line of descent. All you can judge it off is the tops of the trees; can you see a line where the tops descend without any obvious ‘steps’? (ie bluffs) From Emily Pass to the upper basin took 2.5hrs; though bear in mind this was after two previous failures, and our total time to here was 7hrs. (Green line, mostly out of view)
Where do I think the route goes?
I think the route that Moirs refers to is in between our two attempts, following the yellow line by the eastern waterfalls. Perhaps our error was not staying close enough to the creek at the very top?
The route could also ascend the central stream, but we got travelled in the higher part of the central stream during our western attempt (red) and it really didn’t match the Moirs description.
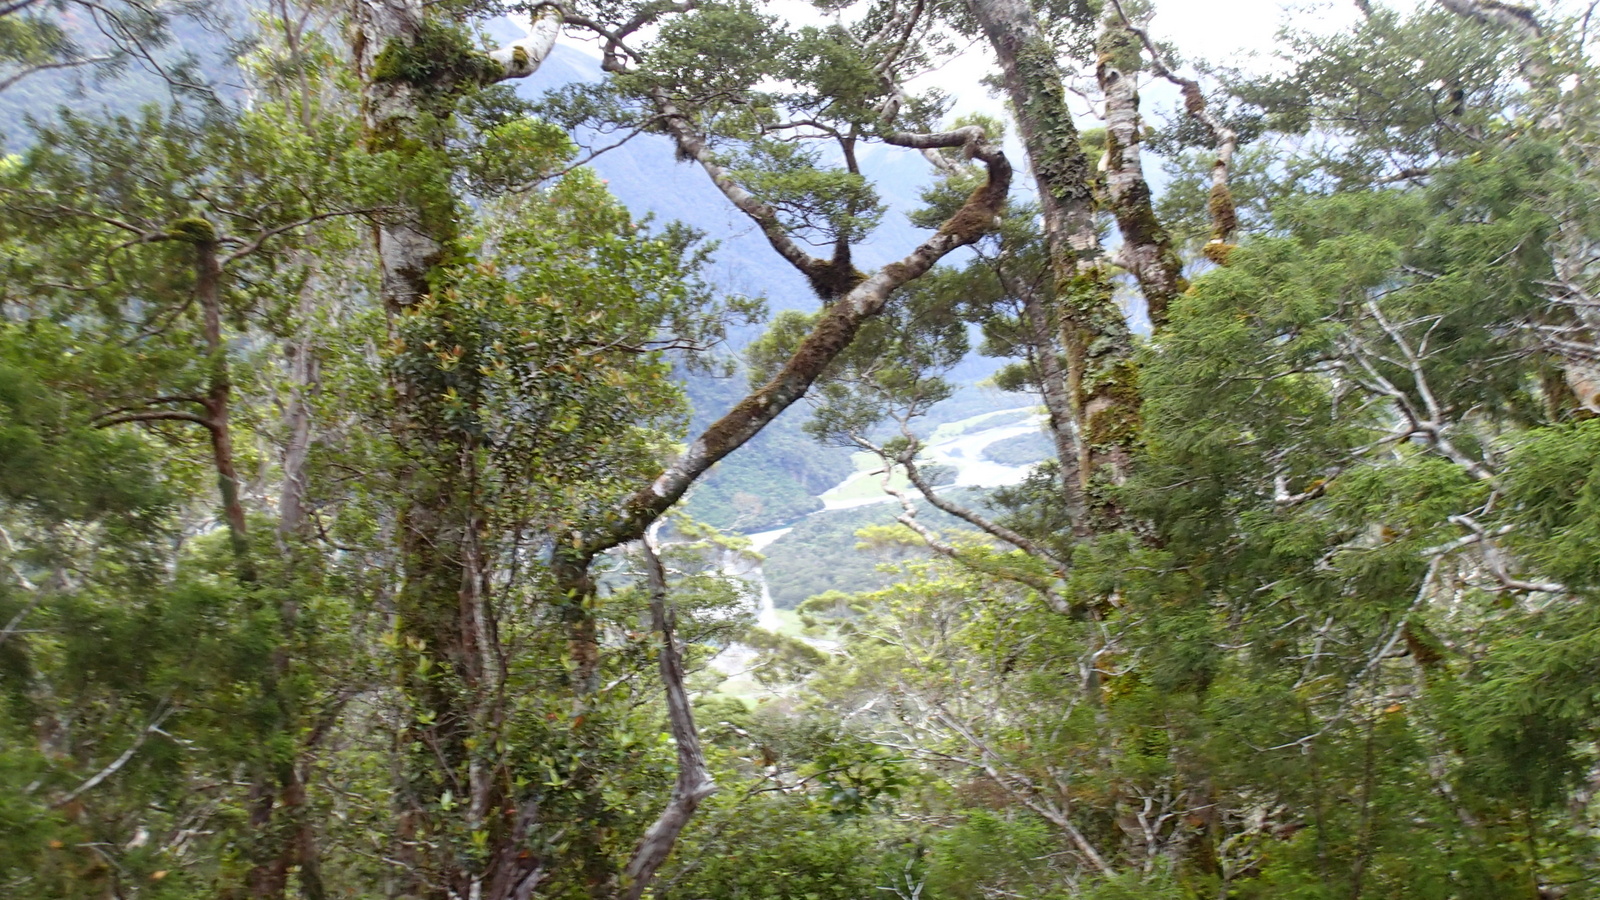
A decent bit of rope (30m or more) and some absielling gear would probably make descending close to the the central stream viable; there’s plenty of leatherwood to wrap a rope around for anchors, although less so on the final cascade, as you can see in the picture. Routes further west may be possible, but there are a number of bluffs that side, among leatherwood scrub before reaching flatter terrain.
Upper basin to open gully crossing 2hrs
From the upper basin, rock hop down to where the beech forest begins, (580m approx)
Then enter the forest and make a descending sidle through moderate forest.
Continue sidling to the next marked tributary on the true right, which is shown as a vegetation-free open gully. This “open gully” is much more defined and deeper than it appears on the map, and is full of scrub. We sidled a bit high, but found an excellent deer trail on a small spur on the edge of the “open gully” from the 580m contour all the way down to a suitable crossing point at 420m.
Open gully crossing to Ironstone spur (440m) 1hr
Follow your altimeter at 440m through moderate forest to Ironstone Spur.
Descent of Ironstone Spur to Okuru 2hrs
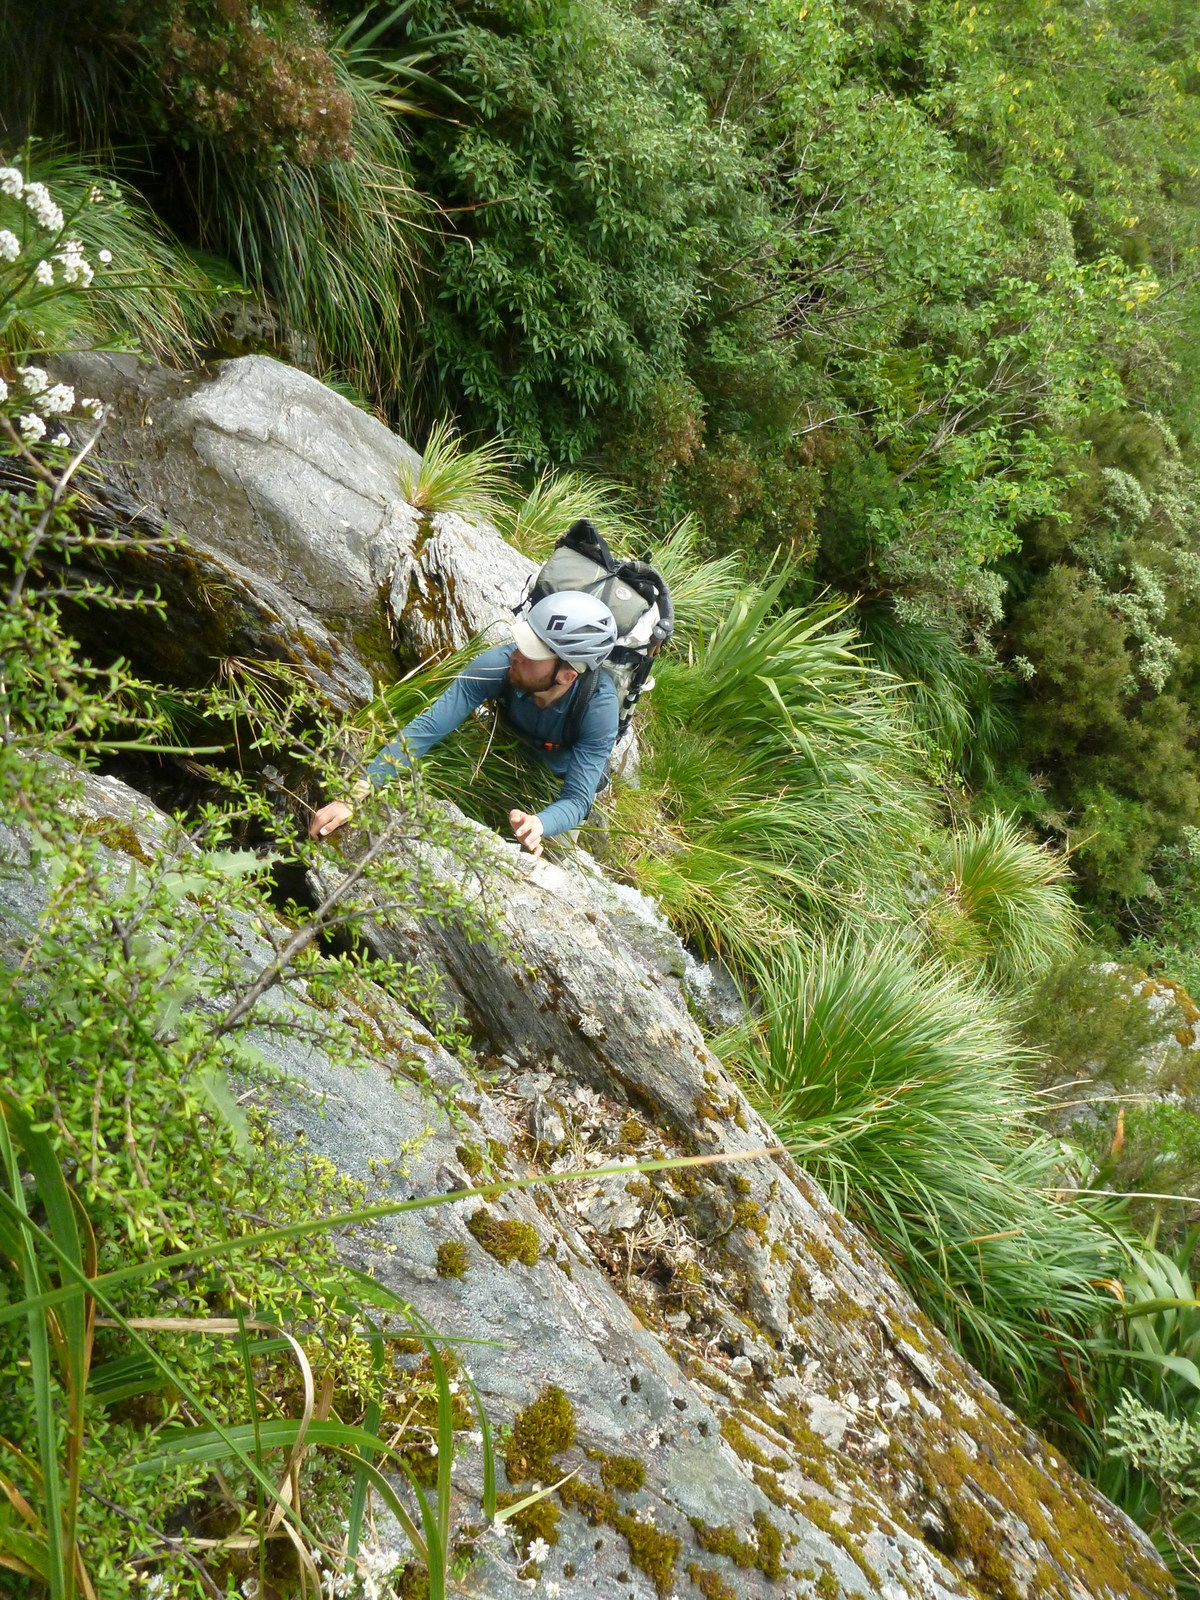
Descending Ironstone spur is much more difficult that it sounds from the Moir description “steep but open”. The crest of the spur is often extremely narrow, with very steep sides (think one leg either side of the crest) and a number of bluffs, and gendarmes (spires/steep knolls). The key is to stick on the true spur, which is difficult during descent; vauge false spurs head off frequently. If you can’t find a way over the spur crest, then you may have to descend on one side, before regaining the ridge. Much of the spur crest is relatively open, but lower down it gets scrubby again.
We used our throwbags, looped around sturdy trees on two occasions to give us some support to downclimb some sections of ridge that were exposed to bluffs. Again a rope and basic harness could come in very useful here.
You really have to concentrate, and keep on the ridge as much as you can; there’s plenty of scope to get bluffed out here. It took us 2hrs to descend from 440m on Ironstone Spur, down to the toe of the spur by Emily Creek.
Its an easy boulder hop down to the confluence, where there are huge, flat, grassy camping spots.


It took us 14.5hrs all up from Emily Pass to the confluence. There weren’t any decent camping options (either too steep with water, or flattish with no water) between the pass and the Okuru. Start early and appreciate the level of commitment!!
Thanks for the comments so far!!
I’ve incorporated the feedback from these comments so far into the trip report. Thanks for helping improve the resource!
Regards,
Dan Clearwater
We paddled this river with a moderate Spring Flow in November 2024. The Roaring Billy Haast gauge was reading 130cu.
As suggested there are long sectionS of G1 interspersed with multiple G3 rapids. However one rapid, as Cath suggest below, is definately G4 in my personal opinion. This is half way between Katie Creek and Retreat Rivulet and marked as G3 on the topo above. A long section of flat water comes onto an G3- rapid and then approx a few hundred meters downstream the G4 rapid appears. However It is easy to portage. Hope this is helpful to future paddlers. A truly stunning river.
We flew in the day after a significant amount of rainfall (avg.14-17 mm/hr over 24 hrs) Haast flow rate at Roaring Billy recorded 3558 cumecs 24hrs prior. It was also early November so a lot of spring melt feeding in too.
We put in at Lindsay Creek and had quite heavy boats loaded up with Venison.
I would consider the top 4 rapids solid GR 3+ in high flow, with a few nasty features that you definitely want to avoid (required significant skill to paddle safely). All rapids were still able to be safely portaged. It took 45 mins to portage the 2nd rapid from the top.
We comfortably paddled the section of the rapid above the boil hole and the rapid below.
Beautiful river!
Immediately after the first of the Grade III rapid is another rapid probably closer to Grade IV in low flow. Easy to scout & portage river left.
Both Haast garages have 24 hour fuel, support local if you want locals to support you!