


Fast & furious
The Cameron River is one of several small rivers in Hakatere basin that comes to life in the spring snow-melt season or after heavy rain. It has many similarities with its more popular neighbour – the Ashburton South Branch – while offering a unique character all of its own. While it may lack the stunning gorge sections of the South Branch, it offers similarly exciting whitewater in the grade III/III+ range. Combine this with a put-in beneath the highest peaks of the Arrowsmith Range and you have a true alpine pack rafting experience waiting to be explored!
Similar to the Ashburton South branch there is an upper crux section (III+) and also an opportunity to start a bit lower (II+) creating options to suit different groups.
Thanks to Shane Orchard for the info and photos for this trip page.
Warning – continuous rapids
The continuous nature of the whitewater means that all members of the group need to be confident and competent at the grade, and fit enough to keep paddling well at that level for hours.
There are few eddies or pools to recover a swimmer, lots of boulders to avoid and fast, shallow sections. A capsize could result in a very long and hazardous swim.
View Larger Topographic Map
A bit of history – from Hugh Canard
Spare a thought for the CMC (Canterbury Mountaineering Club) guys in Hillary’s day who made their own rafts and ran the Cameron in the 1950s. Somewhere there are photos. Those guys are gone now. Also UCCC were taken into the S Ashburton on a tractor and ran it in GRP kayaks in the 1970s. I dragged a Dancer up there in 1989 and ran it solo from below the chockstone.
Access
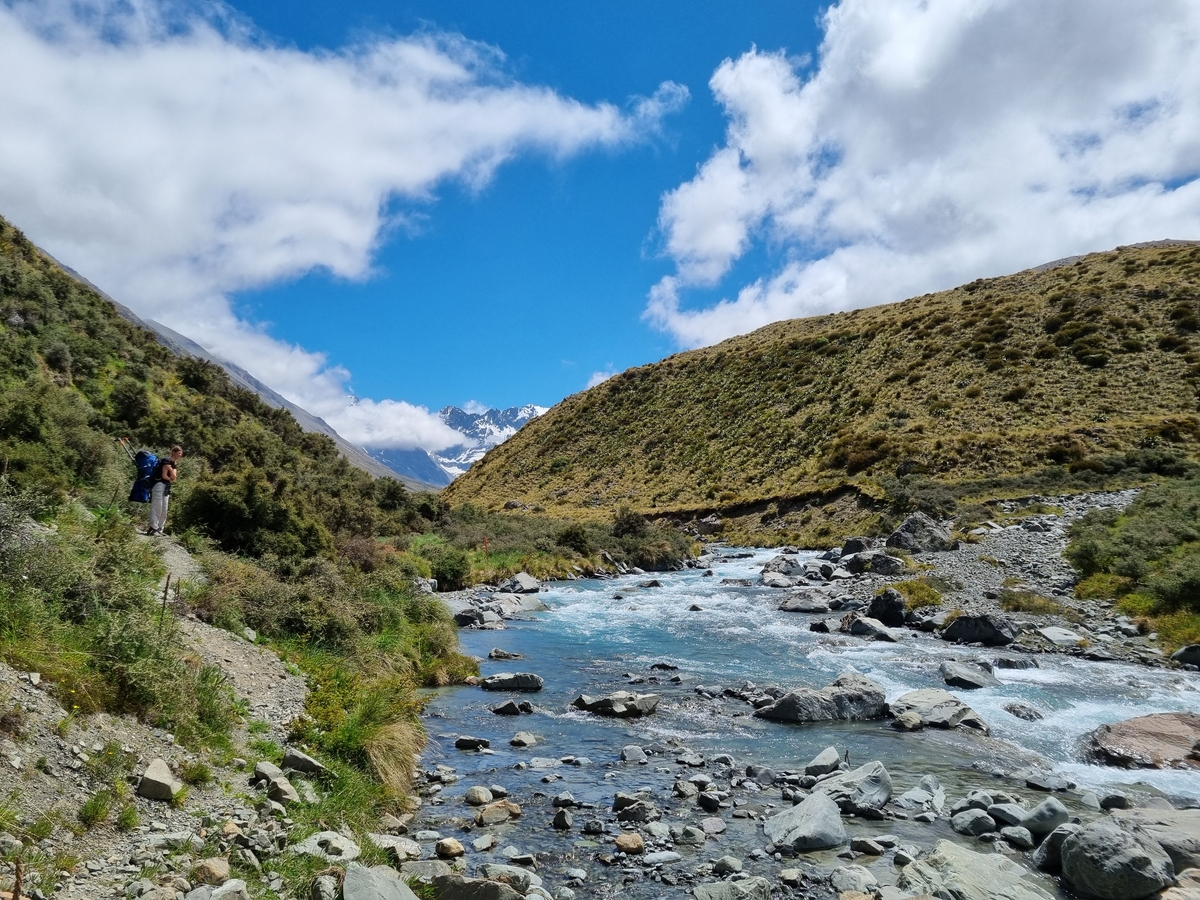
Access to most of the run is straightforward thanks to the marked track to Cameron Hut. Follow the rough vehicle track from the Hakatere Heron Road to the car park. From here the walking track upstream is generally well marked with a few sections of scrambling around steep banks and patches of scrub. The track follows the river for the first 9 km providing plenty of opportunities to scope the rapids along the way.
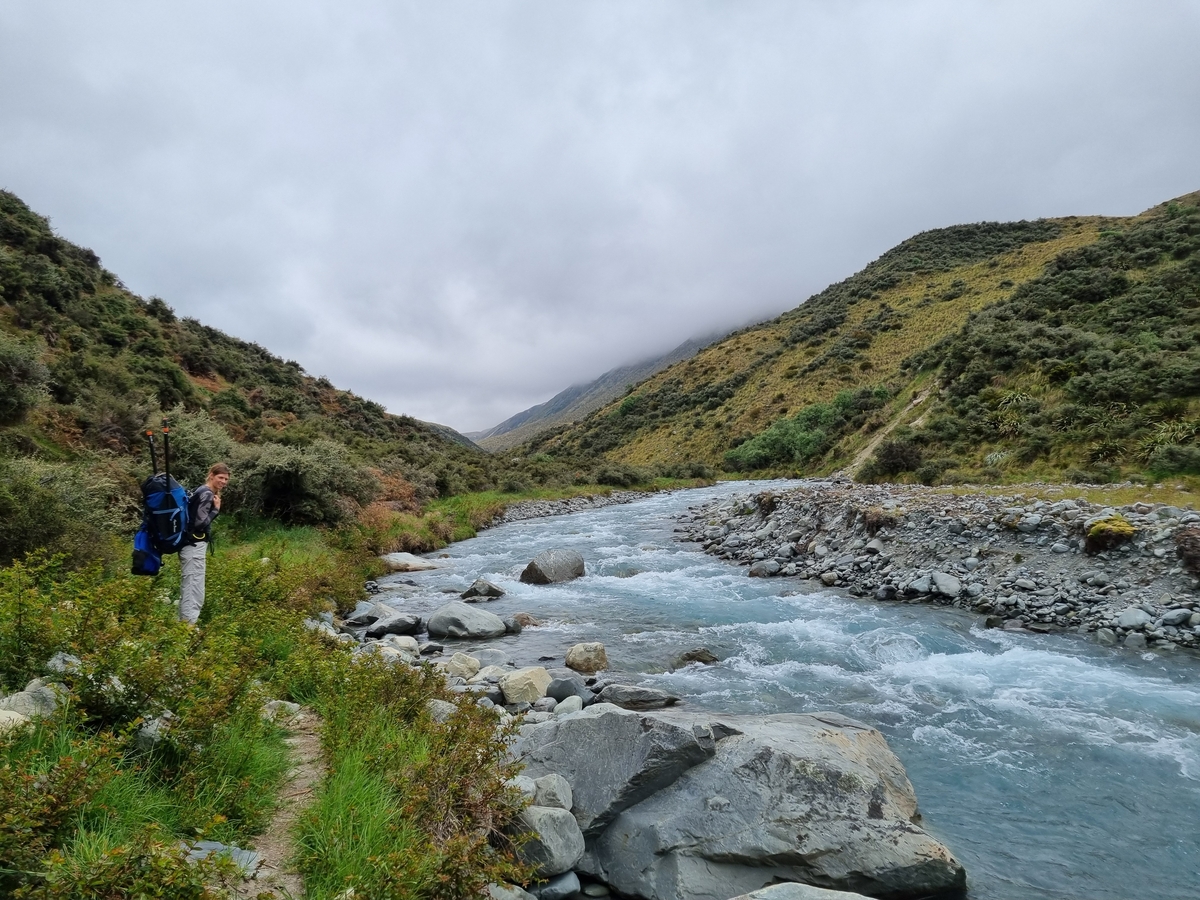
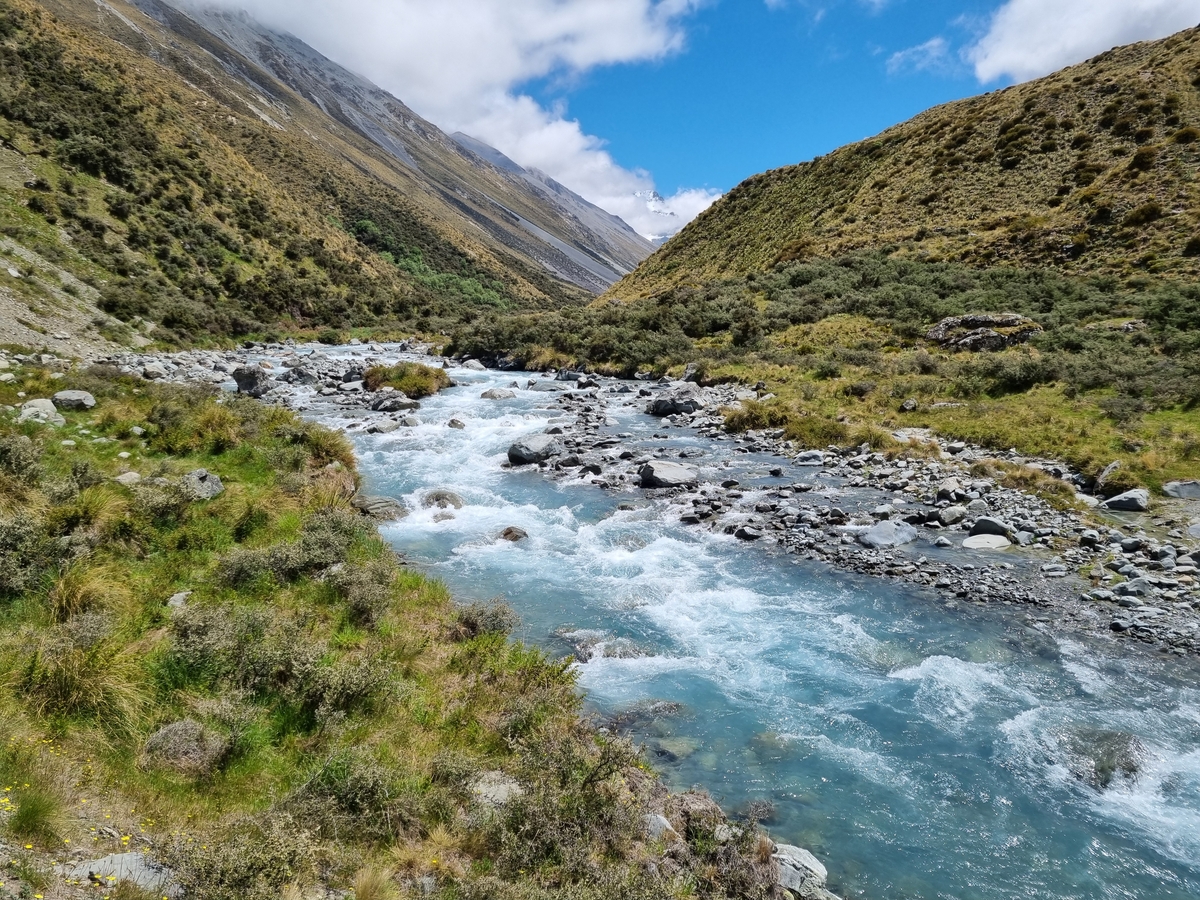
At around 8 km from the car park the riverbed opens into a prominent flat and the river character changes to a series of braids.
At the top end of this flat you have two options: either follow the marked route up and over the terrace or continue upstream in the riverbed.
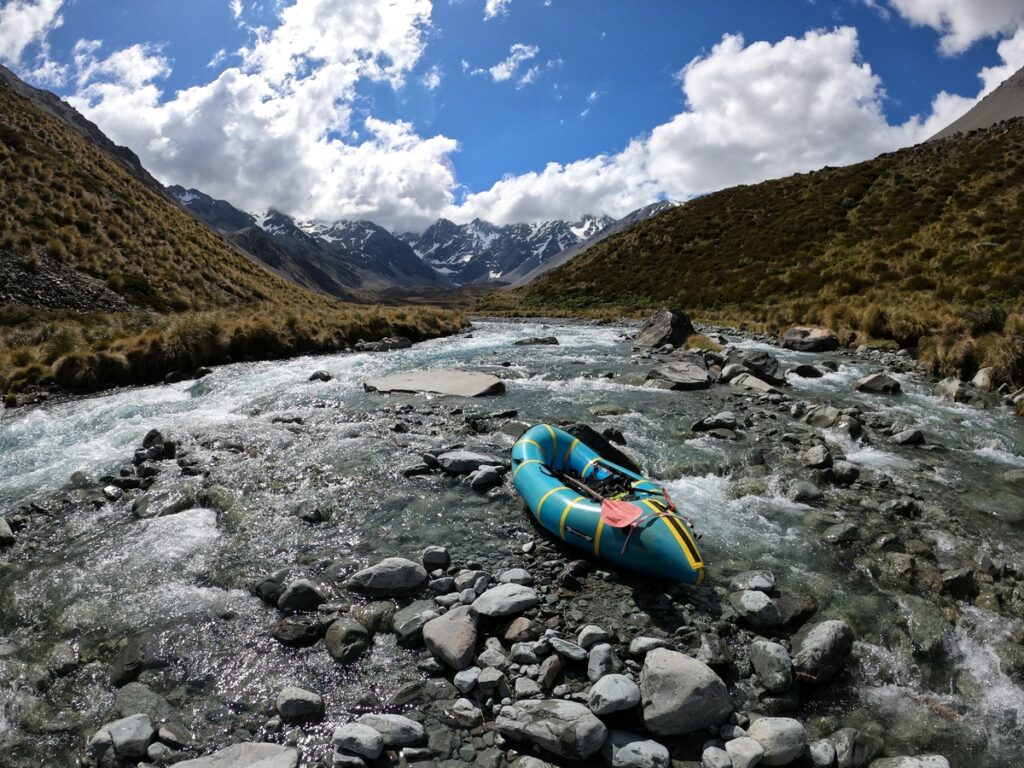
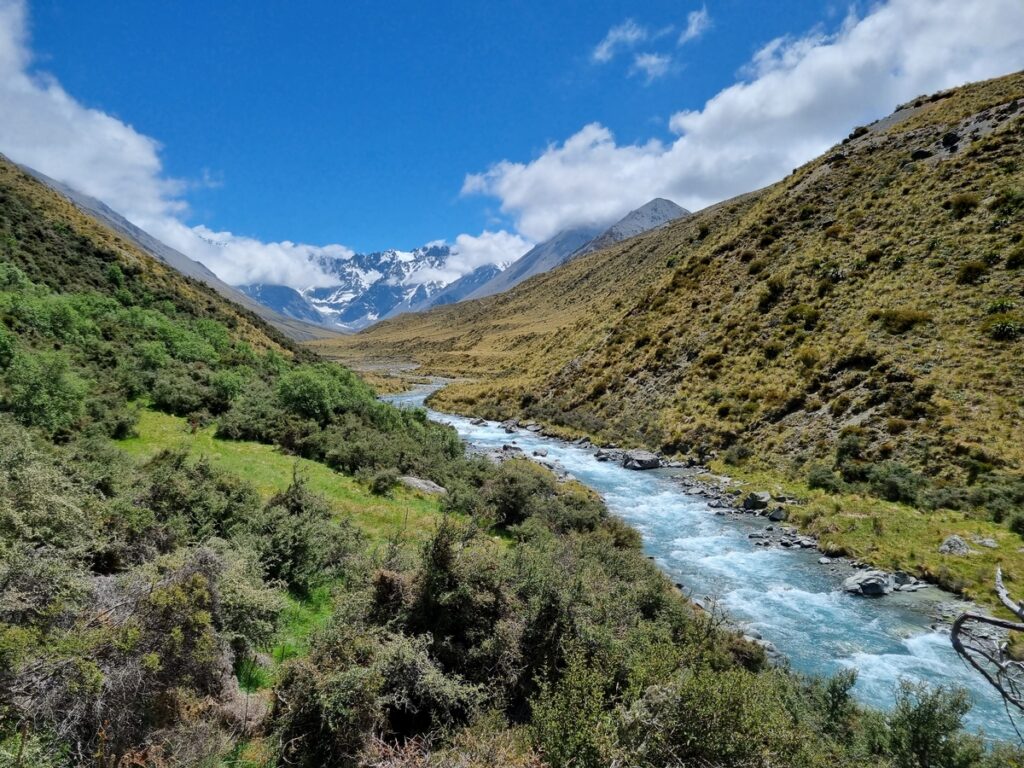
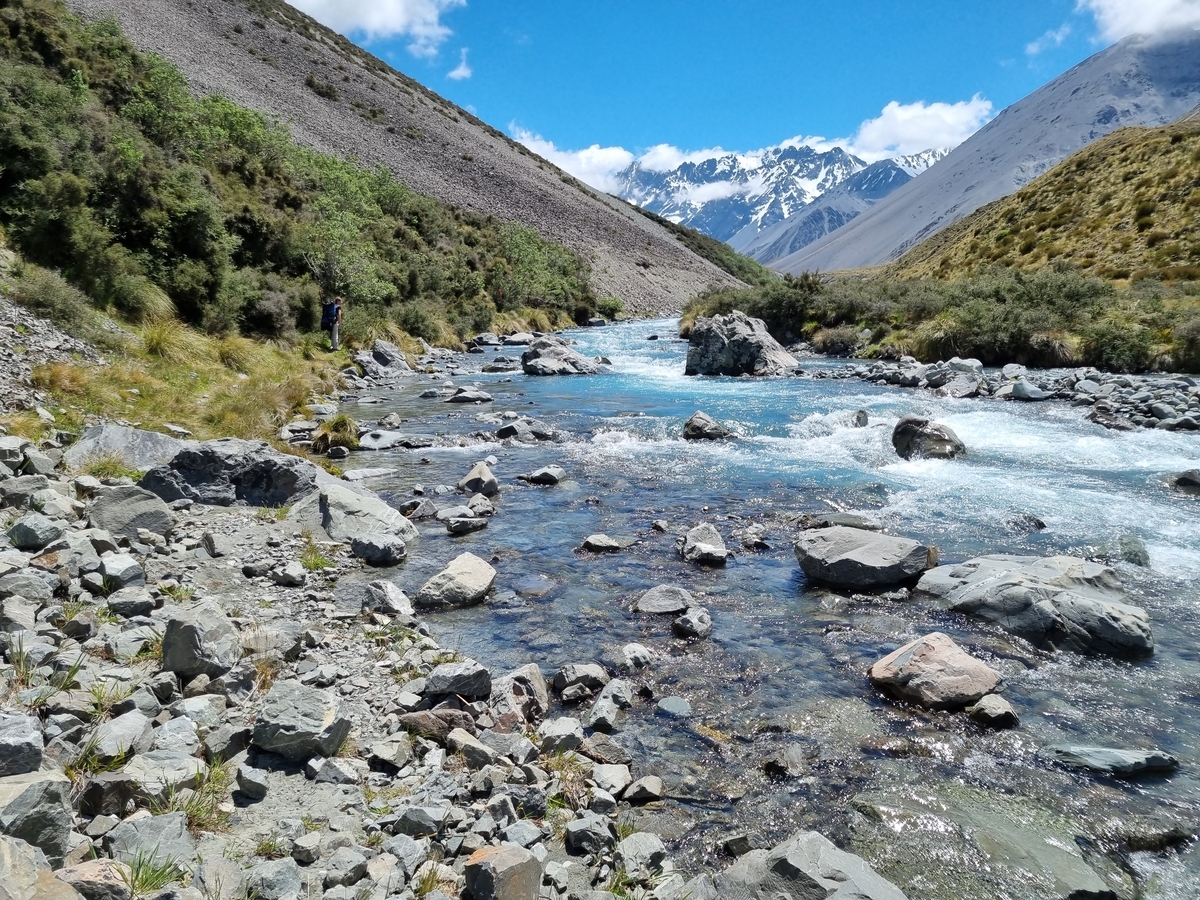
The track is more straightforward but climbs away from the river, meaning that you will not get to see the rapids in this gorge. The alternative option involves travelling up the riverbed on the true right and either completing a difficult sidle on this bank or making one crossing of the river to the true left and sidling on this bank to gain the upper flats (which is easier overall). As you reach the upper end of the gorge the landscape opens out abruptly and high peaks of the Arrowsmiths make a strangely sudden appearance. By now you’re literally at the foot of the towering peaks with a friendly gravel bank to get set up on and some nice whitewater below making for a truly spectacular put-in point!
This is a great spot to put on for a day trip. If you’re curious about what is above here, there are more open flats before a final, very steep section of river up to Cameron Hut itself. This steep section cuts through a more recent terminal moraine and is probably unnavigable, due to the gradient and large chunks of rock in the stream.
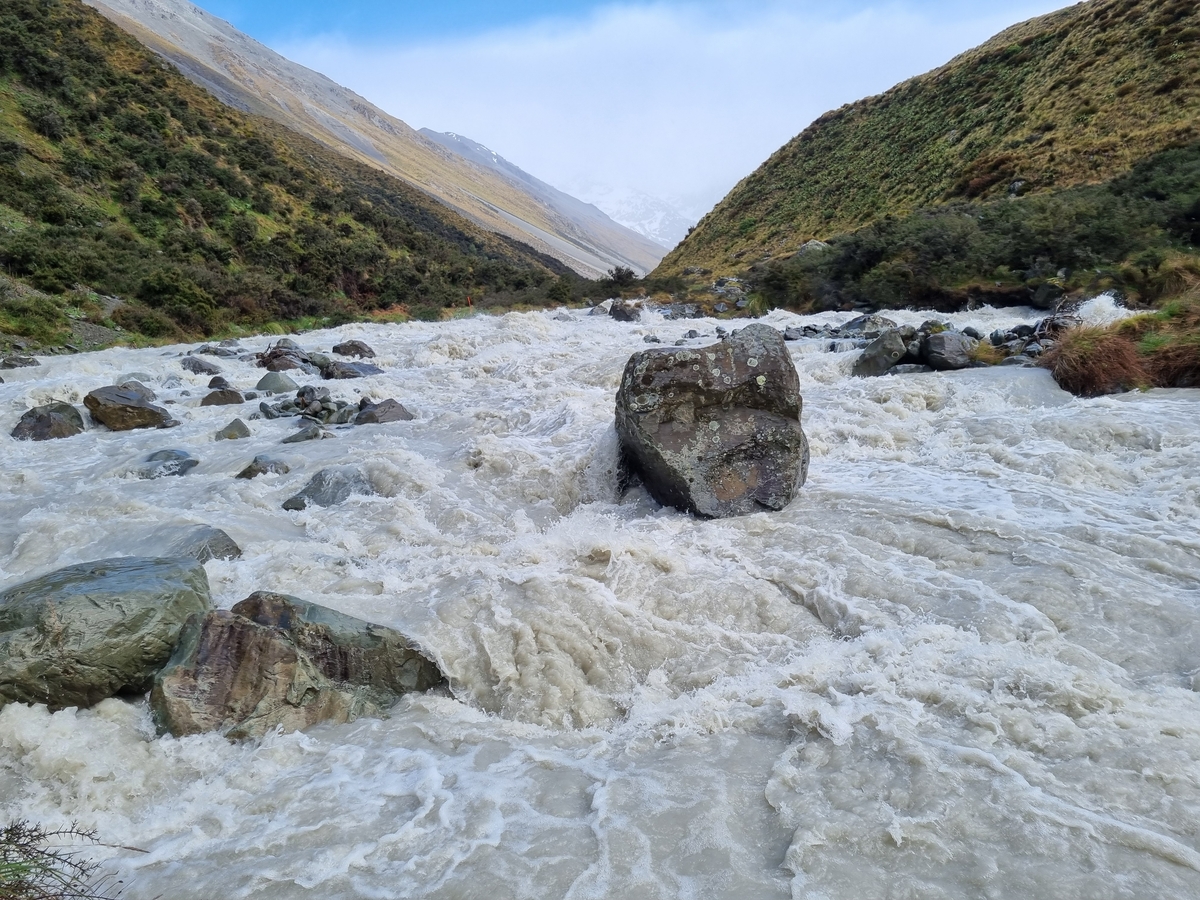
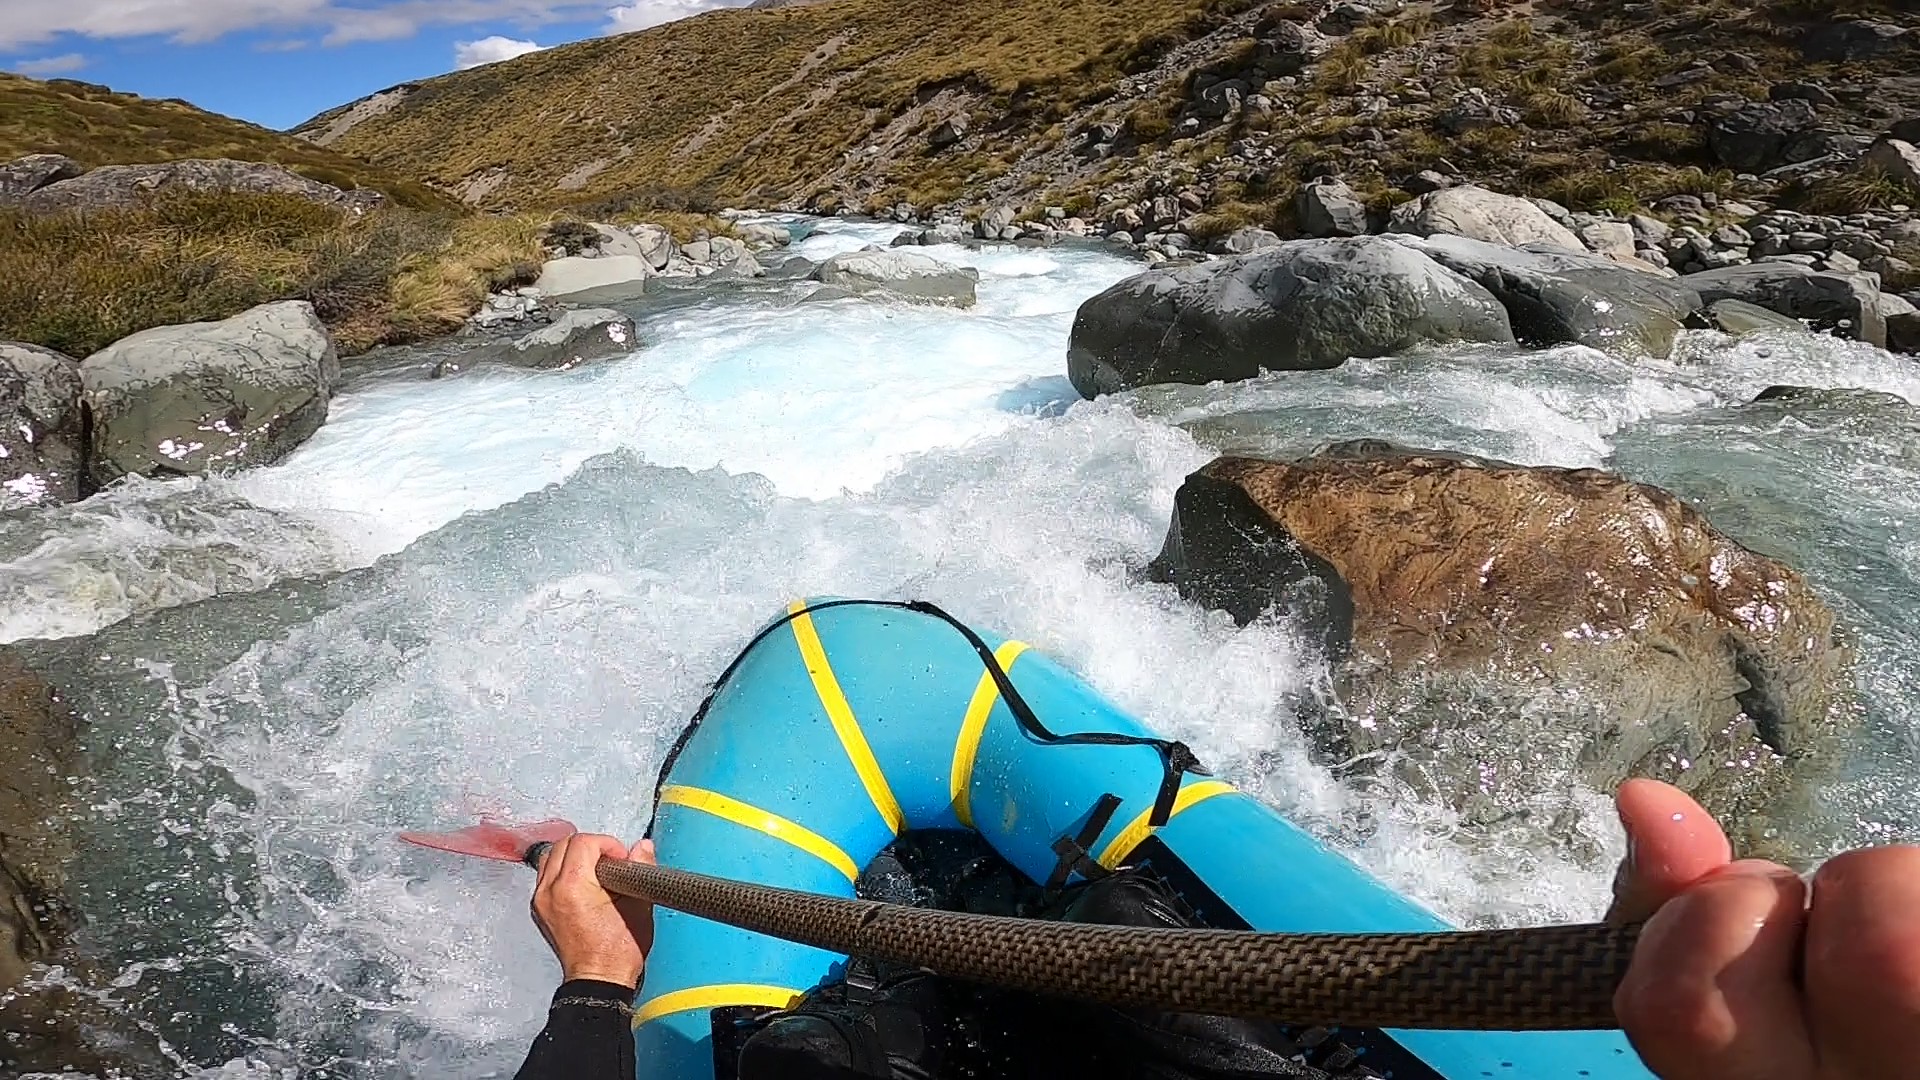
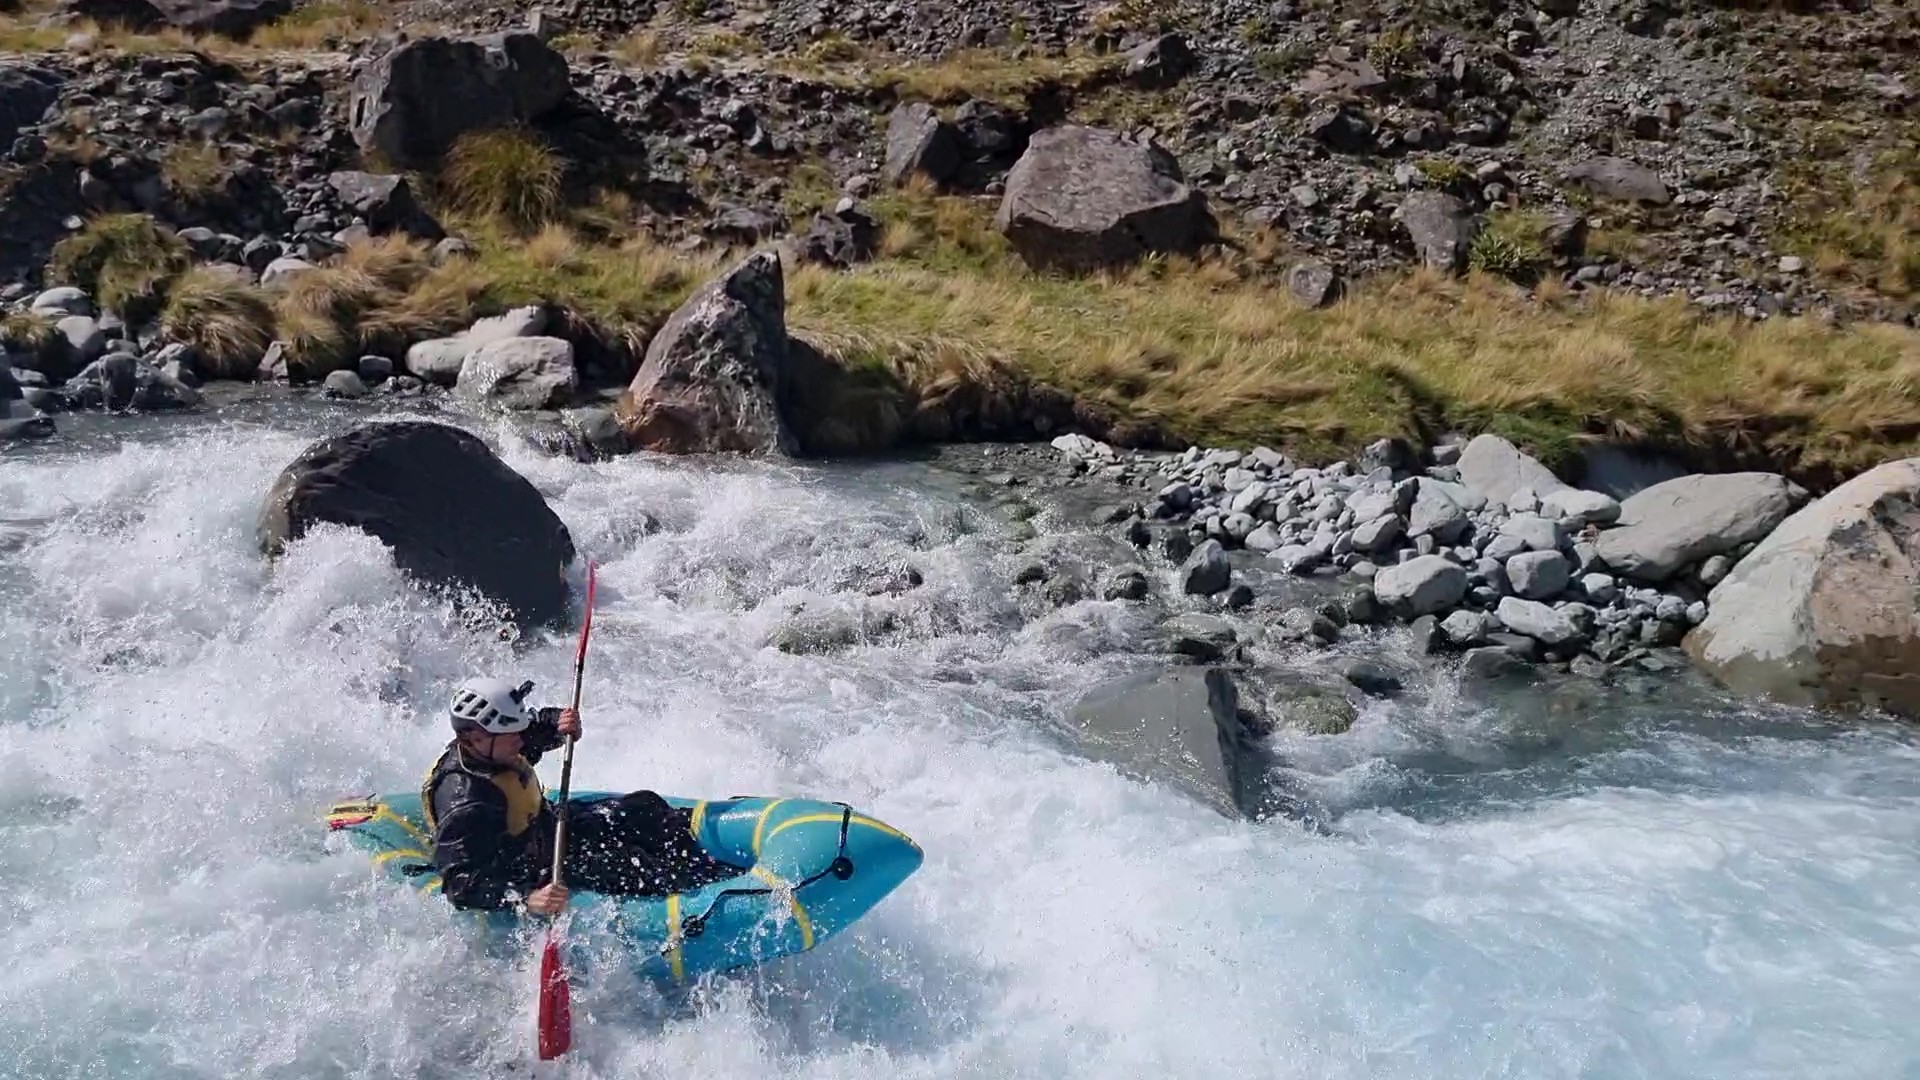
Upper gorge (III+)
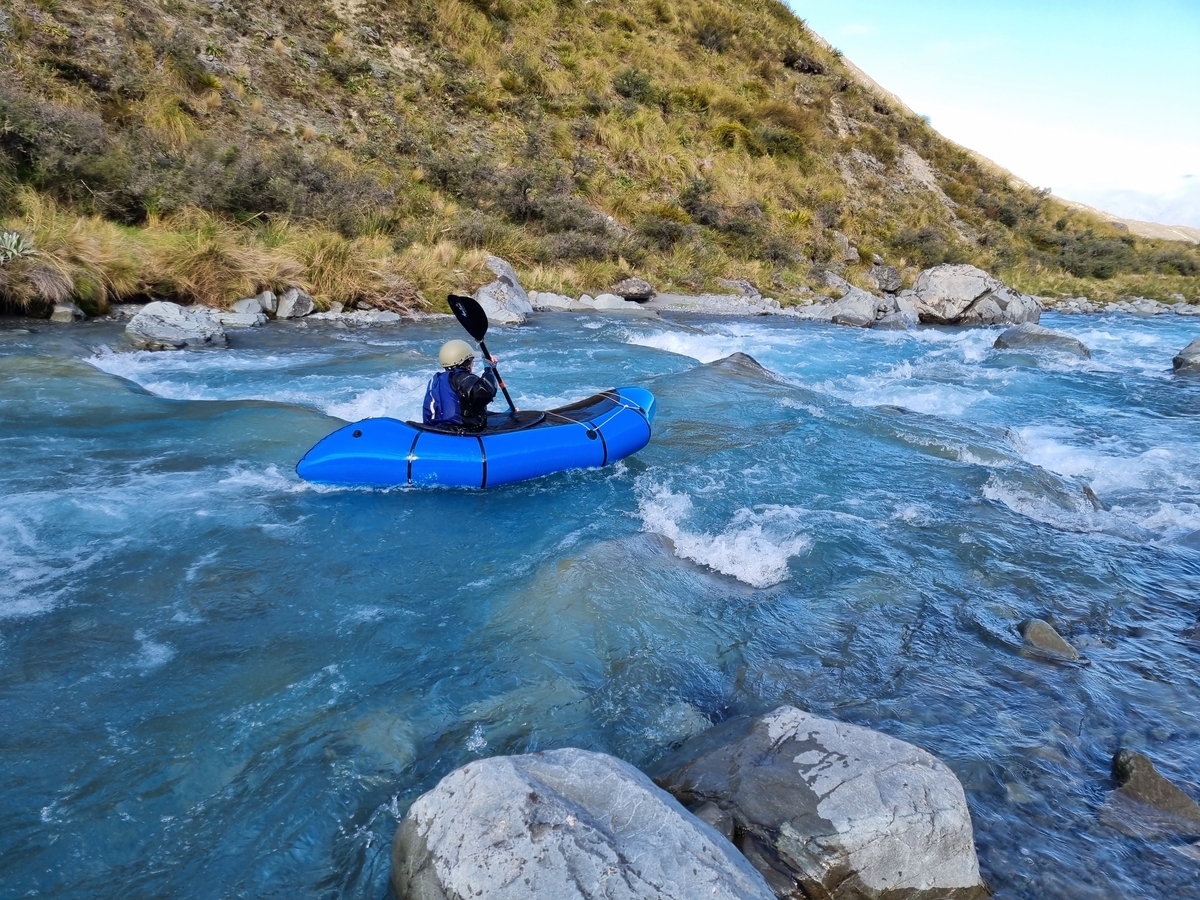
From the put-in the first rapids are essentially a continuous section of around 1 km with very few stopping points! Expect a fast rollercoaster with moves coming in quick succession. This will likely test your memory and river reading skills so make a few mental notes of the key features if you’ve been able to scope this section on the way in. The general character is a fast-flowing boulder garden with a couple of small drops and a fairly high potential to get off line. Take any opportunity to eddy out and catch your breath along the way or otherwise prepared for an extended burst of paddling to kick things off!
After the first kilometre the rapids start breaking up a little with a quieter stretch leading into a prominent steep rapid following a left hand turn. As with the upper rollercoaster section this rapid is in the grade III/III+ range when running clear and marks the last significant rapid in the upper gorge. Below here the gradient eases steadily as the gorge opens out into the prominent flats adjacent to the walking track downvalley of Lochiel Stream.
Lochiel flats (II/II+)
From near the Lochiel Stream confluence, these river flats are a good start point for less experienced groups and/ or a great option for a shorter trip. All of the rapids in this section can be
readily seen on Google Earth and scoped from the walking track on the way in.
Although the riverbed is open here, it nonetheless flows long quite quickly offering a nice warm-up
section for some harder whitewater below.
Beginning at the flats there is a small section of braids that gradually come together into a more prominent main channel. Moving downstream this channel becomes steadily more interesting with glacial erratics creating some nice eddies and play spots in the flow. The first grade II+ rapids start making an appearance near Strone Stream and continue downstream past the old historic hut (private & locked) called ‘Highland Home’.
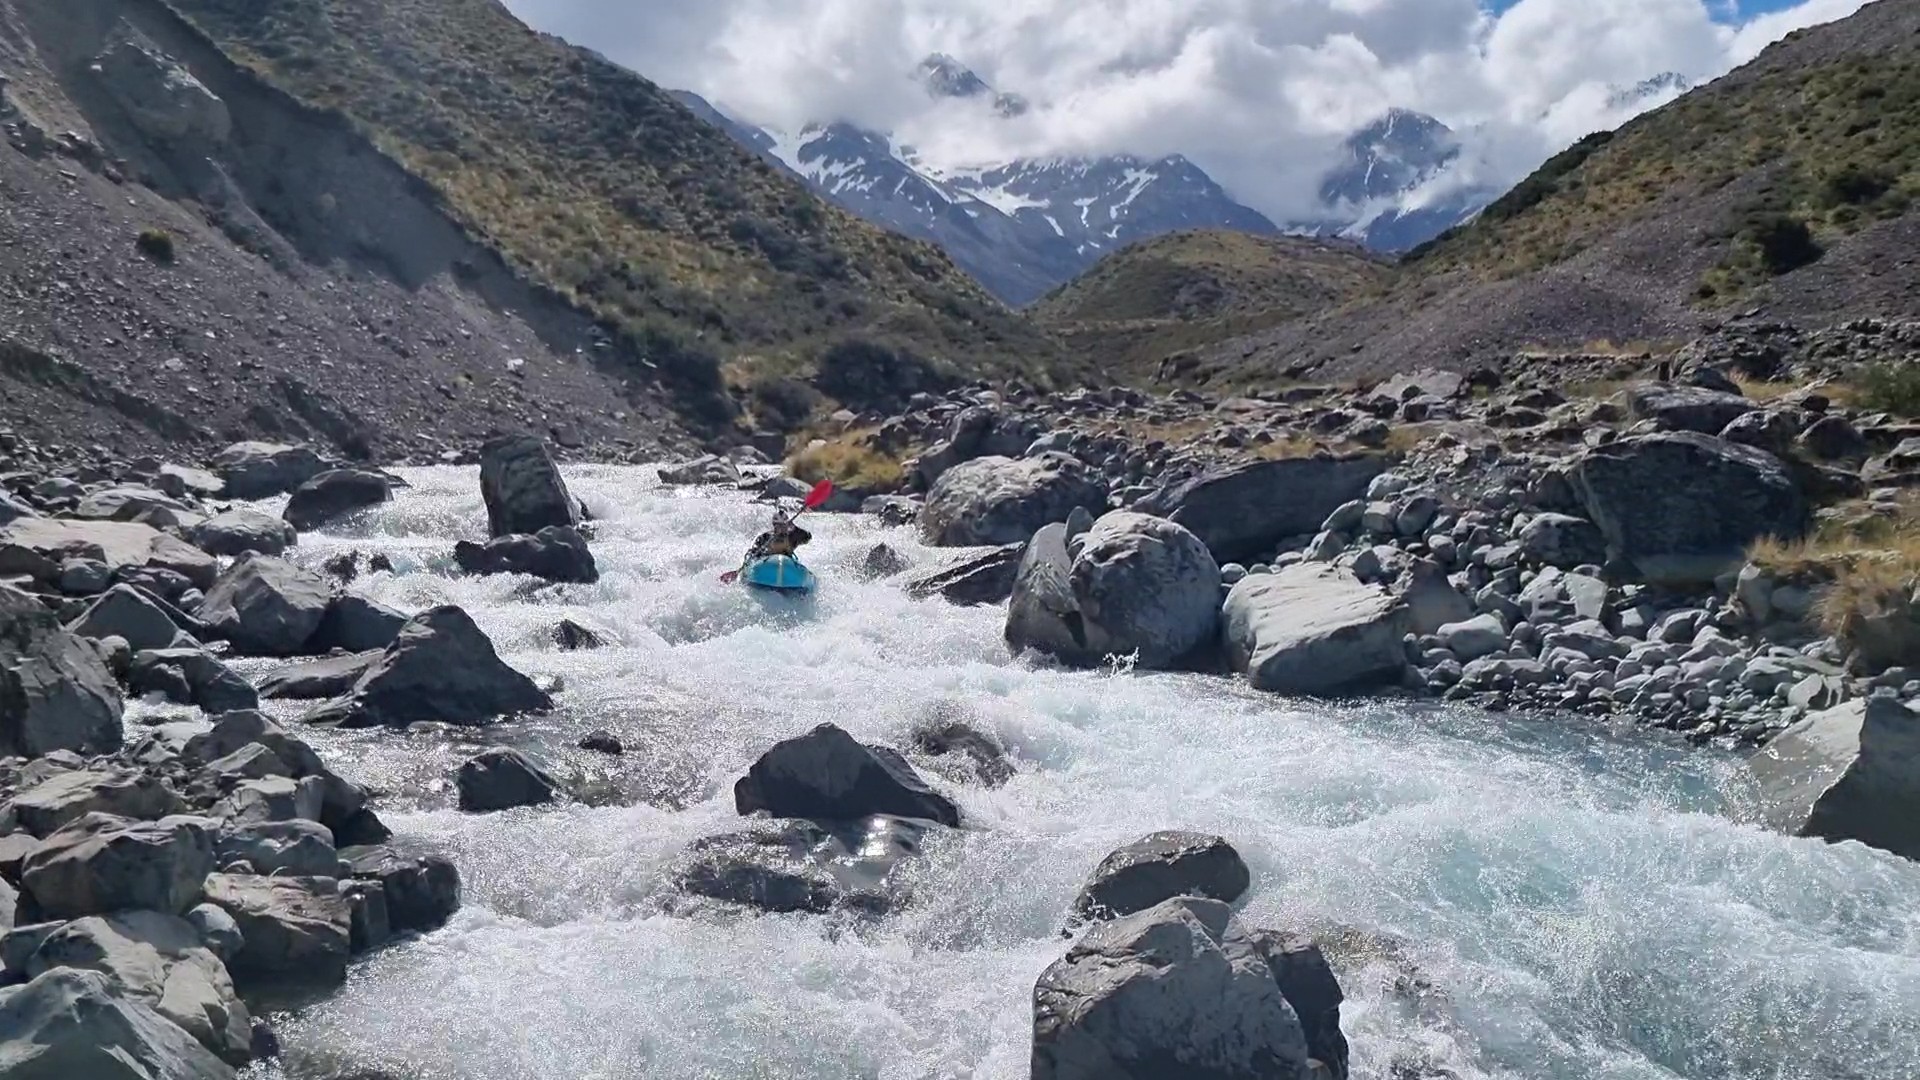
Mid valley rapids (III)
Around 1 km downstream from Highland Home the gradient and complexity increase for a short but action-packed section of grade III water.
This section features a series of long, boulder garden style rapids. There are some tricky technical moves, small drops and tight chutes, but is easily portaged if desired.
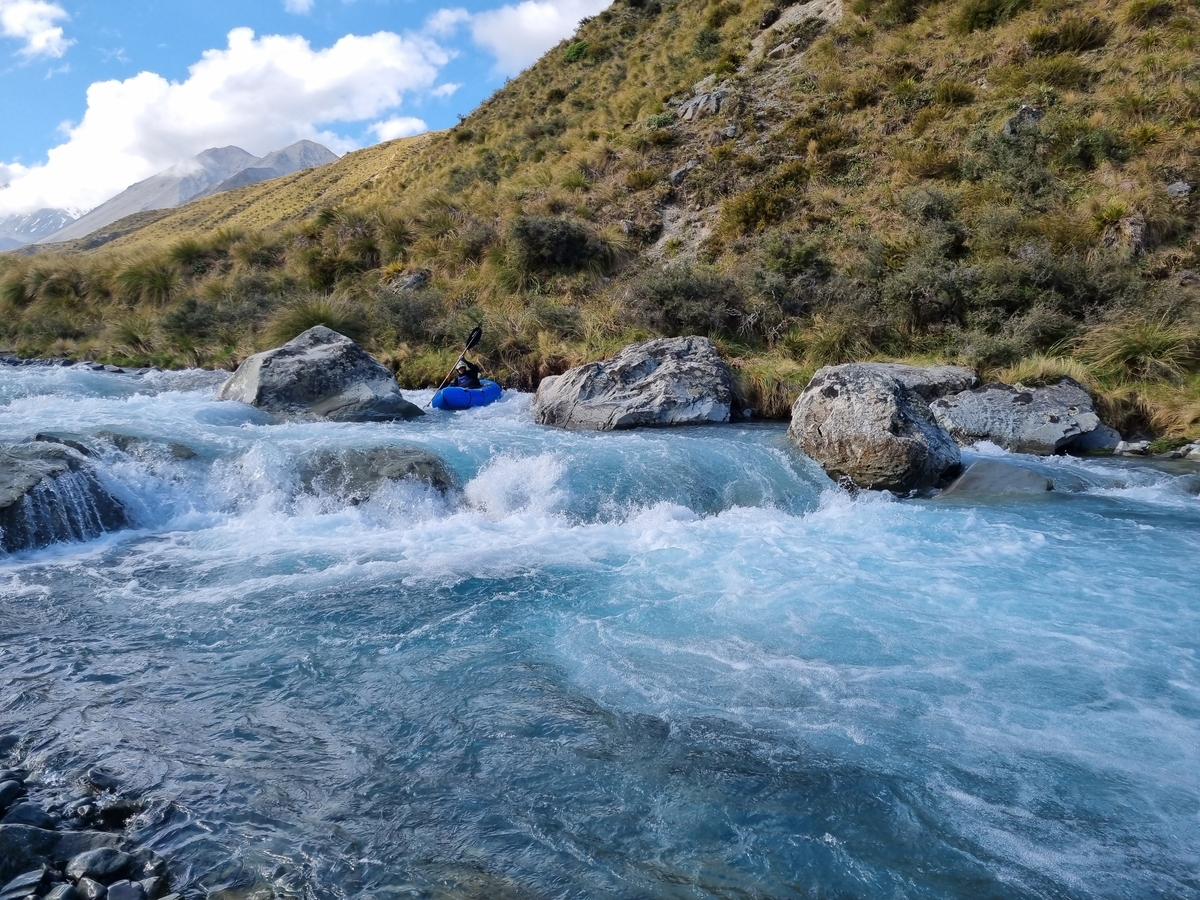
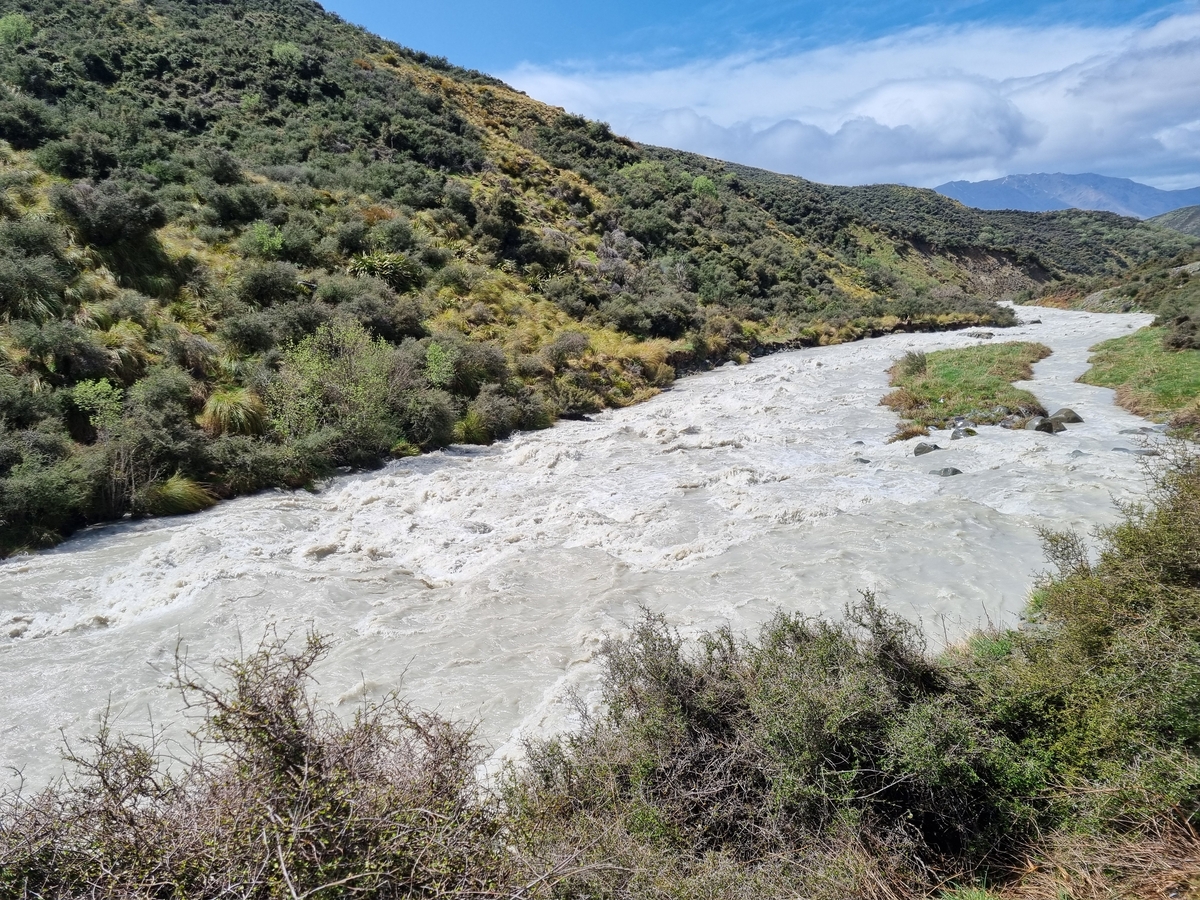
Lower valley (II+)
Below from the Mid valley rapids III section, the riverbed opens out again but the whitewater keeps on coming. There’s around 3 km of continuous grade II with regular grade II+ rapids to keep you on your toes.
Look out for overhanging trees in the flow on the true left bank a few hundred metres downstream of the Polhill Stream confluence.
Towards the end of the run the gradient relents a little back to grade II, then the valley widens considerably for the final kilometre of open riverbed down to the take-out point.
The best take-point is located somewhere on the open riverbed as close as possible to the car park. At the time of writing this was several hundred metres from the active channel so be sure you don’t carry on too far downstream! If there is any wind blowing you’ll probably opt for packing down the packraft and strolling back to the car from the take-out point.
Gauge
Although there is no gauge on the Cameron, the nearby Ashburton South Branch has gauges that can show if rivers in the area are flooding, high, dry, or likely to be at a good flow.
The two catchment headwaters are close together, likely receiving very similar rainfall in any given storm. Whilst bearing in mind that packrafting section of Cameron has about half the catchment of the packrafting section of the Ashburton South Branch (75 sqkm, vs 140 sqkm) both catchments have similarly large snowfields in thier headwaters. Periodic checks have found that the two rivers are often running at similar flows – the South Ashburton at Buick provides a useful indication of flows in the Cameron.
Flows & timing
You’ll want a little extra water to bring the rapids to life, which probably means spring snow melt base flow, with a decent bit of rain before you get there. Hitting the ‘sweet spot’ for the ideal flows is a key strategy for making the most of the Cameron.
18 cumecs on South Ashburton at Mt Somers was a good flow for the South Ashburton Gorge.
Summer base flows will probably too bony to paddle, and when it rains lots, things get rowdy. Remember, the river flow on the day is a strong influence on the character of this run due to the relatively continuous gradient of nearly all sections (including the grade II sections). This means that all of the grade III sections described here will push into the grade IV range and be flowing very fast when the water is up.